
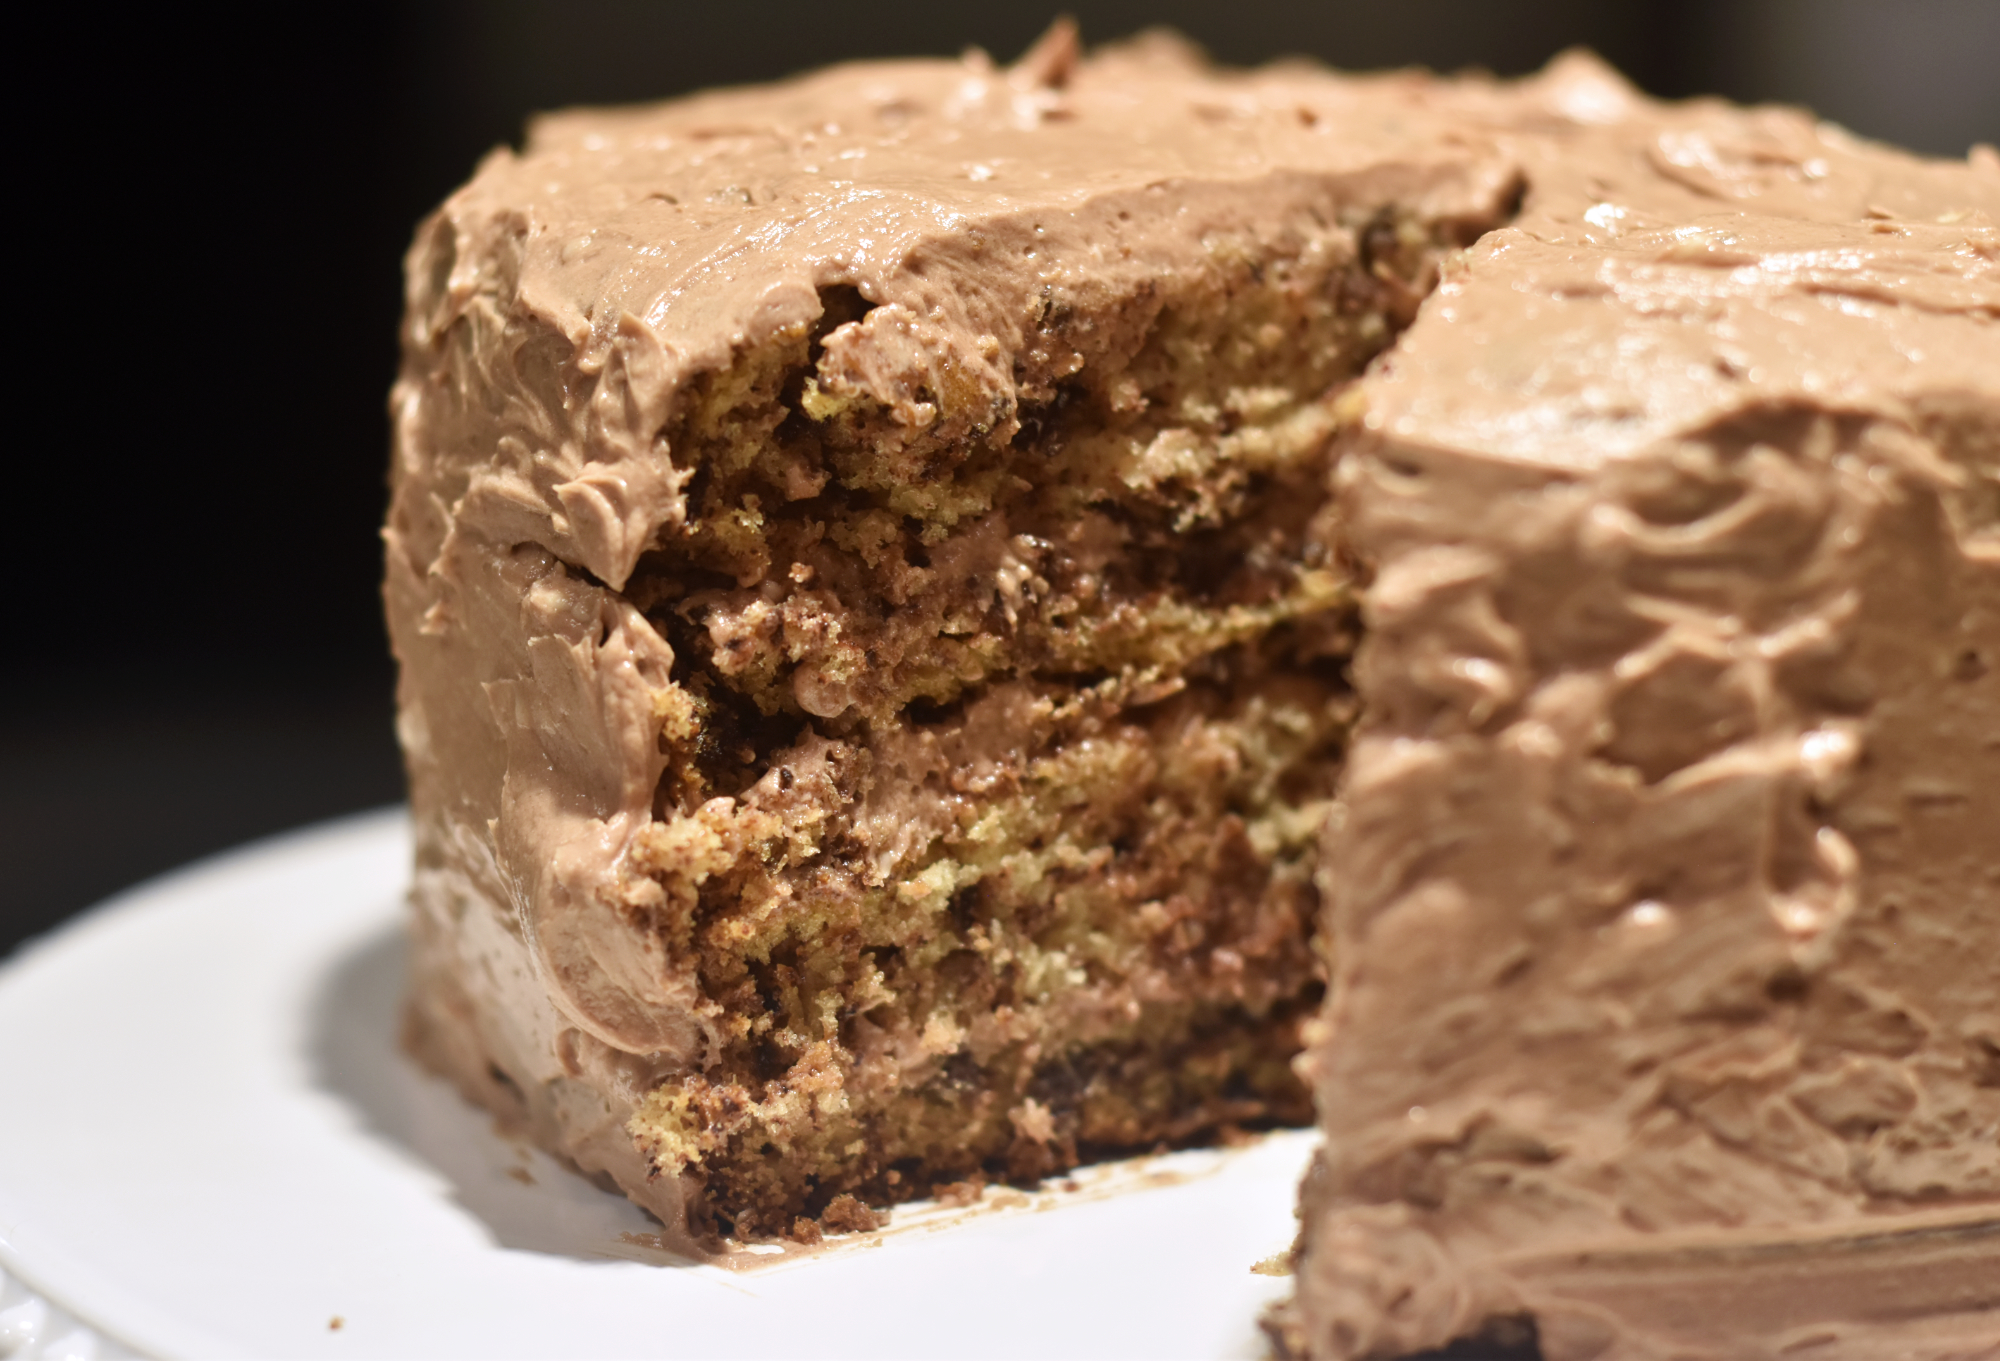
Chocolate Flecked Layer Cake
It has been over 7 months since I last posted on Hint of Southern. I have really missed baking and cooking, and I could not wait to share my newest post with y’all. This is my first post from Grand Rapids, Michigan. My husband and I recently moved to Michigan from California. After recently buying a house, I finally have a kitchen to bake in and take pictures in. The first post is one of my favorite cakes from Martha Stewart called Chocolate-Flecked Layer Cake with Milk Chocolate Frosting. The cake is not too sweet and the sweetness of the milk chocolate frosting balances it out. The chocolate flecks really make this cake interesting!
Cake
1-1/2 sticks unsalted butter, softened, plus more for pans
2-1/4 cups all-purpose flour, plus more for pans
1-1/2 tsp baking soda
2-1/2 tsp coarse salt
1 cup plus 2 T granulated sulgar
1/3 cup packed light brown sugar
1 large egg yolk plus 2 large eggs
1 T vanilla extract
1-1/2 cups sour cream
3/4 cup milk
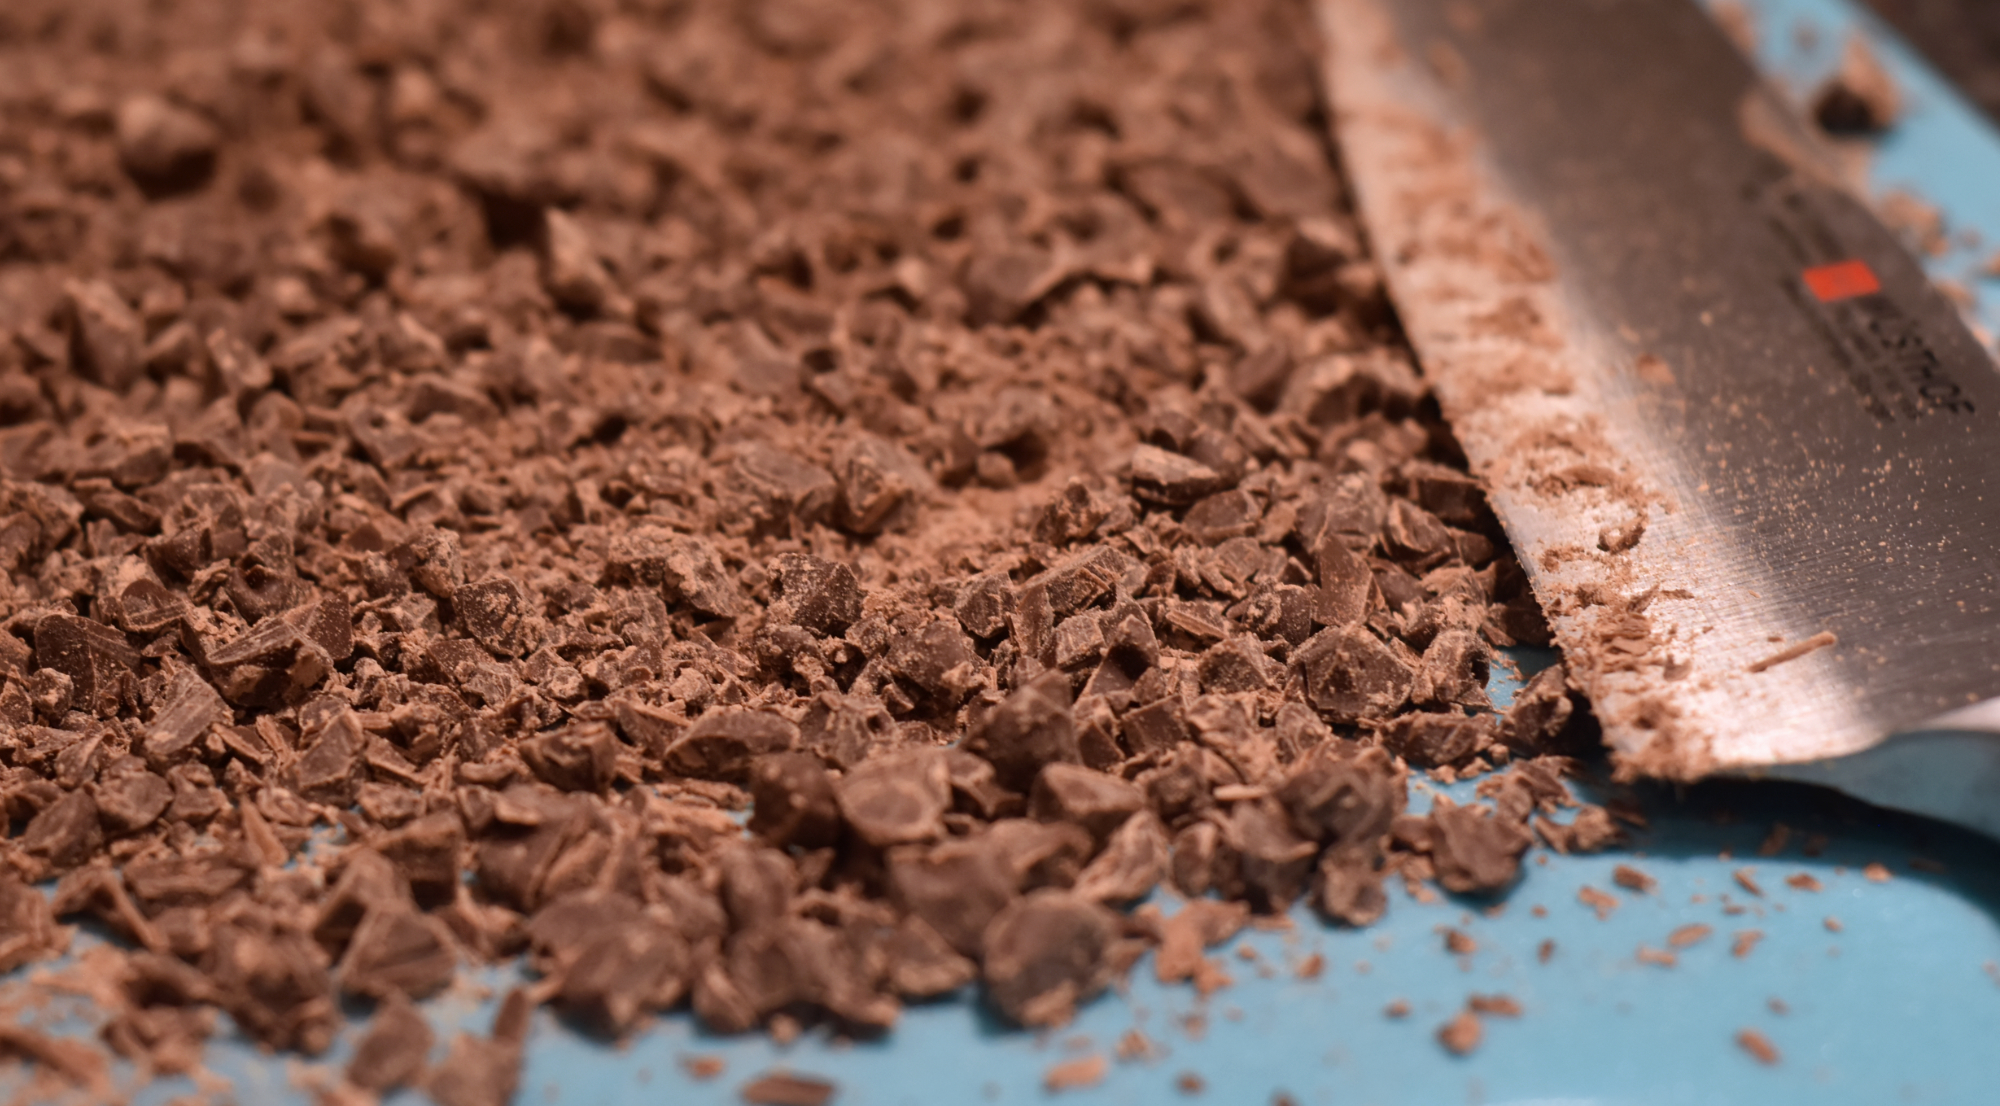
8 oz semi-sweet, finely chopped
Milk Chocolate Frosting
1 lb milk chocolate, finely chopped
4 sticks unsalted butter, softened
1 cup confectioners sugar
Pinch of coarse salt
1 cup sour cream
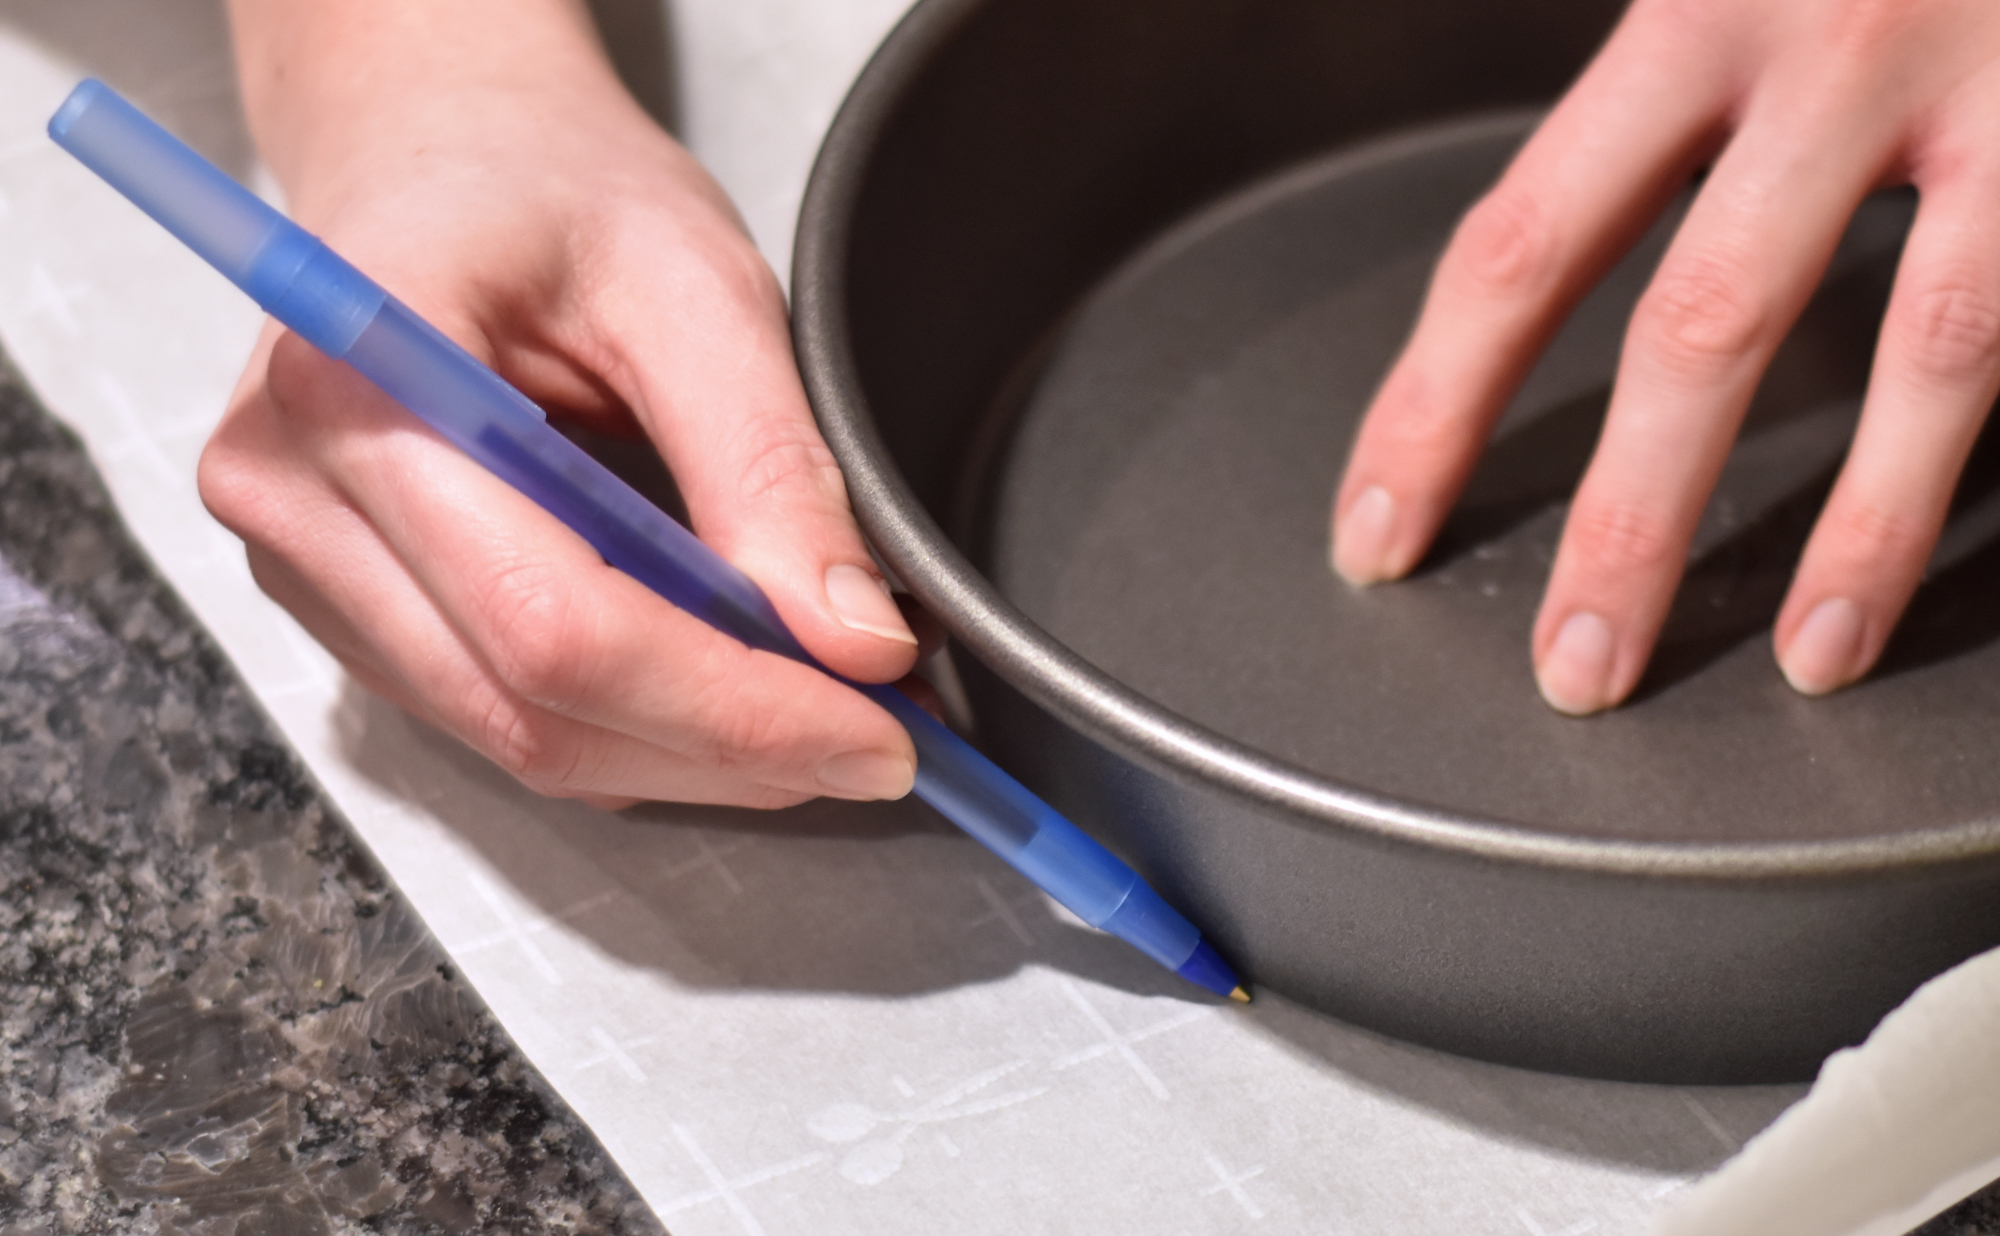
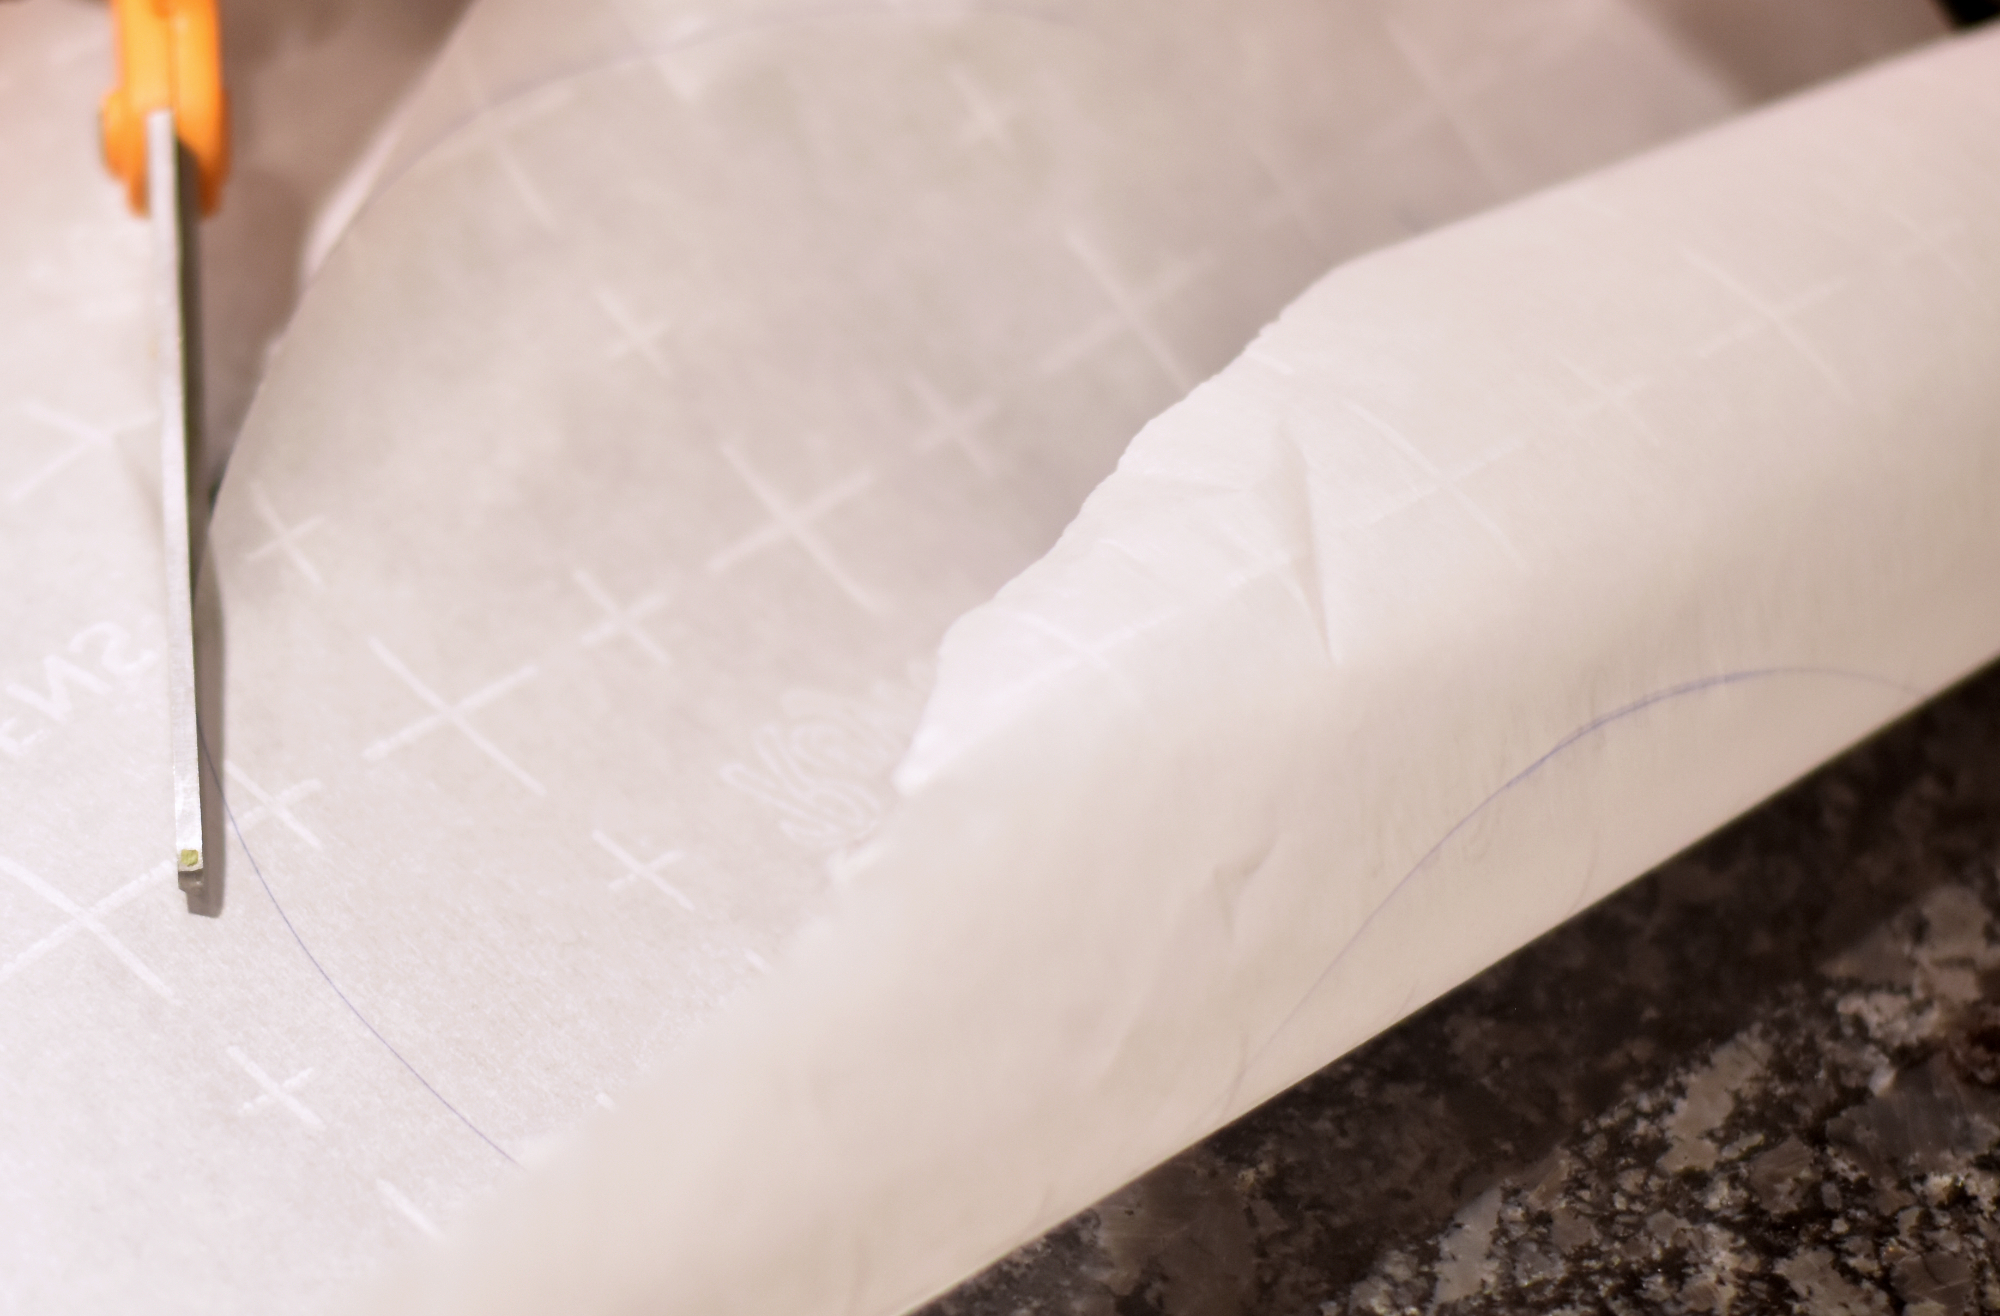
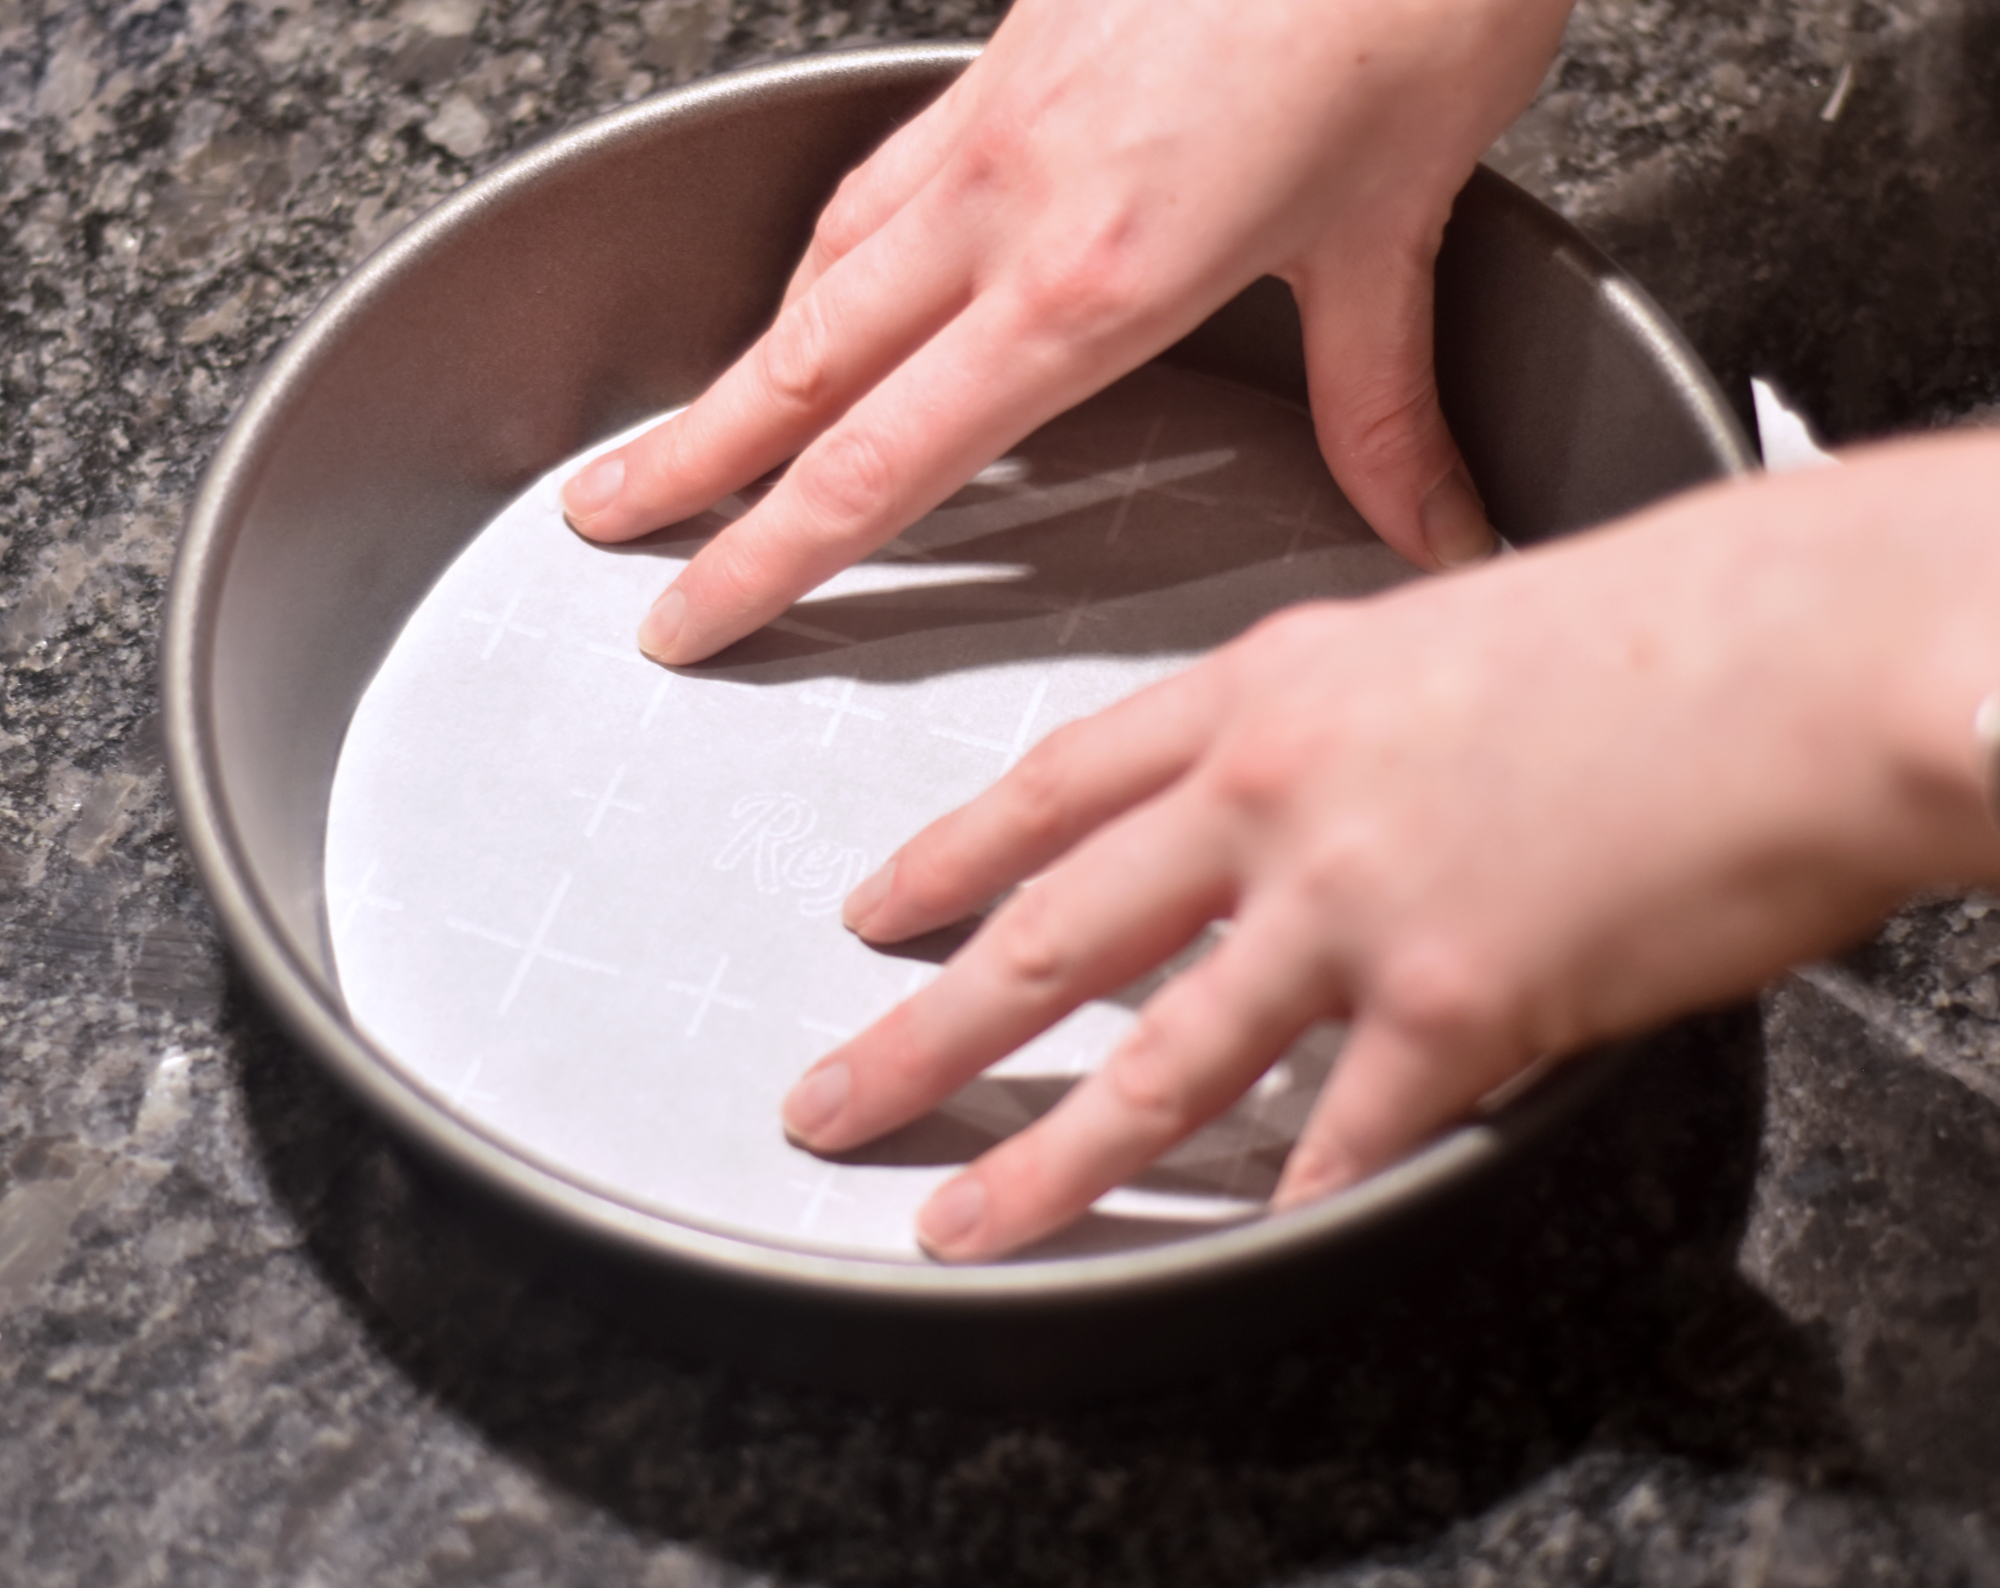
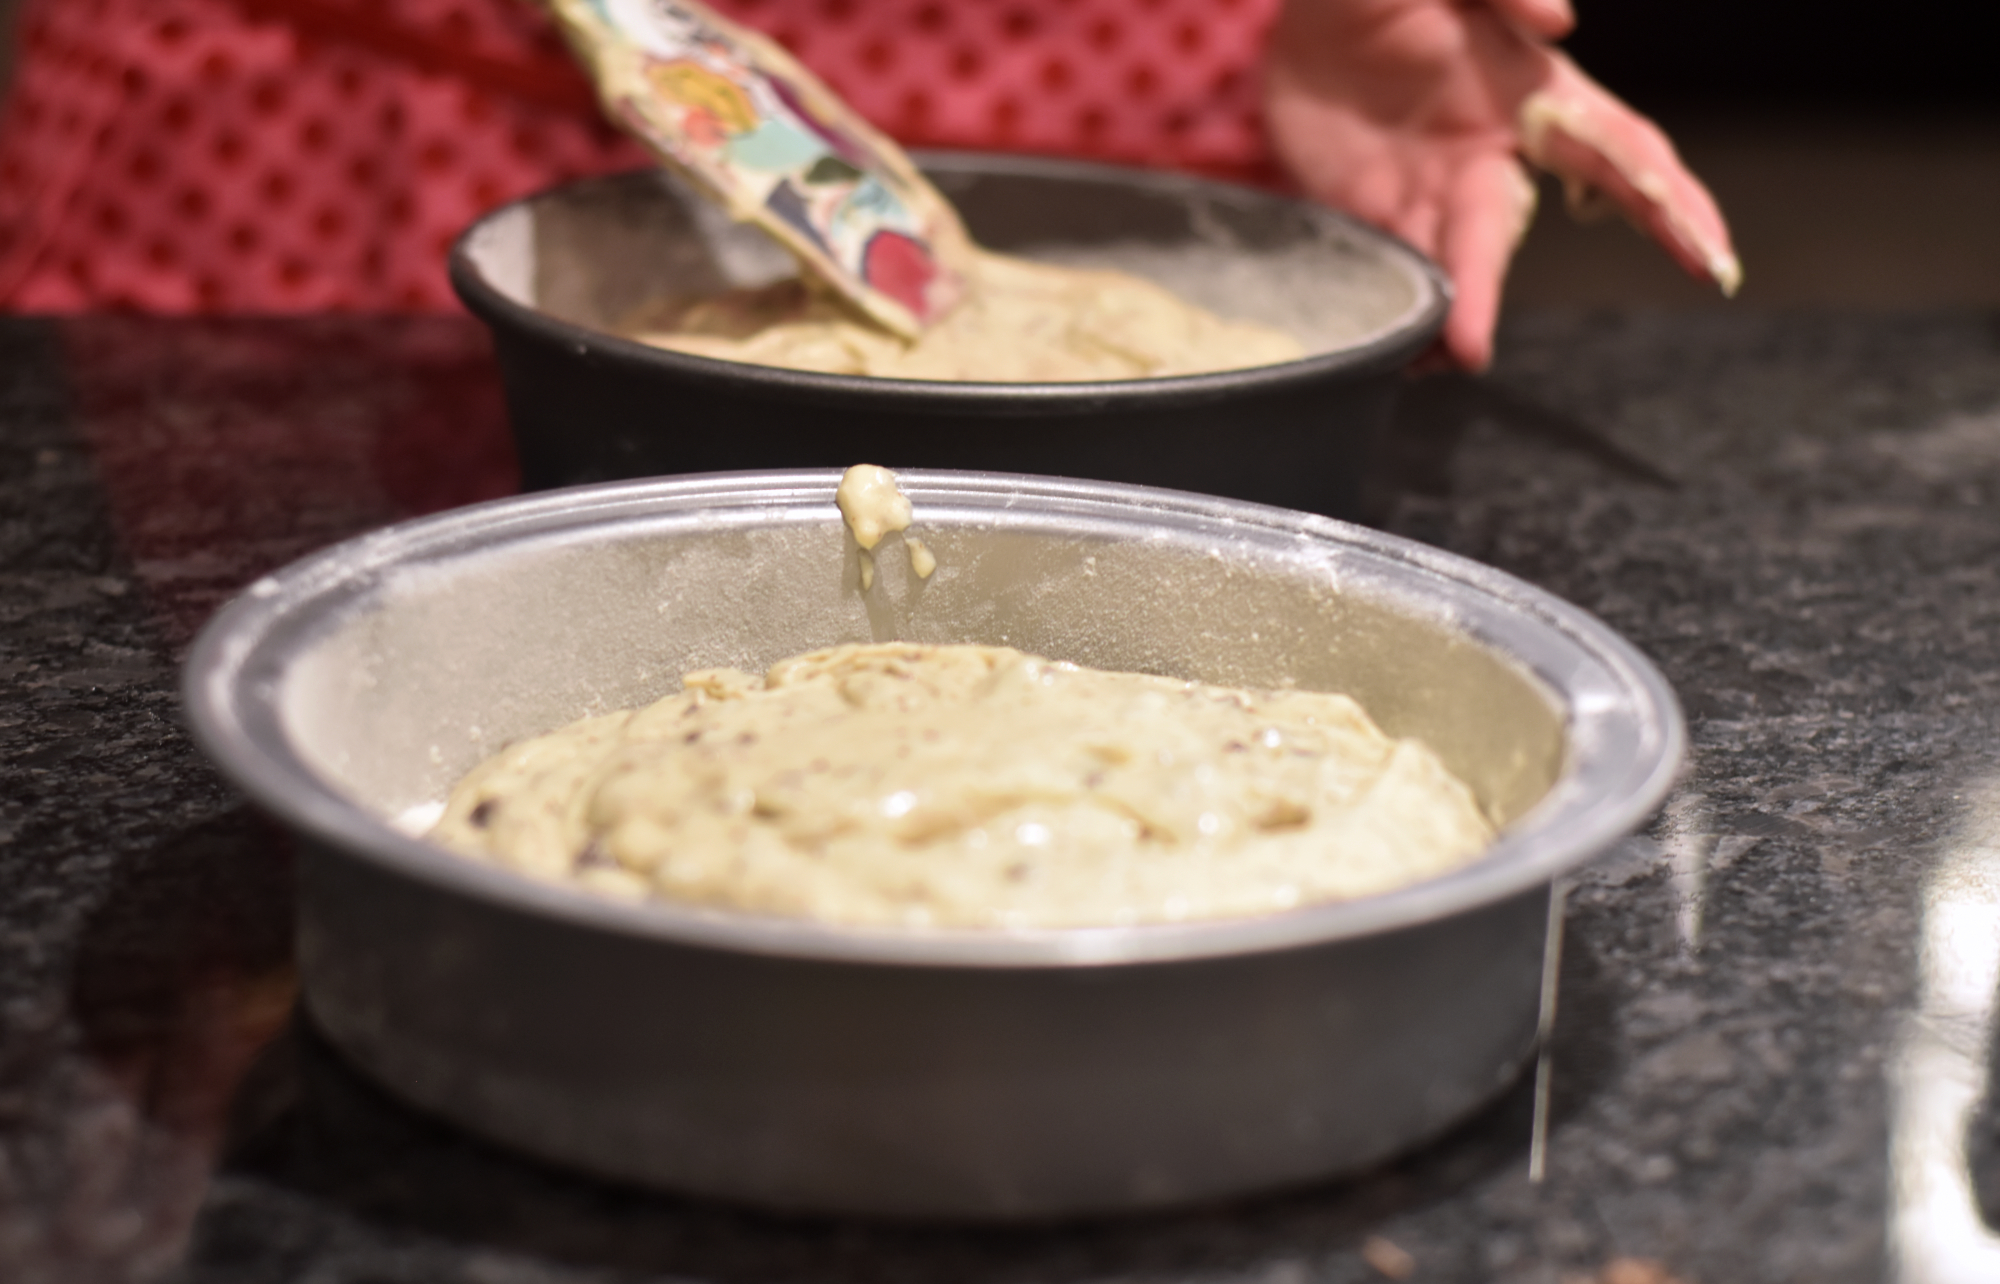
While I couldn’t bake during my move, I watched lots of baking shows such as Nailed It. One of the most common mistakes was not preparing the cake pans before baking. While the oven is preheating to 350 degrees, butter two 8 inch cake pans. It is always best to cut a circle out of parchment paper to put at the bottom of the pan. I use the bottom of the pan to trace a circle and it usually fits quite well on the inside. Always use pen not pencil and put the marked side down. I like to butter the top of the parchment paper as well. After the pan is buttered, sprinkle with flour and shake it around to completely cover the pan.
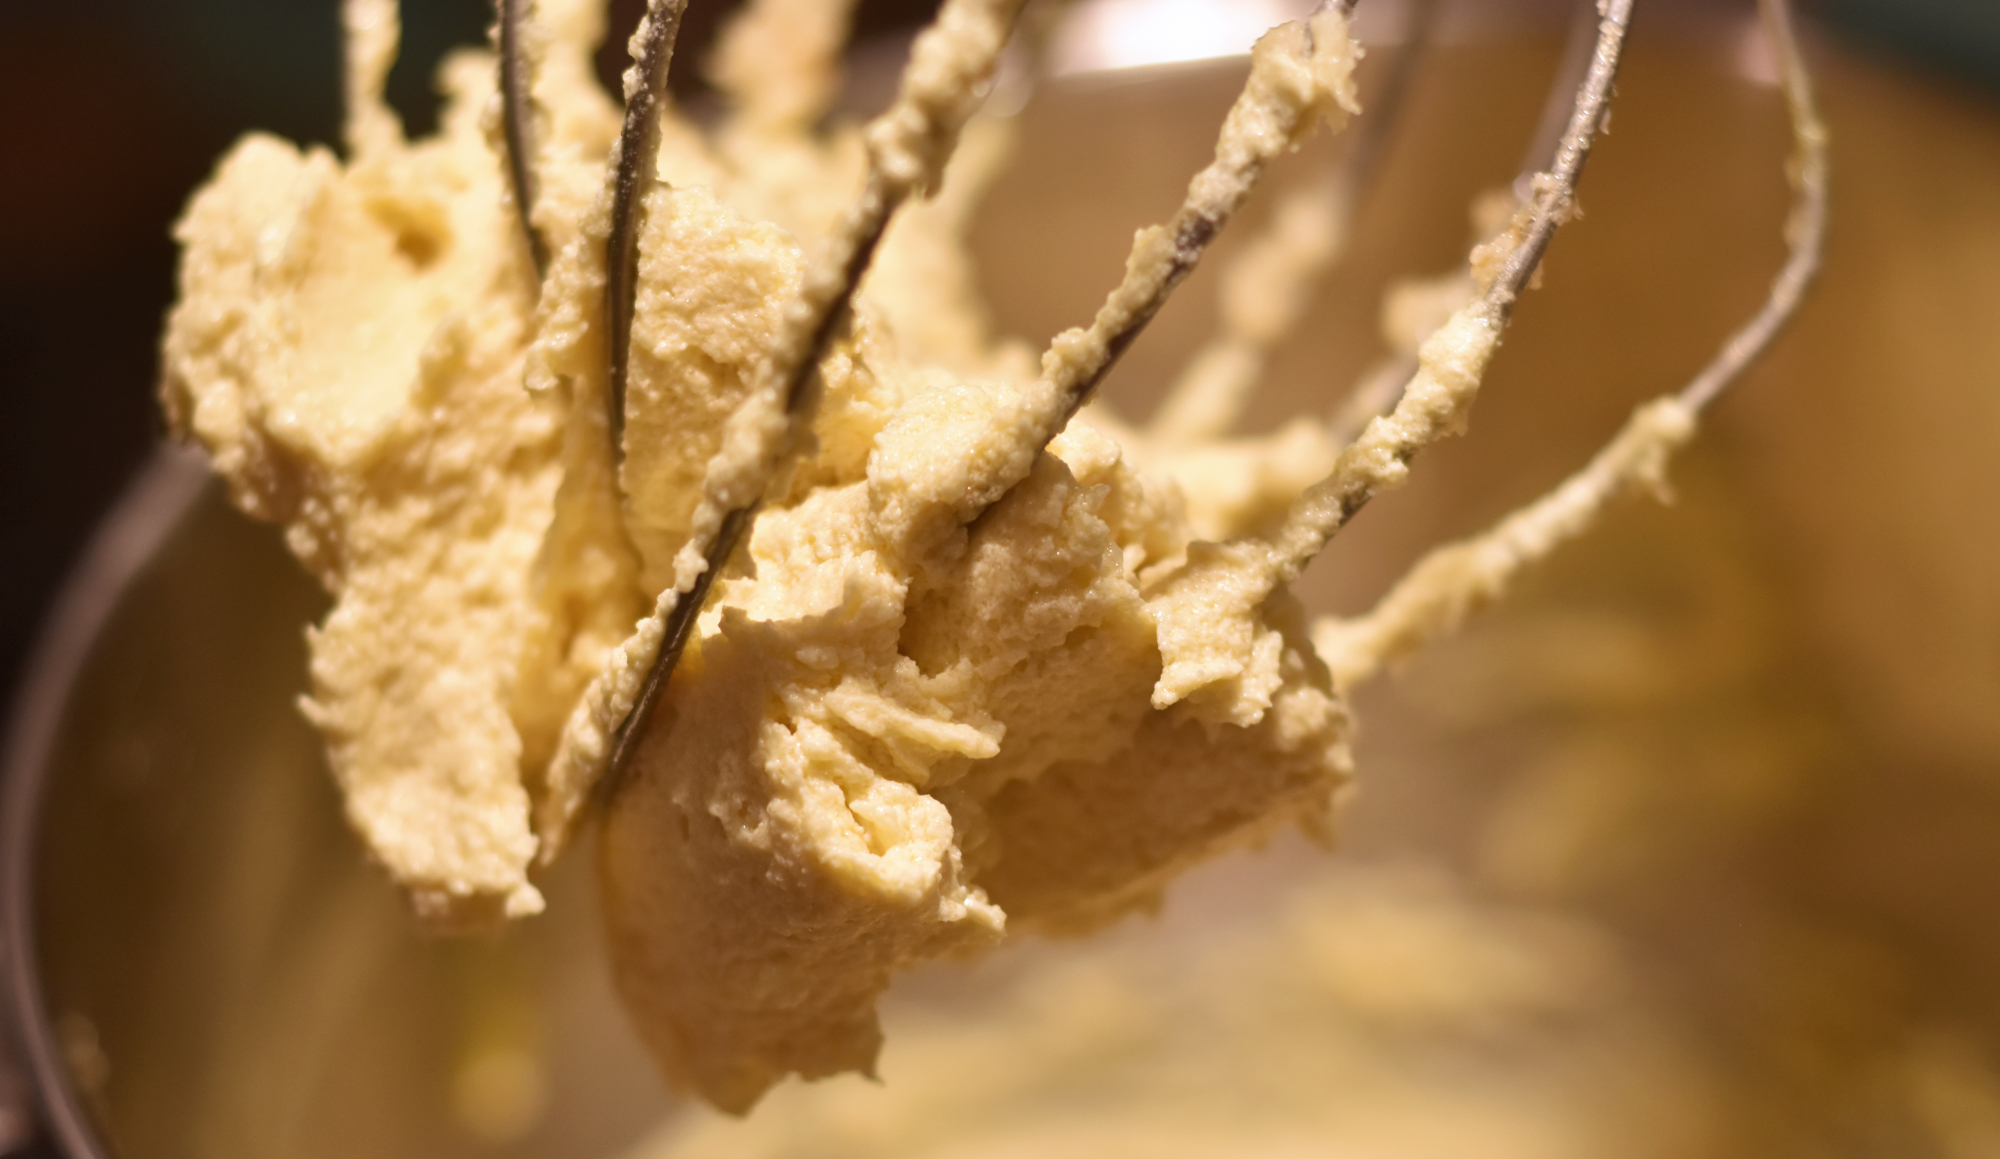
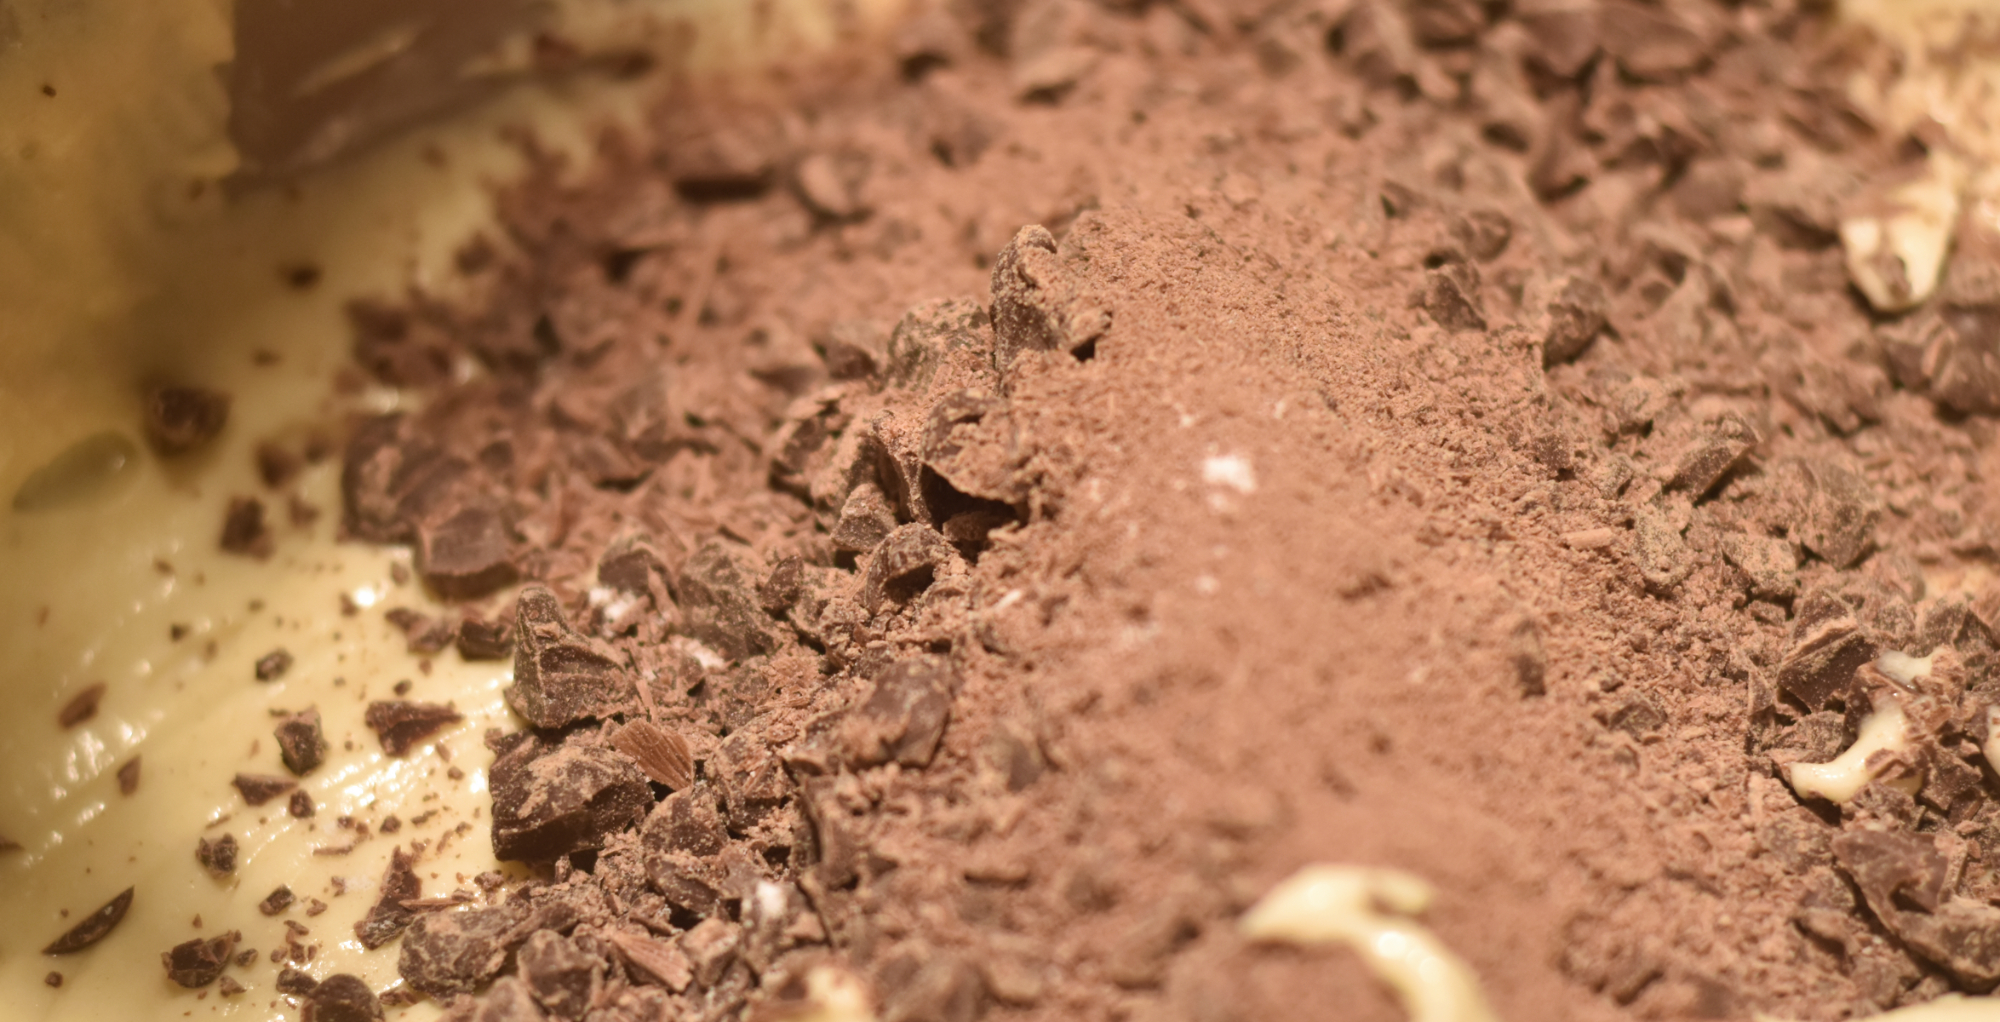
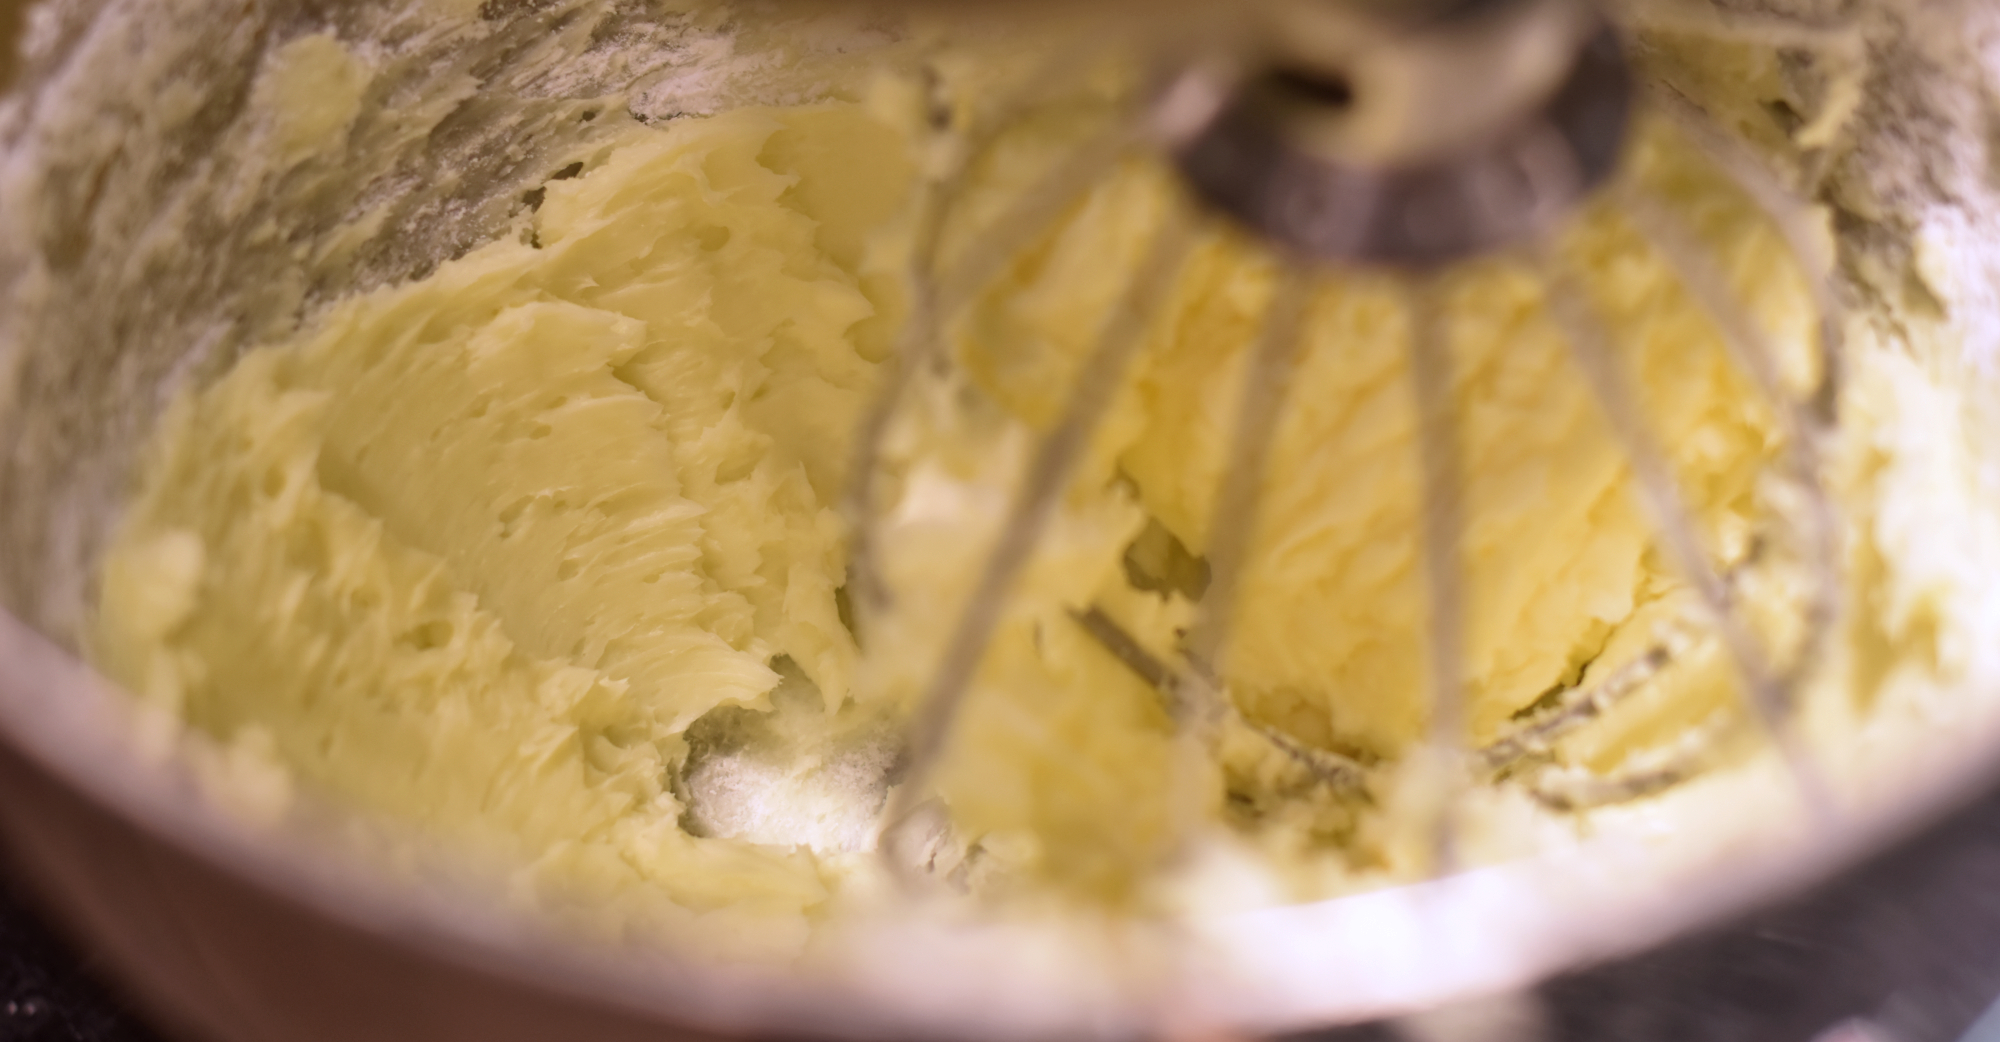
Whisk together the flour, baking soda, and salt in a separate bowl. Cream the butter and all sugars (granulated and brown sugar) until light and fluffy. Continue beating and add one egg at a time. Then add the vanilla. The next step is fairly common in baking. It is to alternate flour with the liquid ingredients. You always start and end with flour. In this case, you add 1/3 of the flour and then add half of the sour cream and milk. Then you do another 1/3 of the flour and the remaining liquid ingredients. Lastly, add the remaining flour. Make sure to mix well between each part. Using a spatula, fold in the chopped chocolate into the batter.
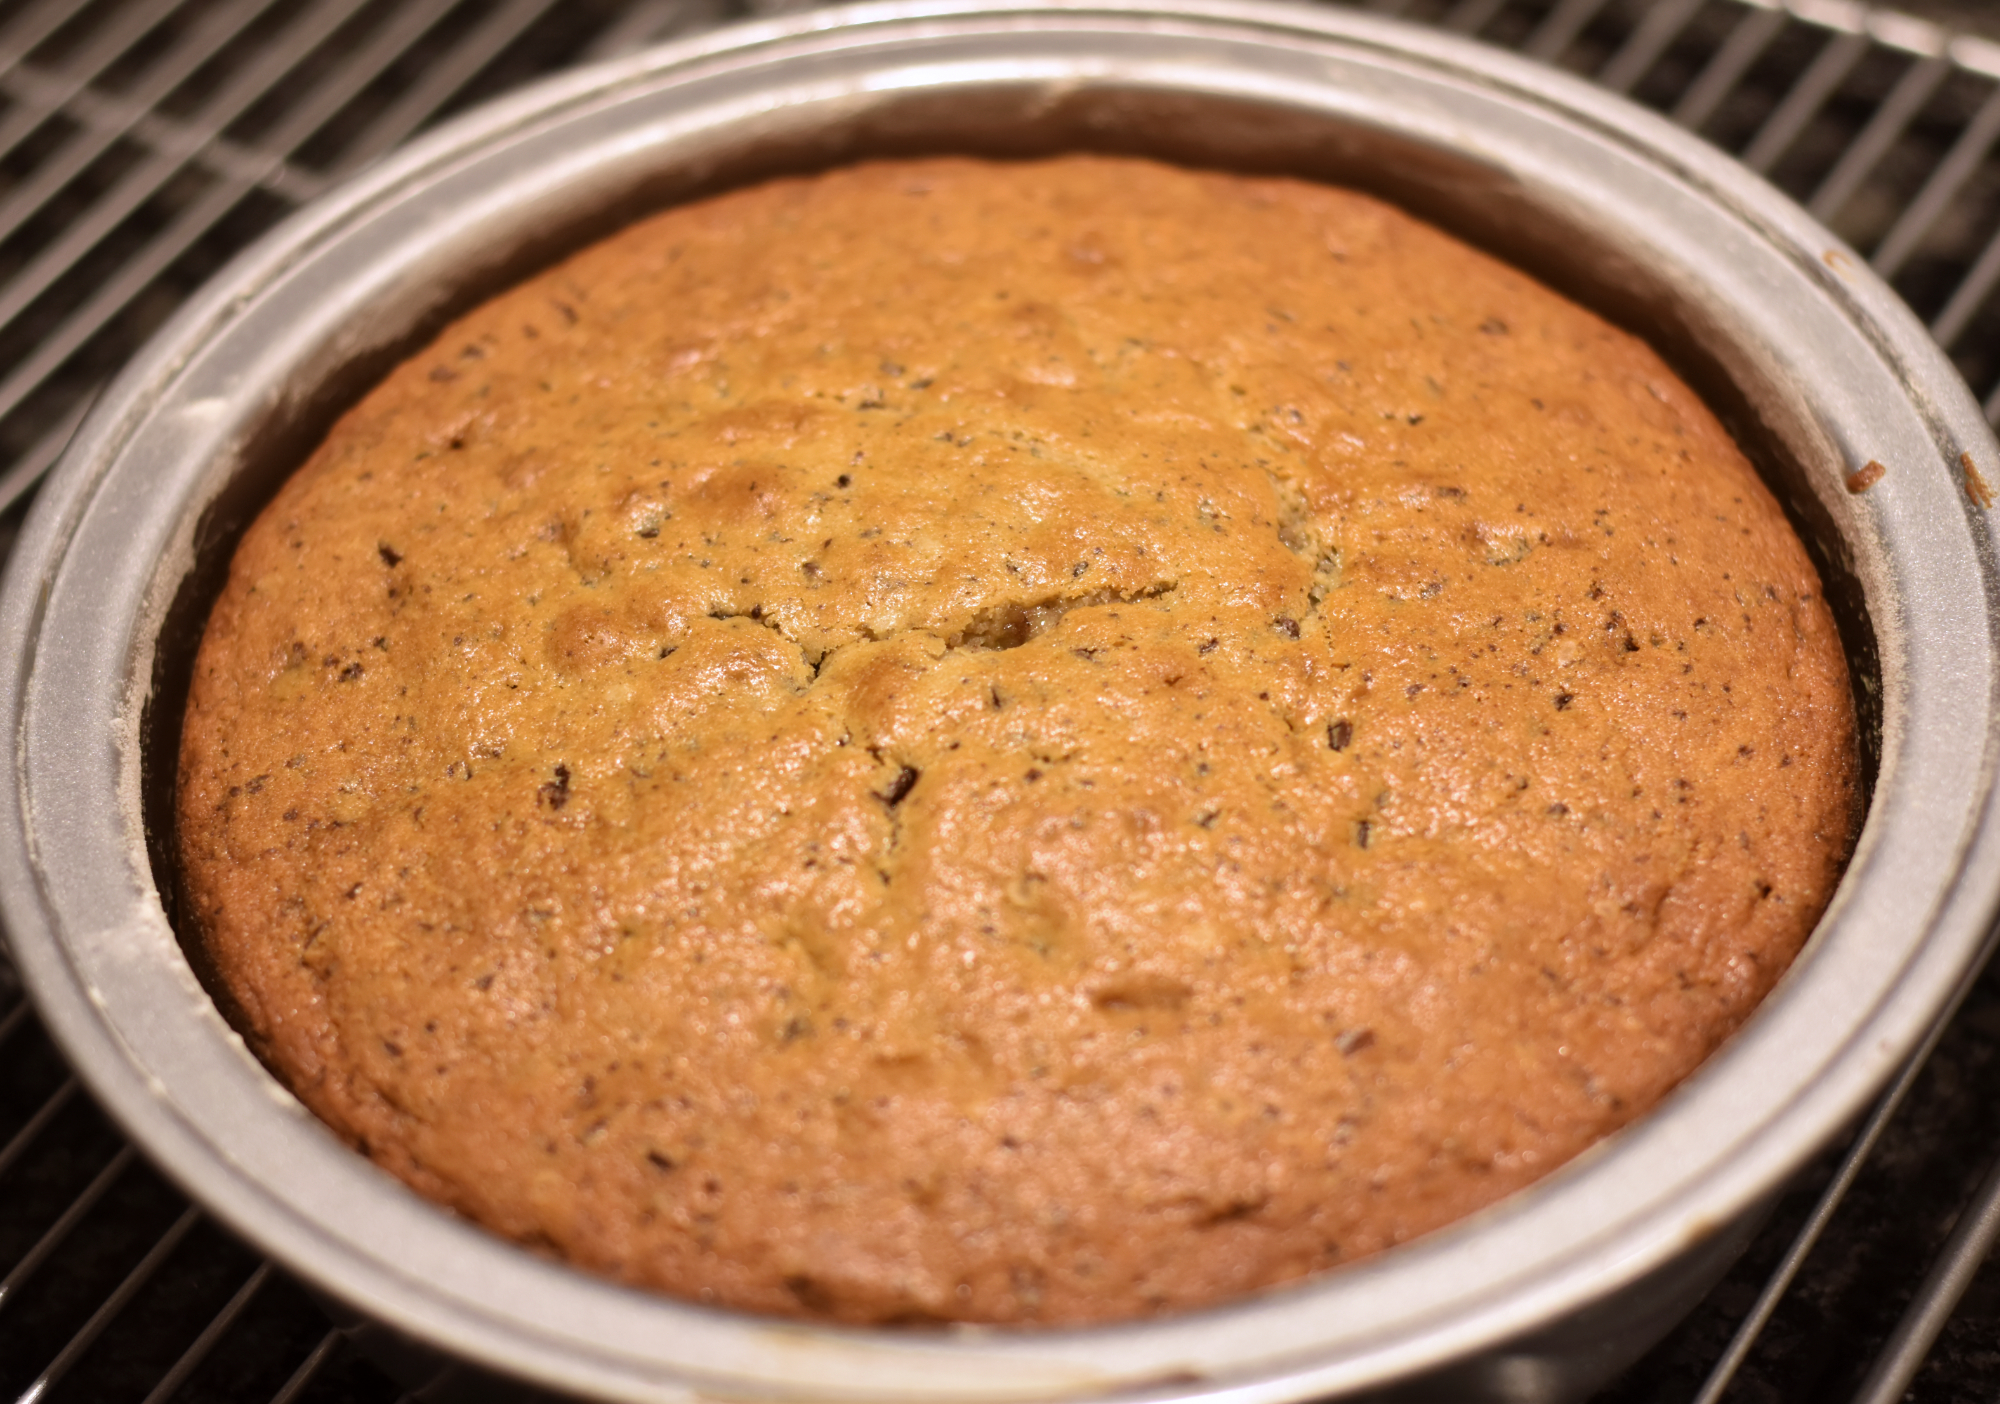
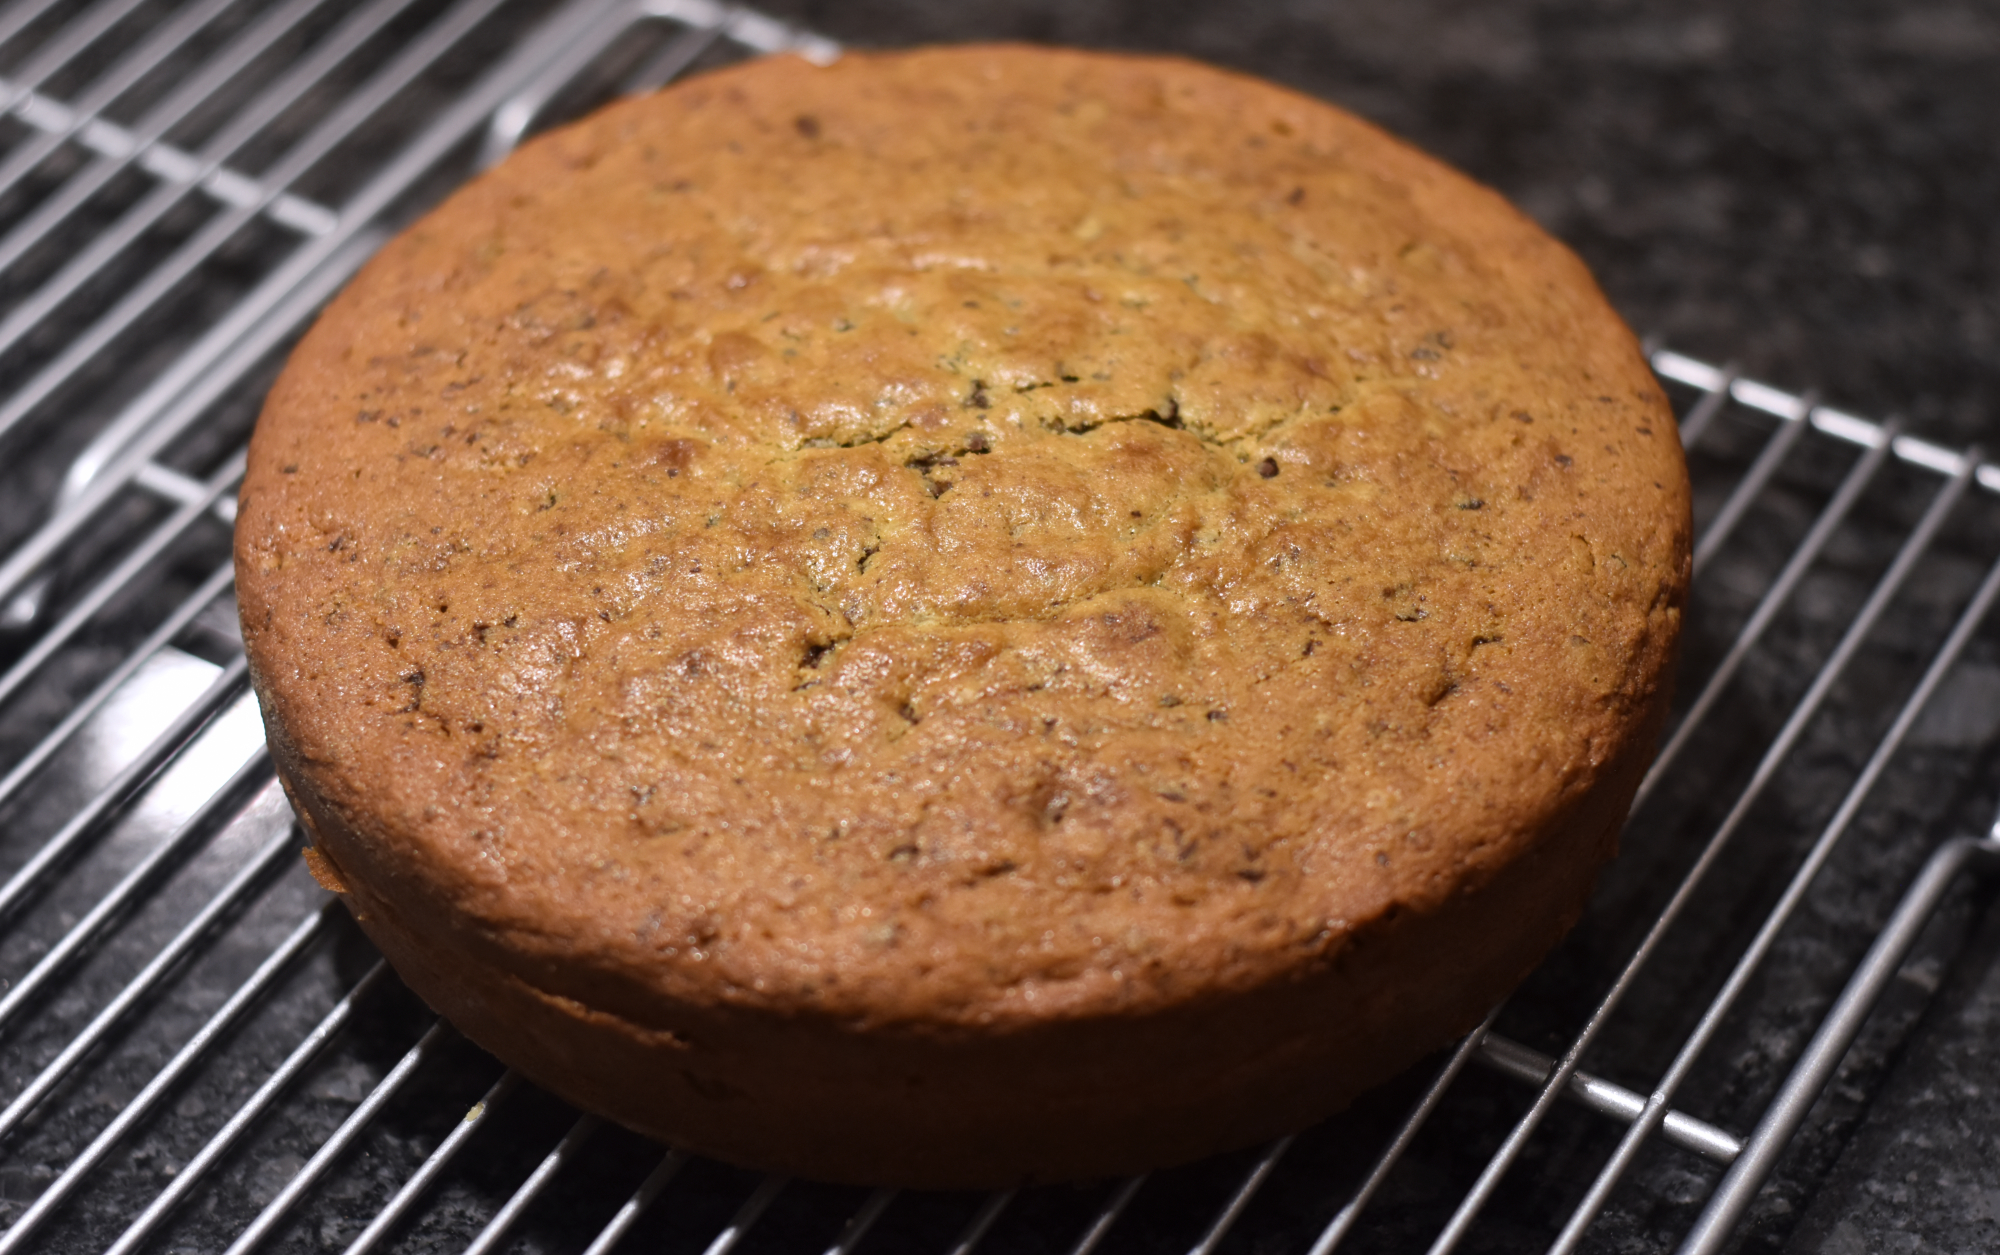
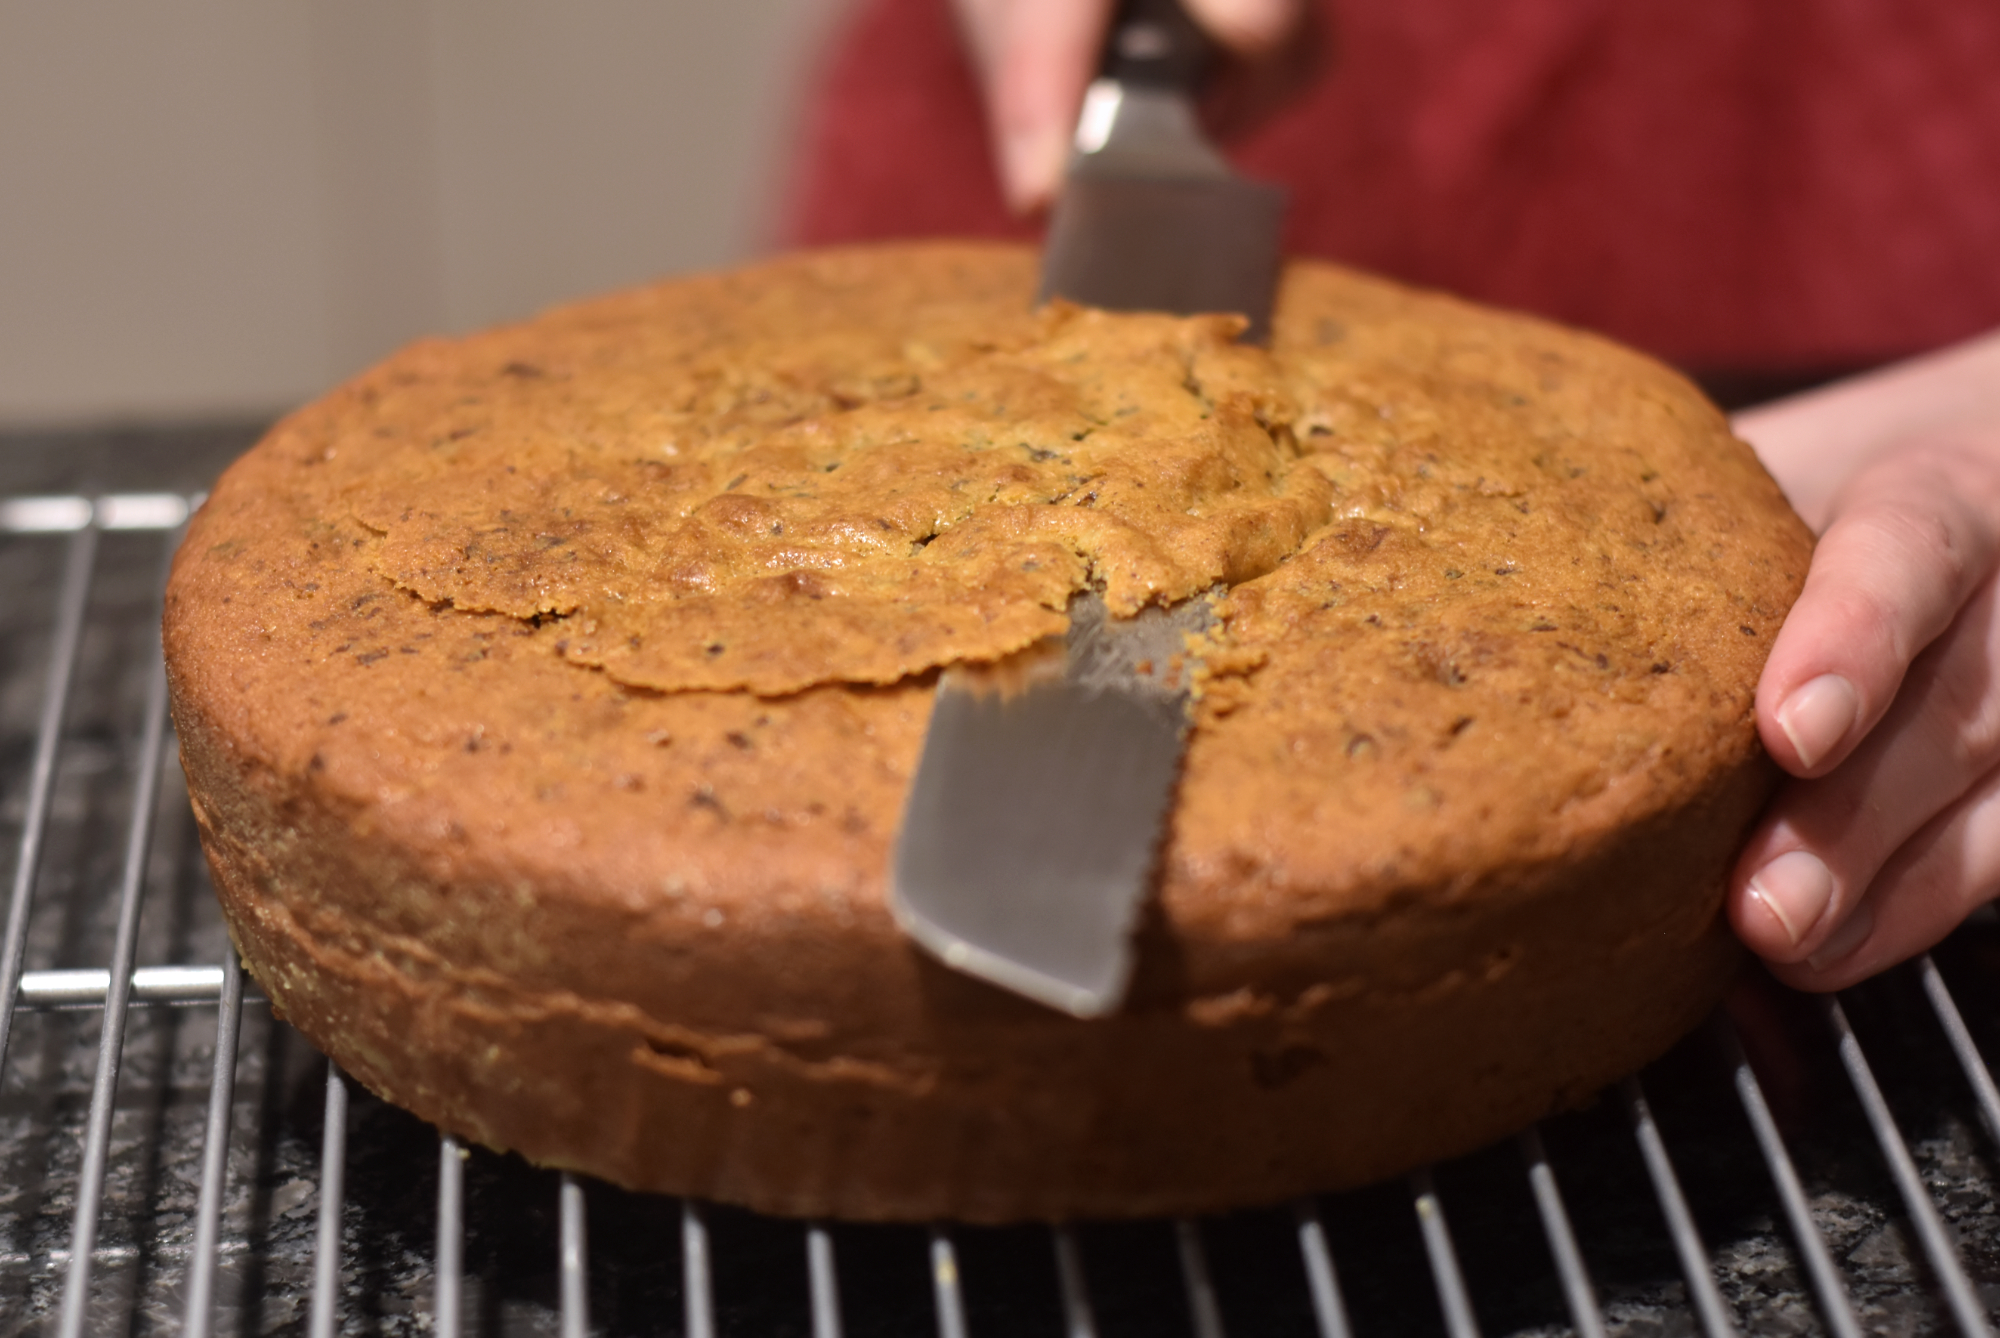
Evenly divide the batter between the two cake pans and smooth out batter with your spatula. Bake until a golden brown and the toothpick comes out clean, which will vary depending on the oven. The recipe says about 40 minutes. I like to set the timer early to check to see if the cake is baking faster. Remove the pans from the oven and let cool on wire racks for 20 minutes. Once cool, flip the cake onto your hand and remove the parchment paper. I like to then put the cake right side up onto the wire racks. This will help you later on when you need to cut off the top of the cake. Let completely cool because otherwise the cake will melt the frosting.
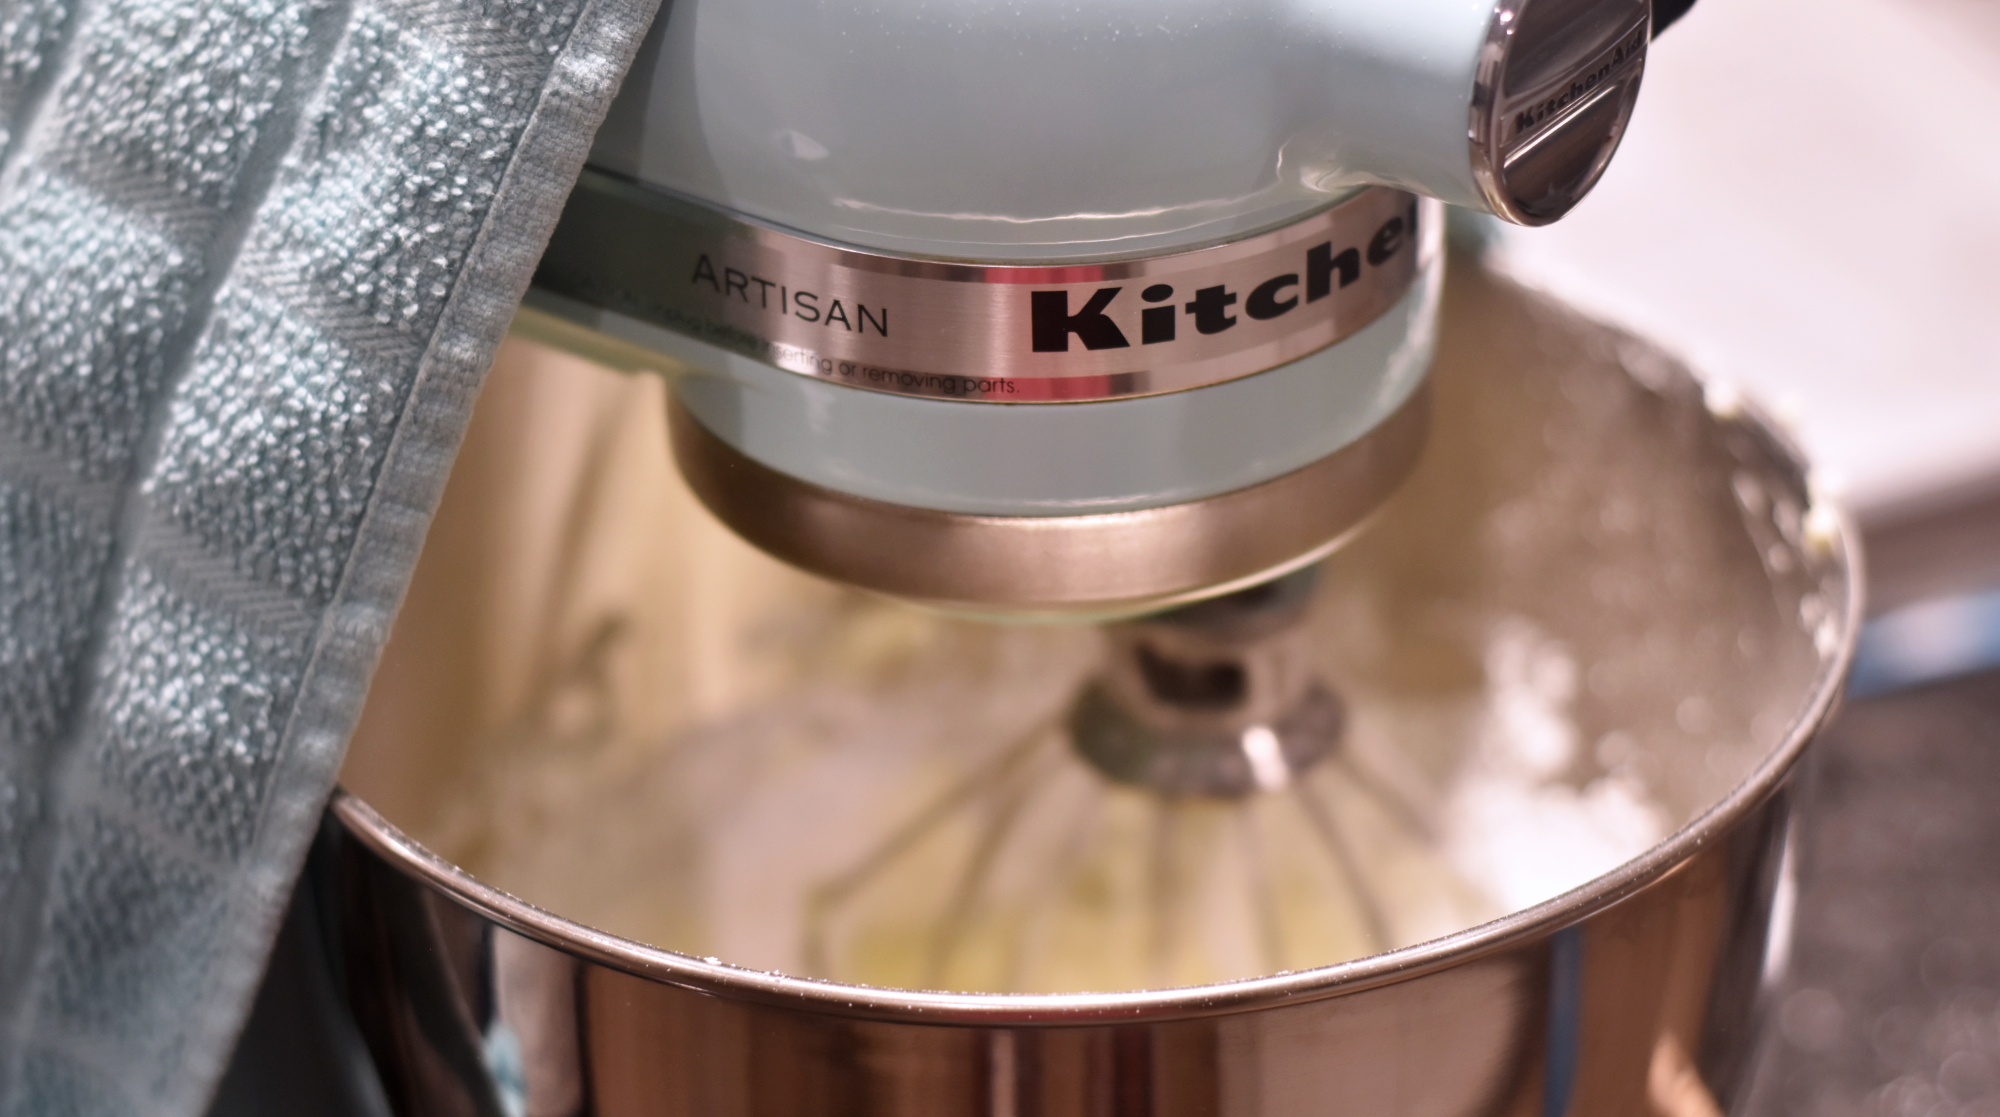
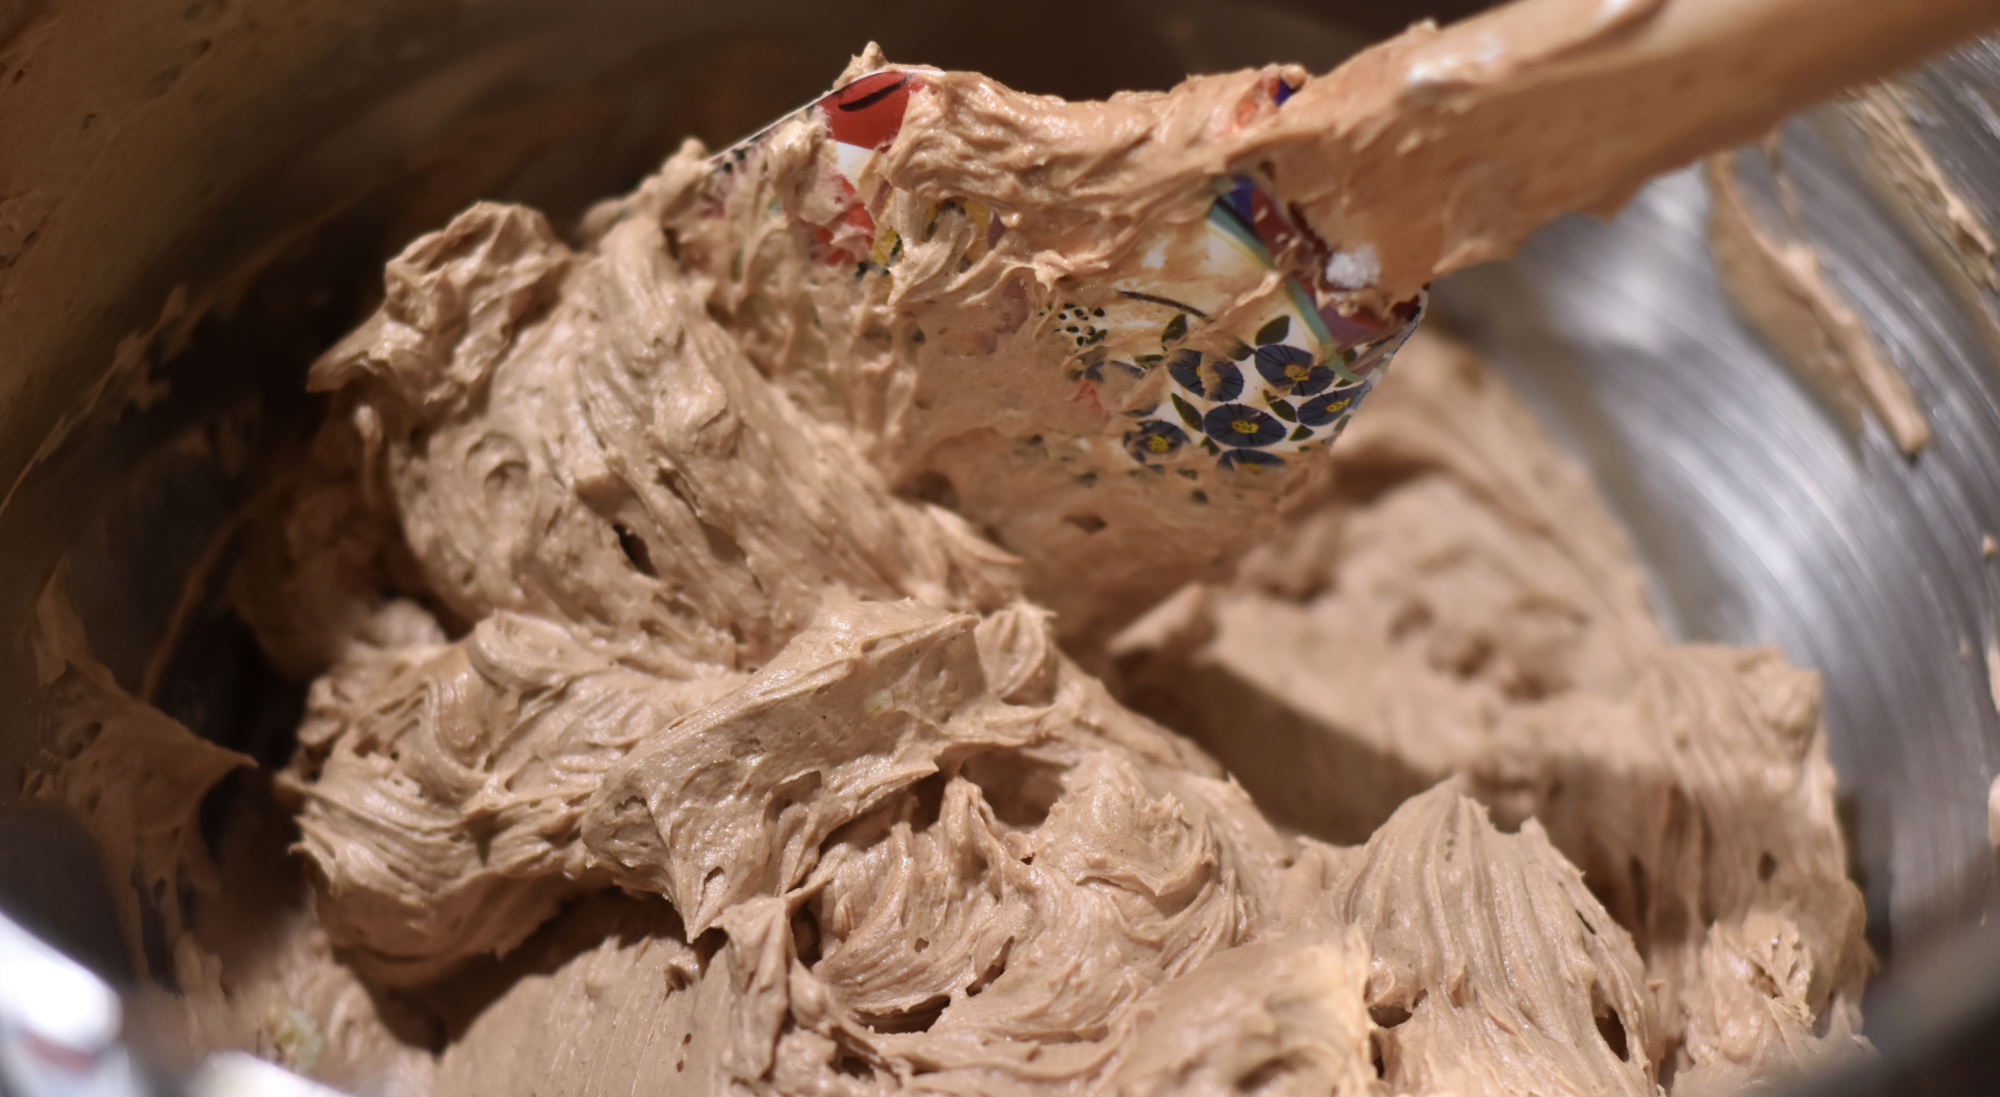
While the cake is cooling down, you can make the frosting. I never like to melt chocolate in the microwave because it always seems to harden or get clumpy. The best way to melt chocolate is to put it in a bowl over simmering water. Remove the bowl and let the chocolate cool a little bit. Cream the butter, sugar, and salt until pale and fluffy, about 5 minutes. I use a towel over my mixer when I cream with powdered sugar, so it does not get everywhere or inside the mixer machine. Gradually beat in the melted chocolate and sour cream. Make sure to beat until fully incorporated. I always manage to have little specs of butter showing, but it doesn’t affect the taste!
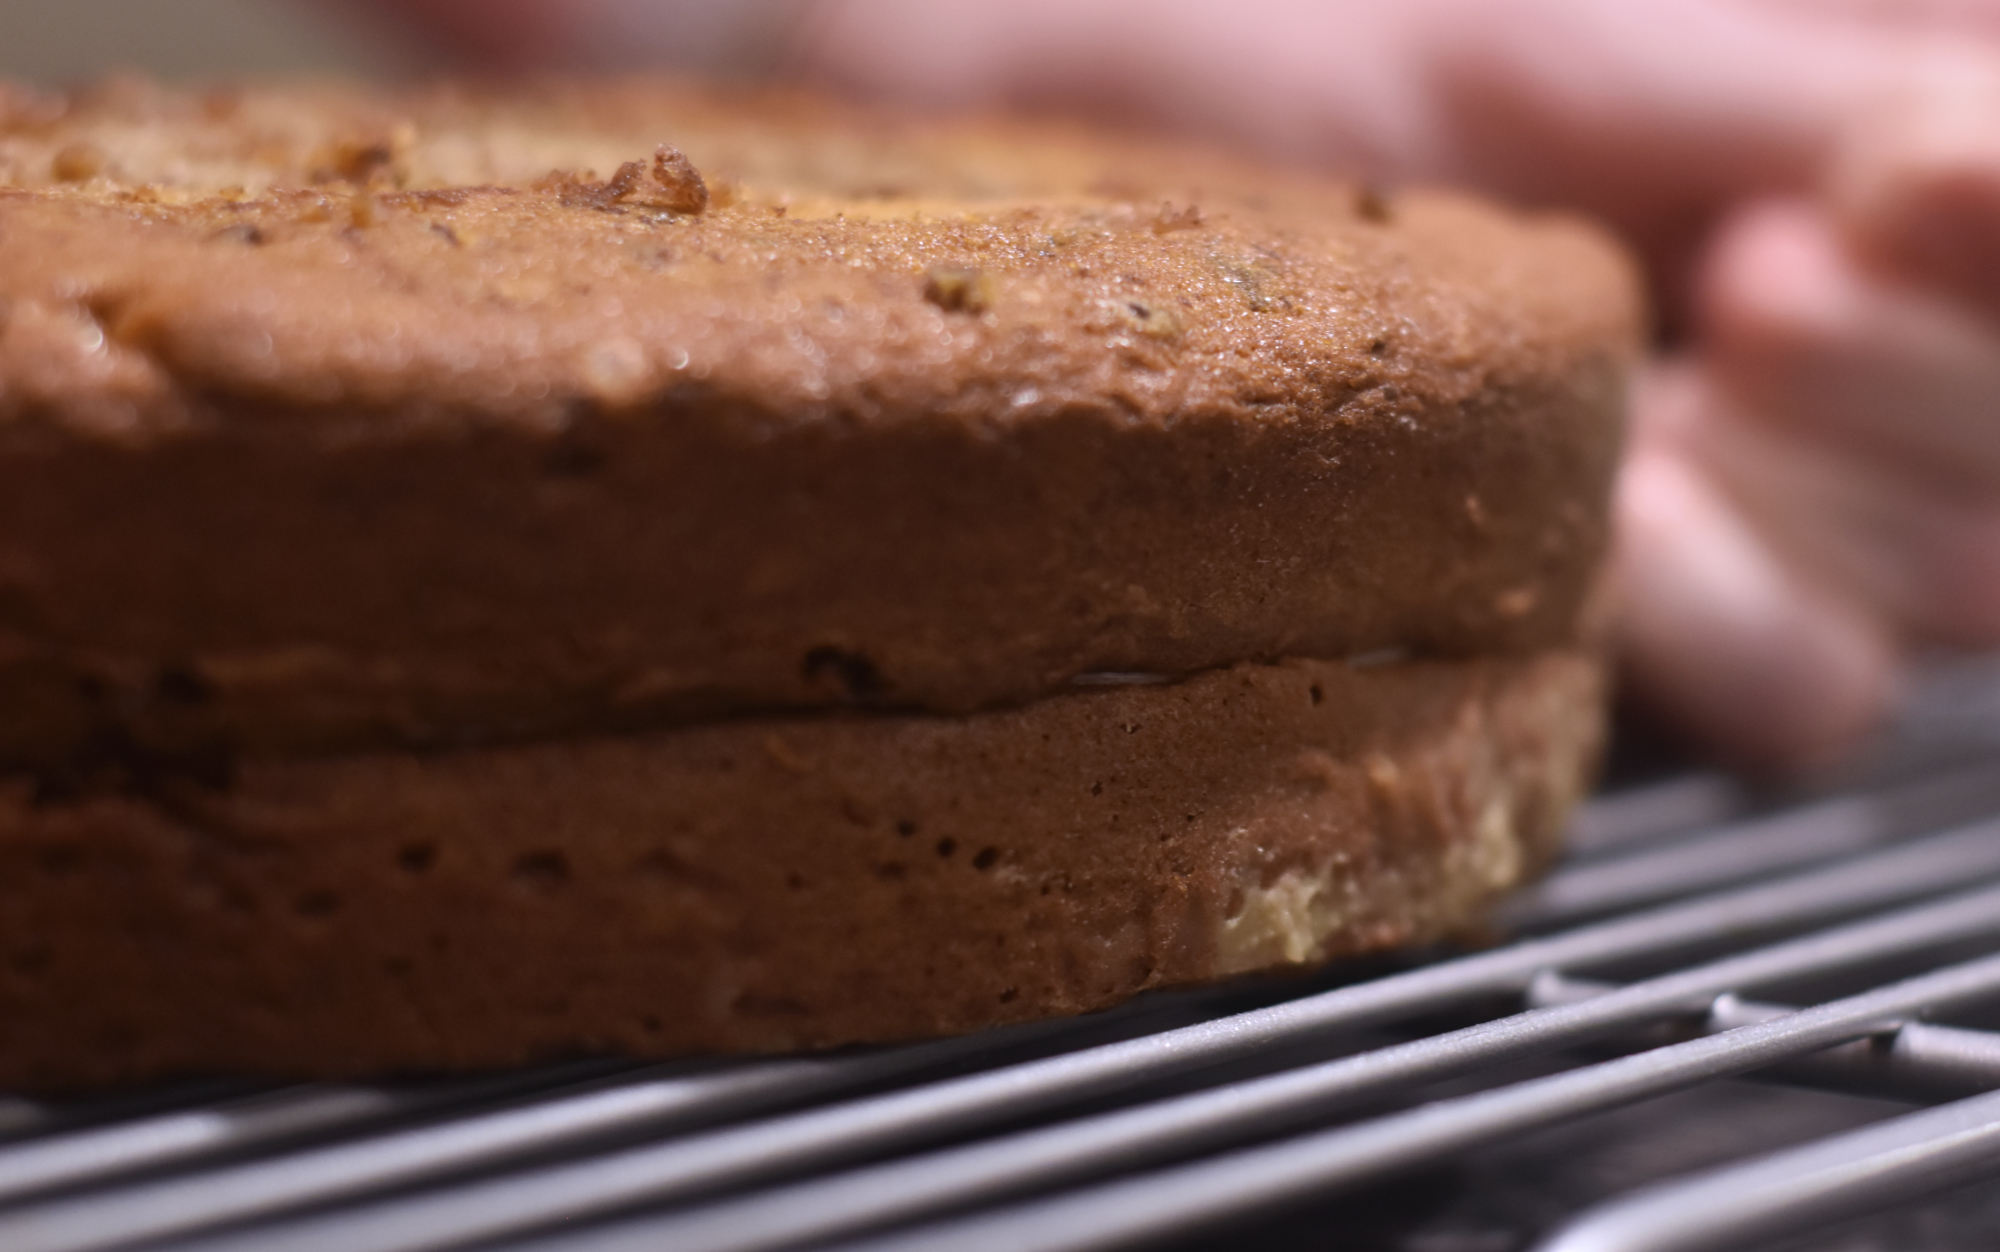
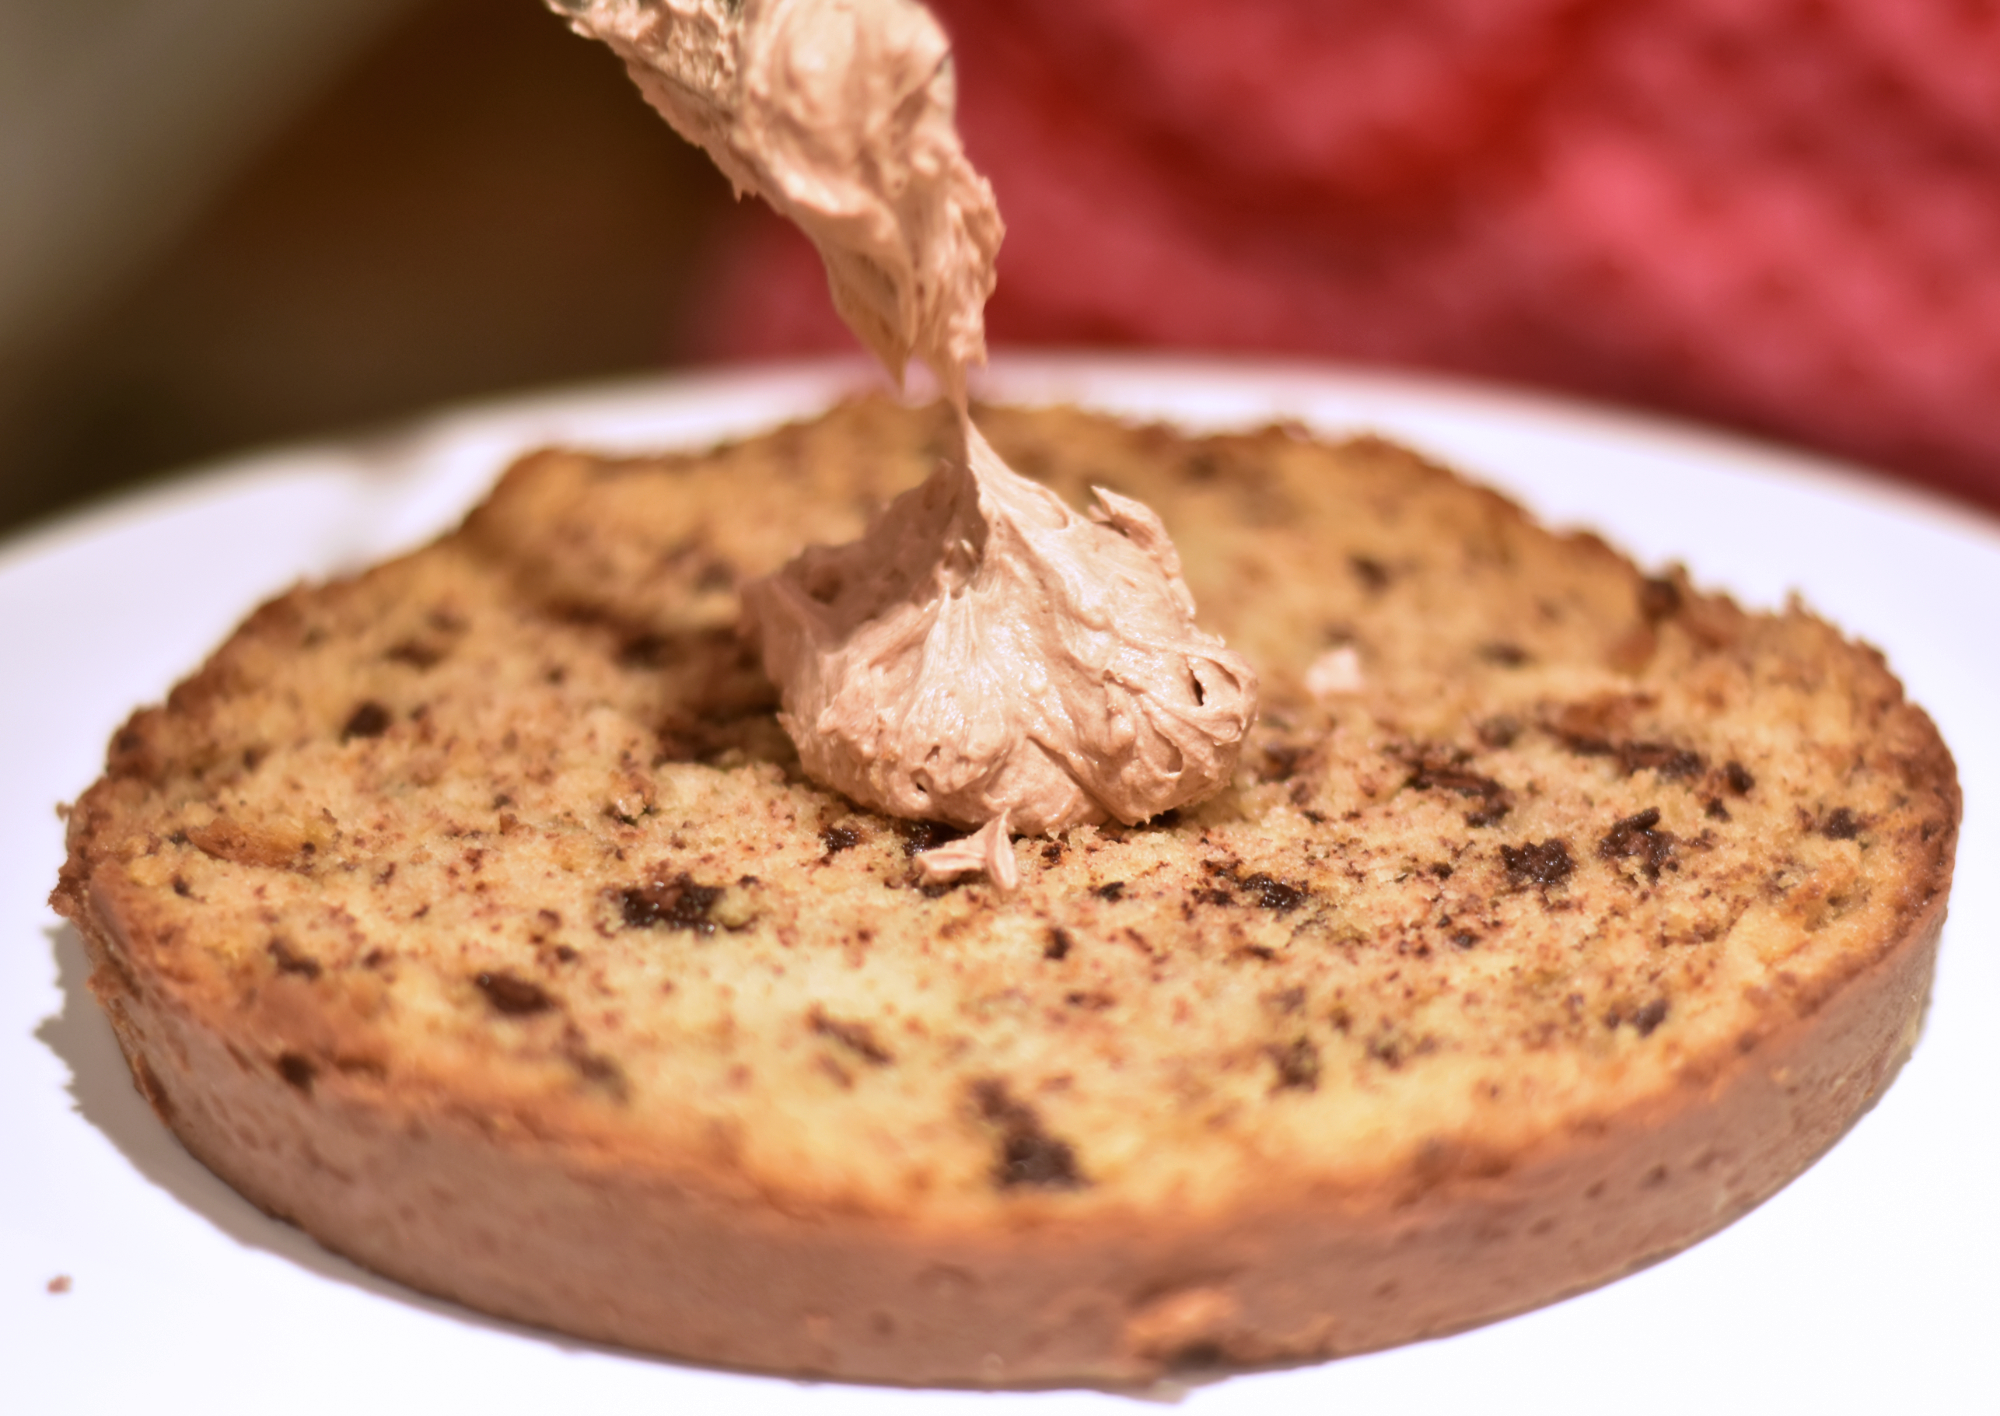
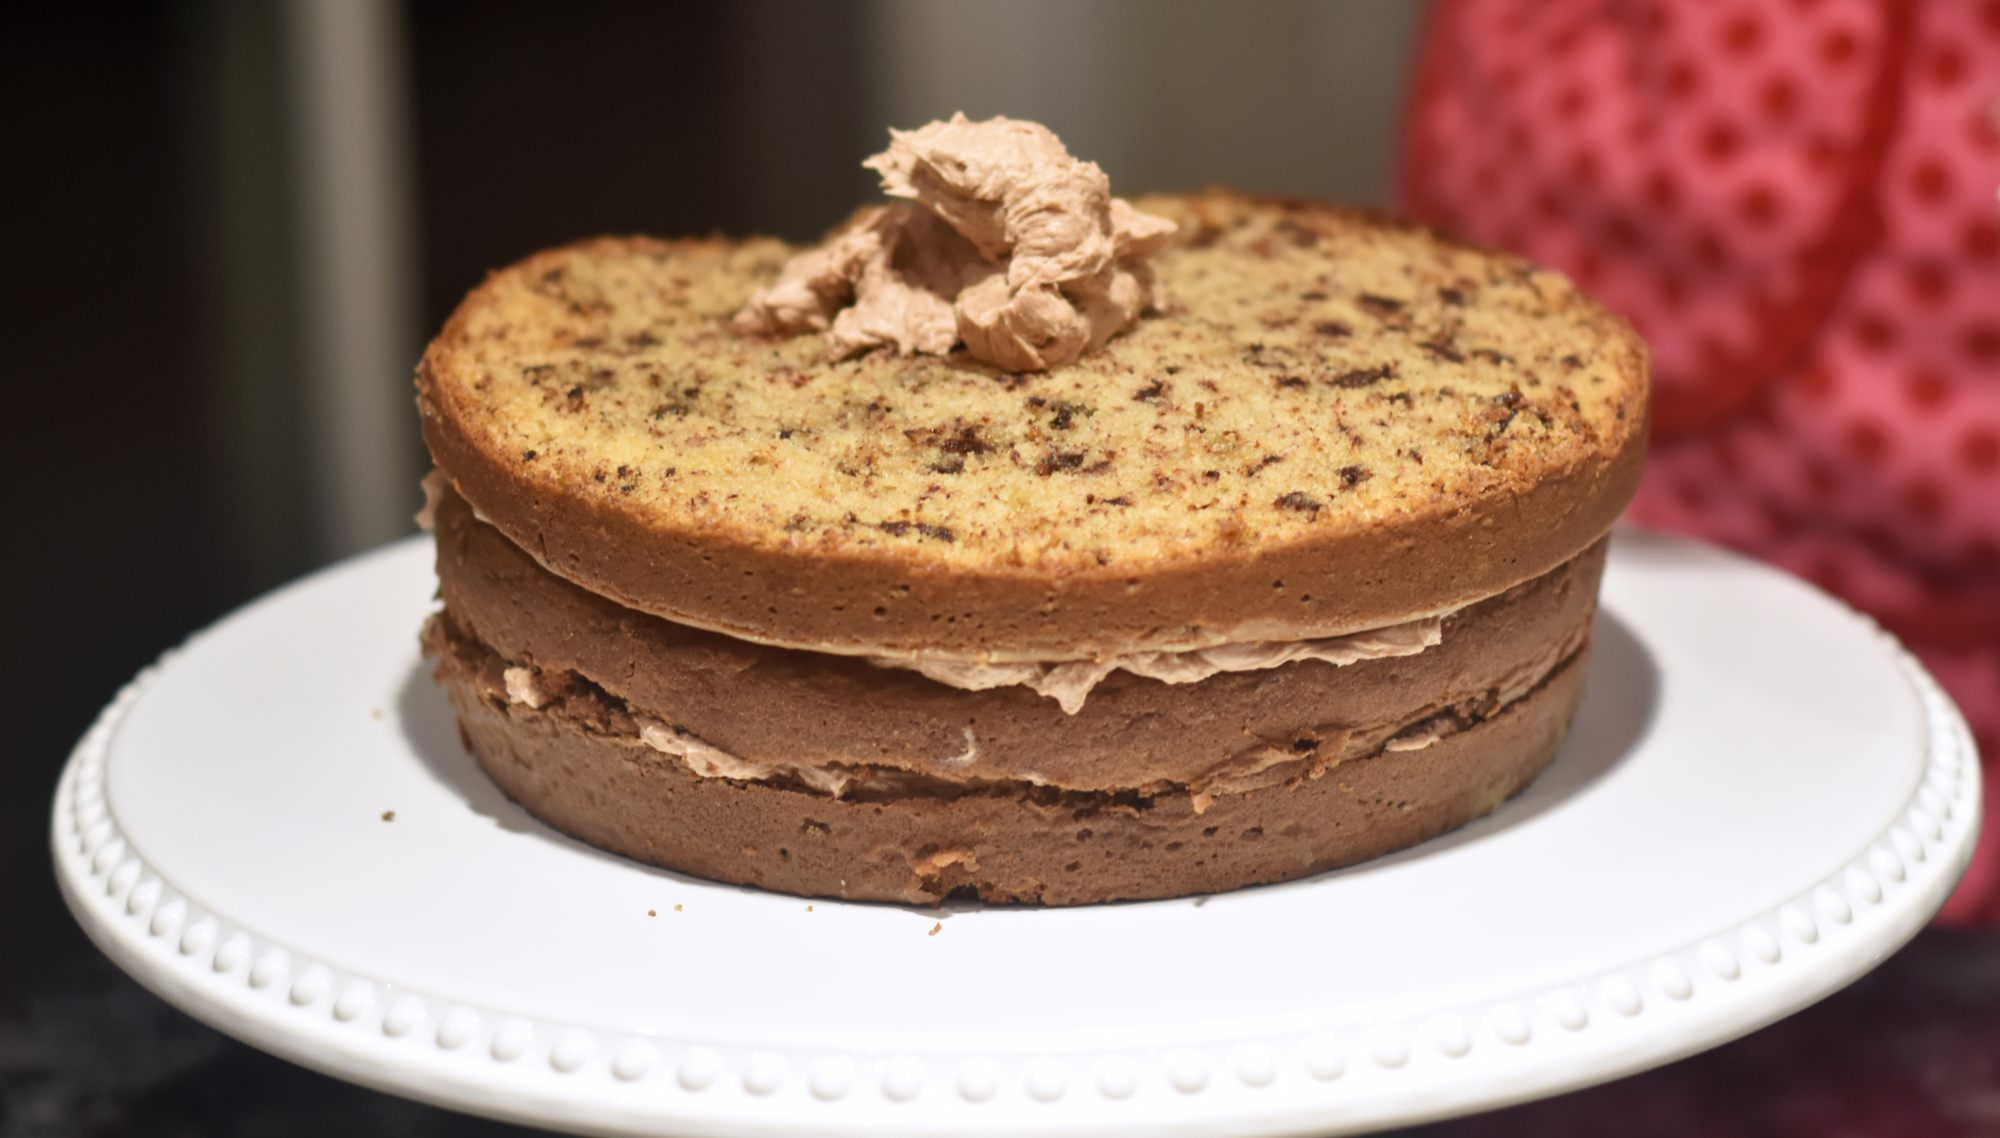
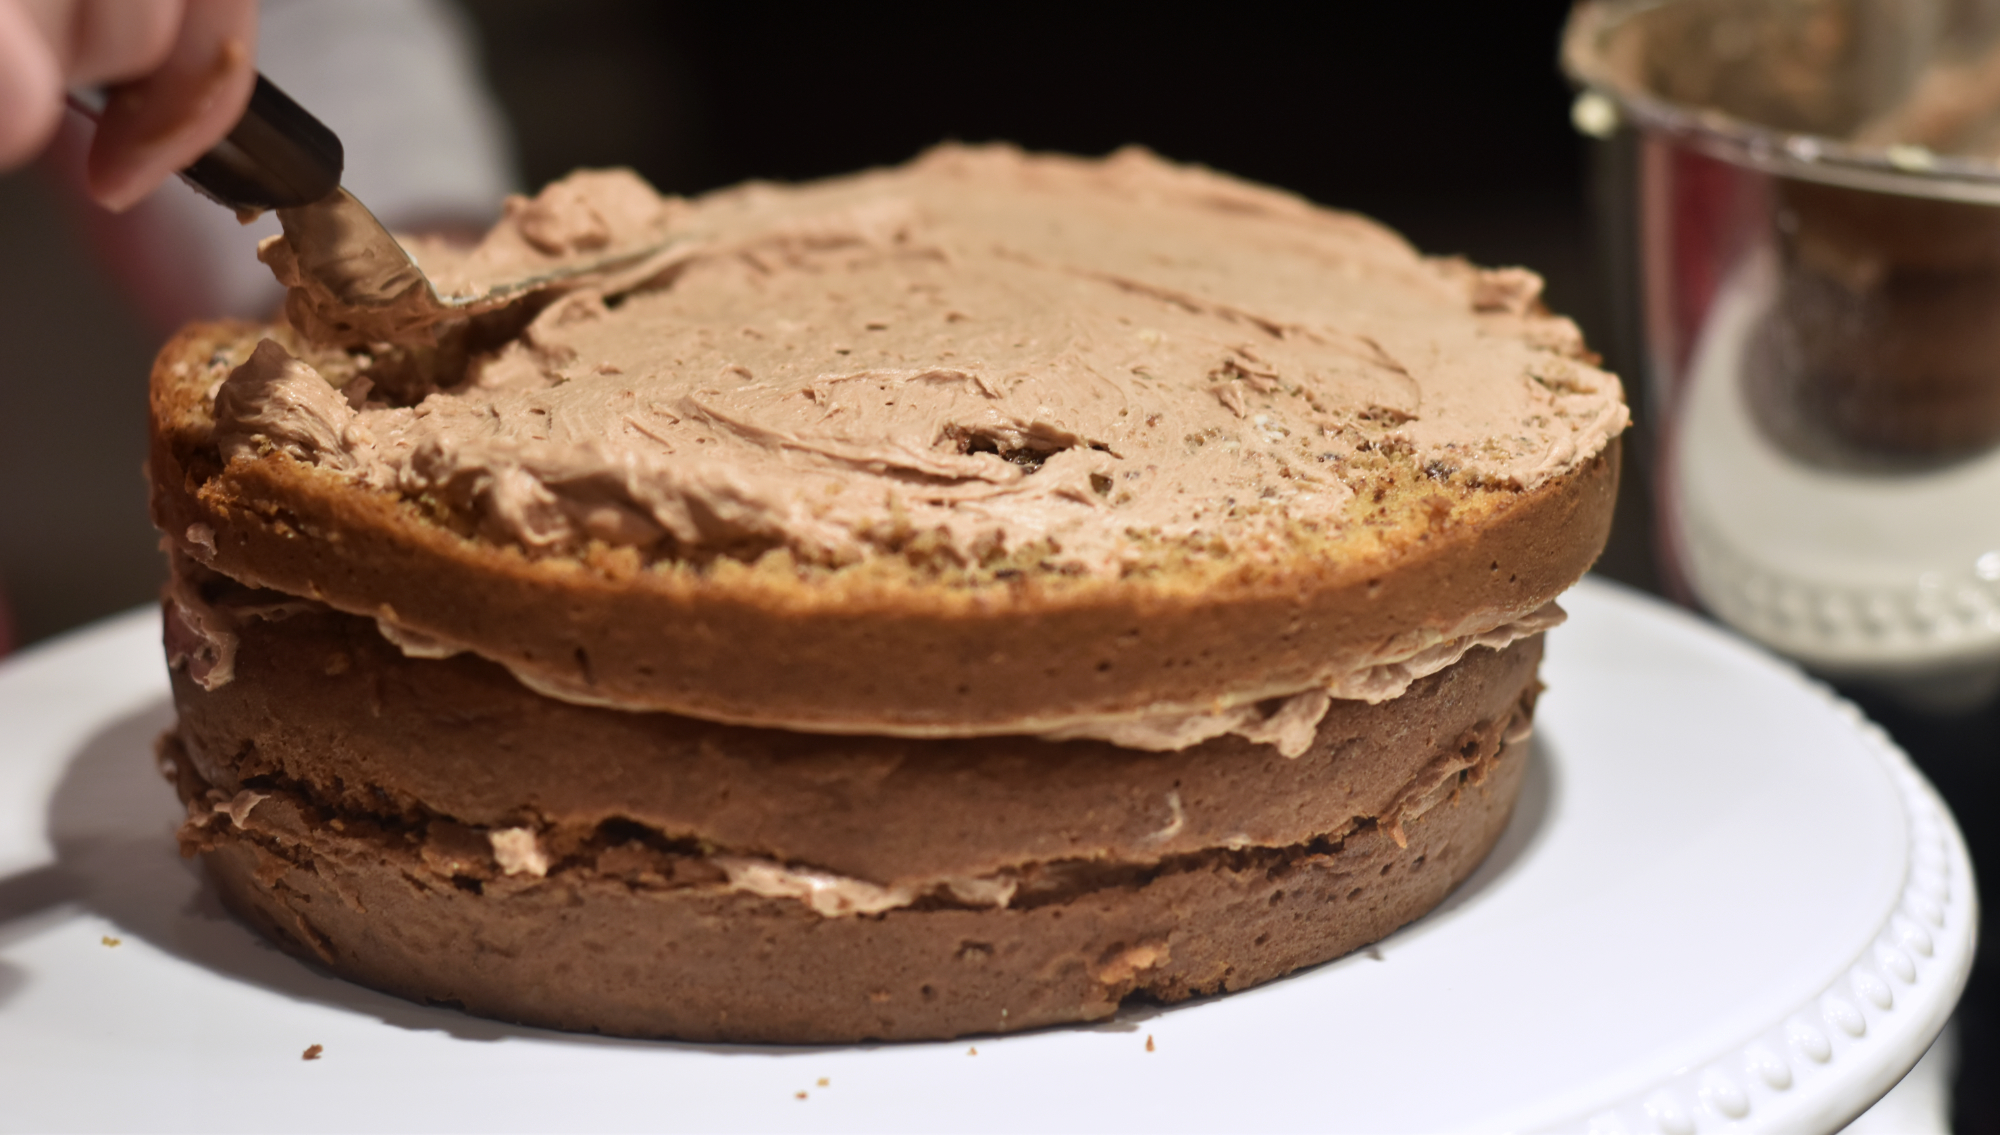
Now it is time to make the layers! Use a bread knife to cut off the top of the cake. This is so it’s completely flat since the center tends to rise during baking. The following is a little trick that I like to do when cutting the cakes in half. I take floss and place it on the side of the cake. I then pull both sides of the floss and it will slowly cut into the cake. This will help you cut the cake in half because I find it really hard to eye it with a knife. Once the cake is cut into two, add the bottom layer to a cake stand. Then add frosting with an offset spatula. The recipe calls for 3/4 cup between each layer, but I like to do a “hint” of frosting. You need just enough to keep the layers together. After the layer of frosting, add the top half of the cake. Continue alternating frosting and cake with the remaining cake.
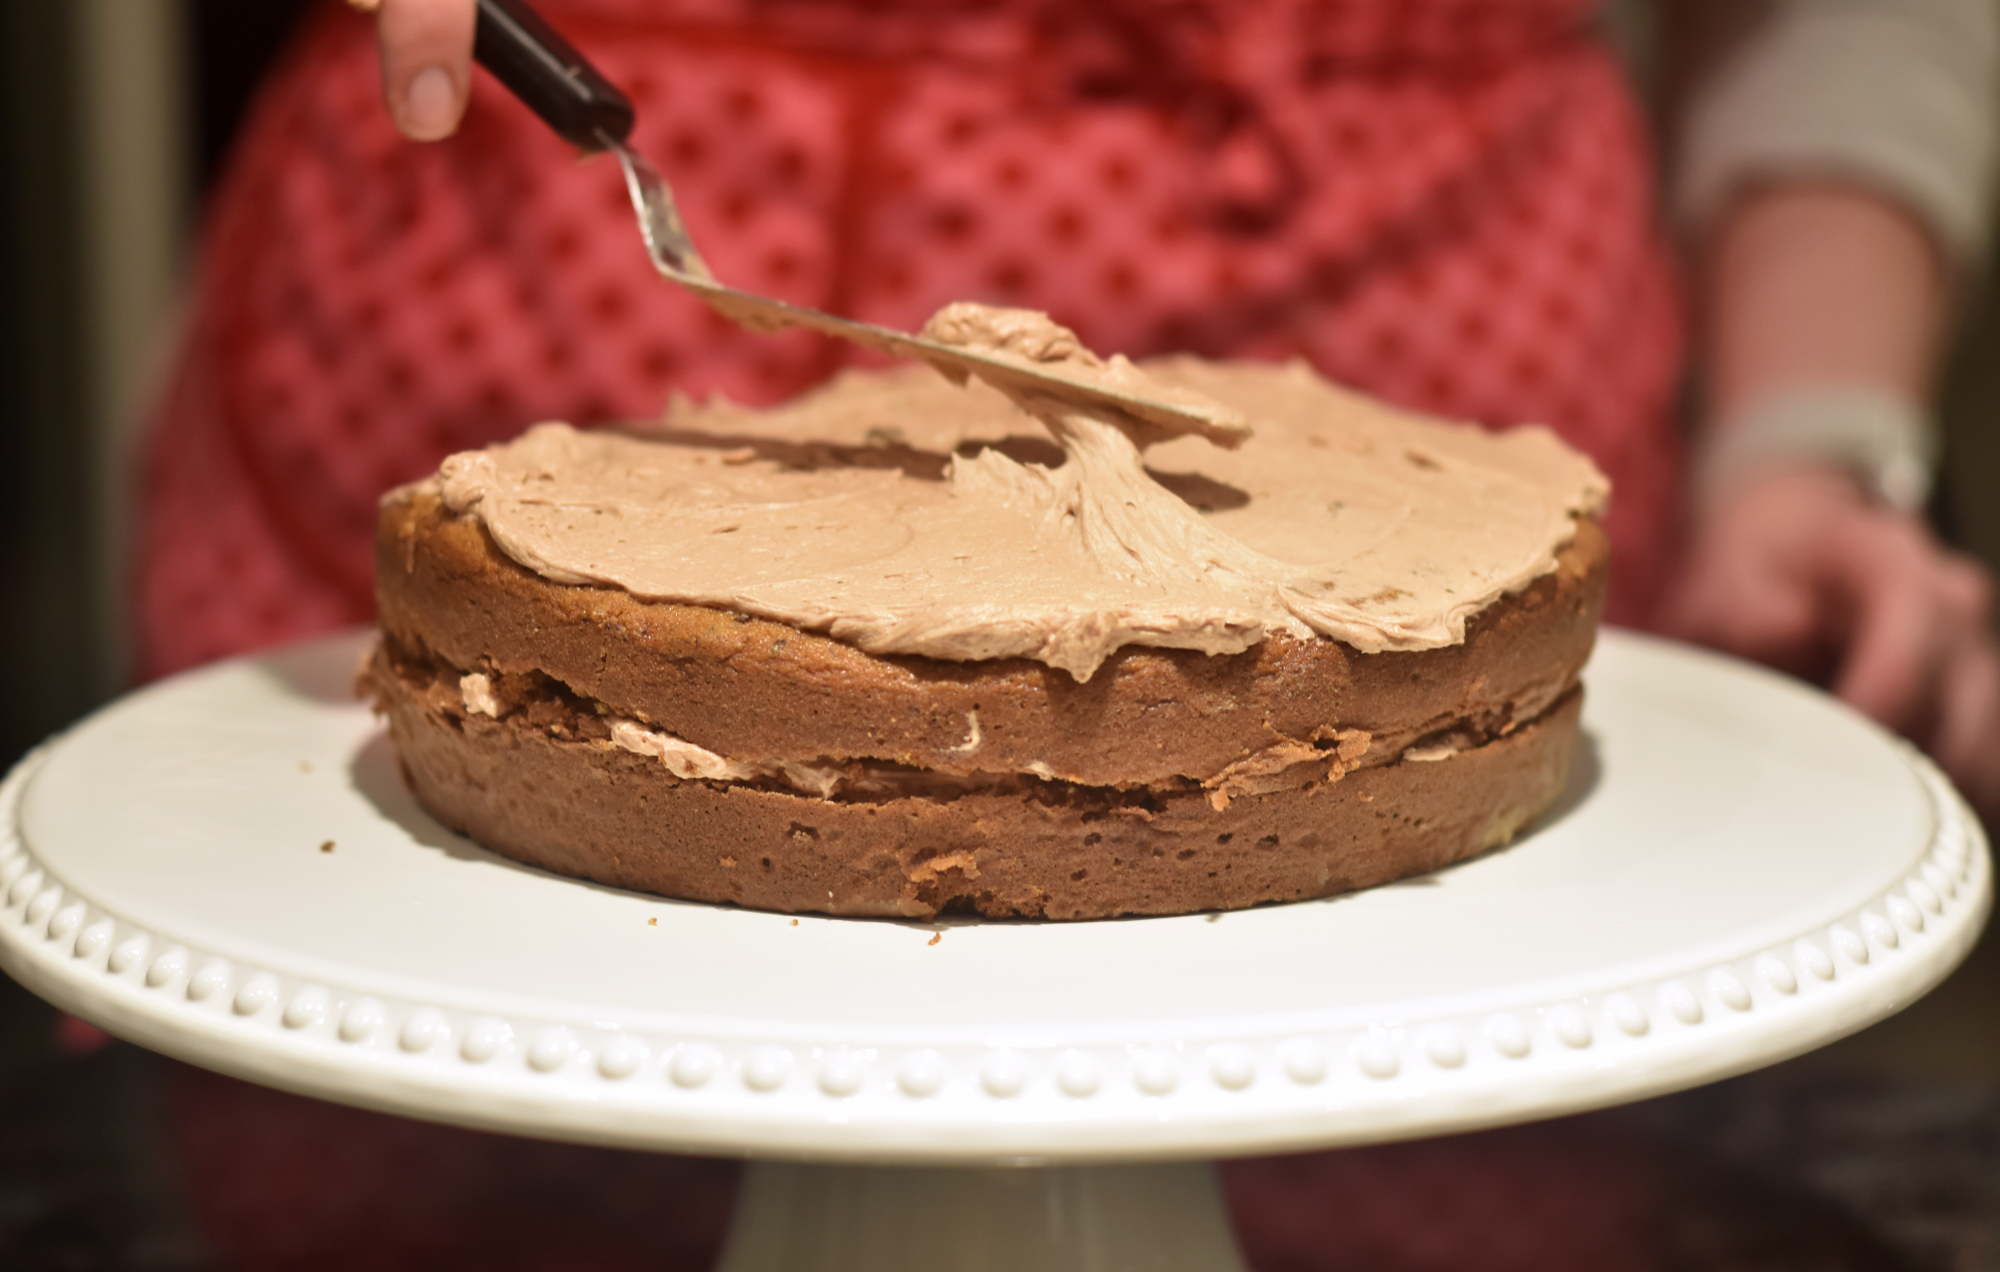
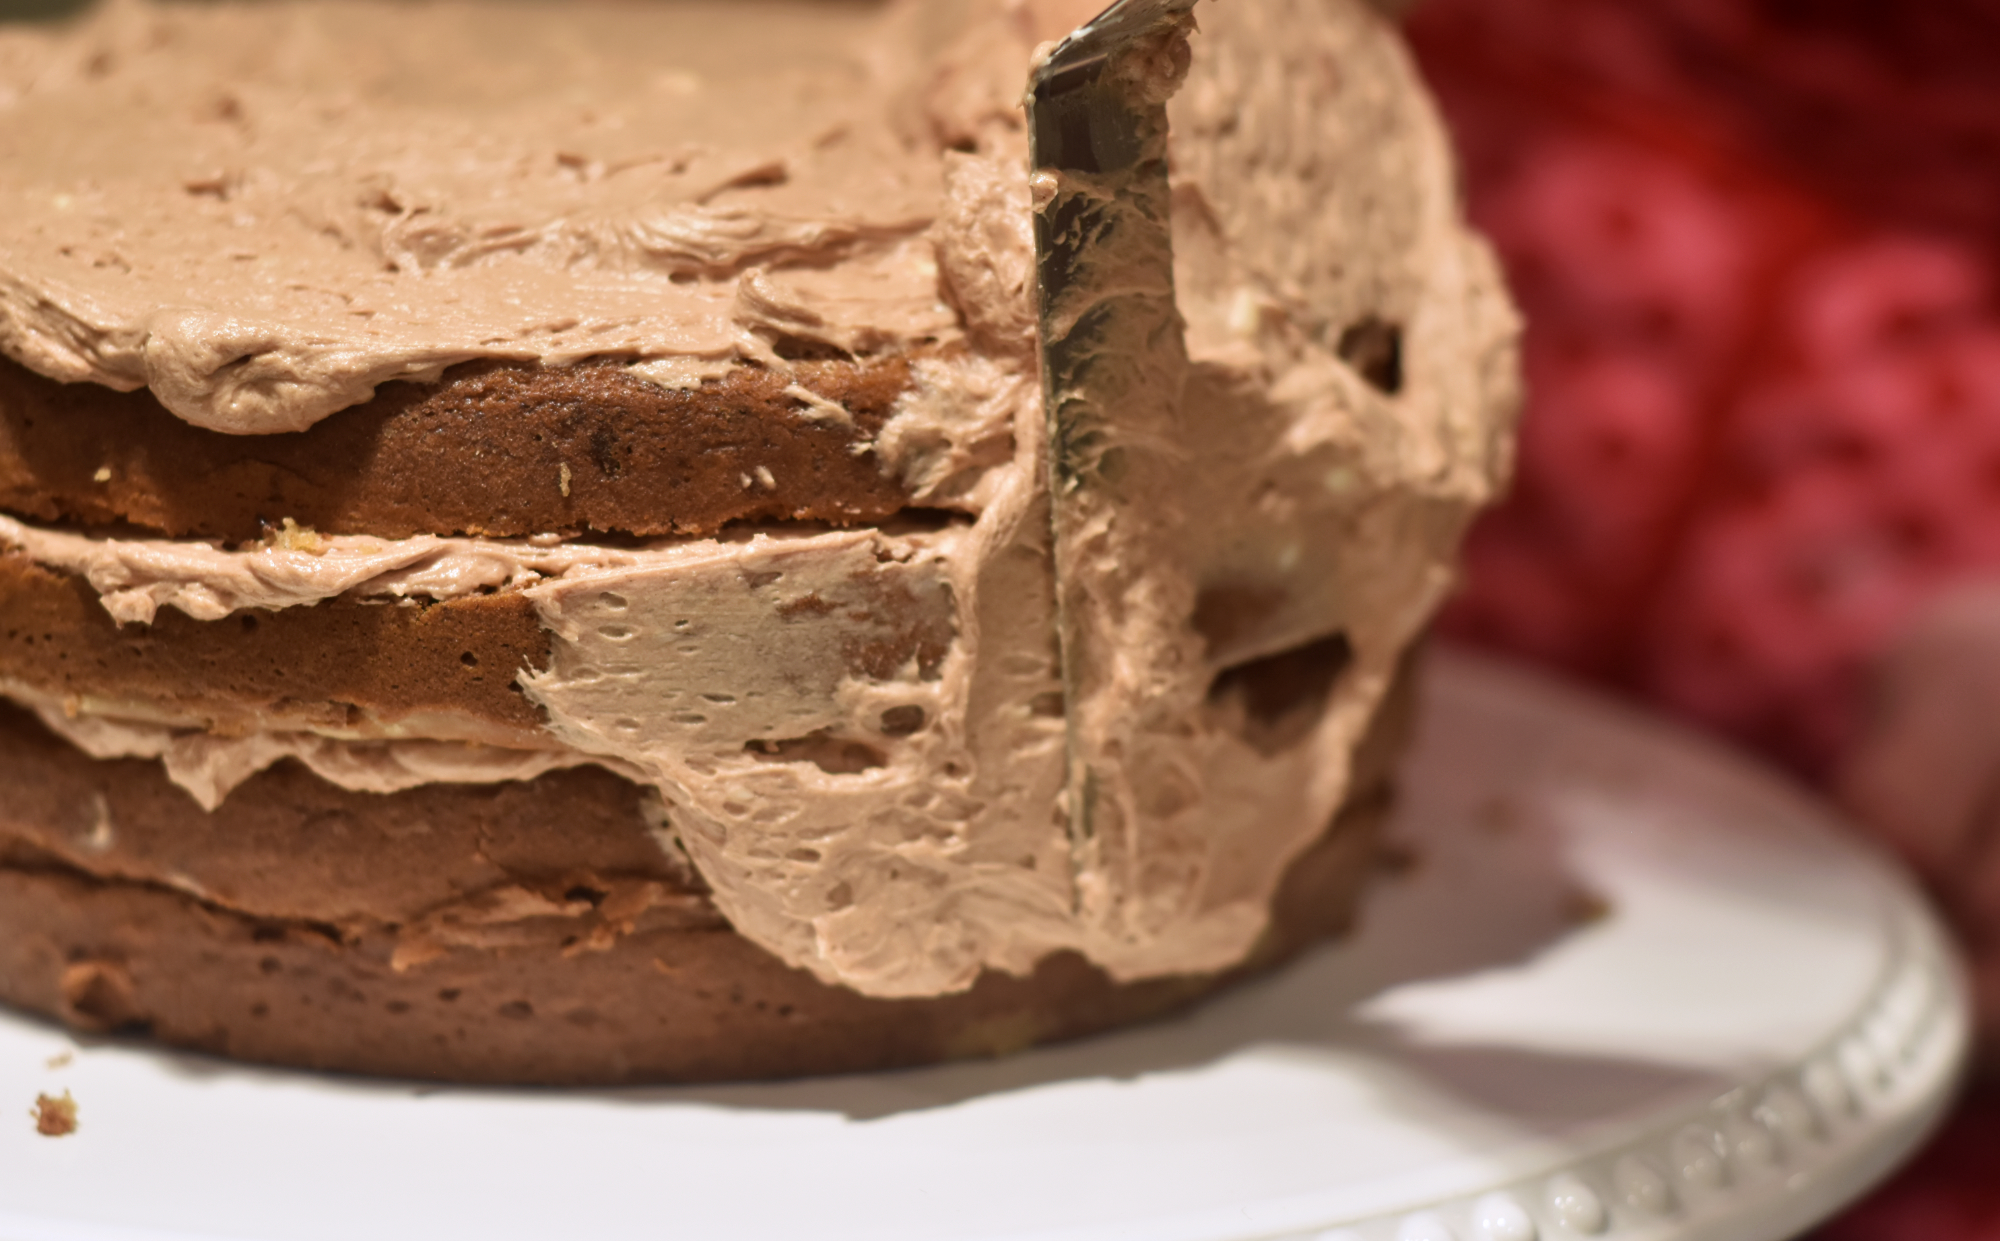
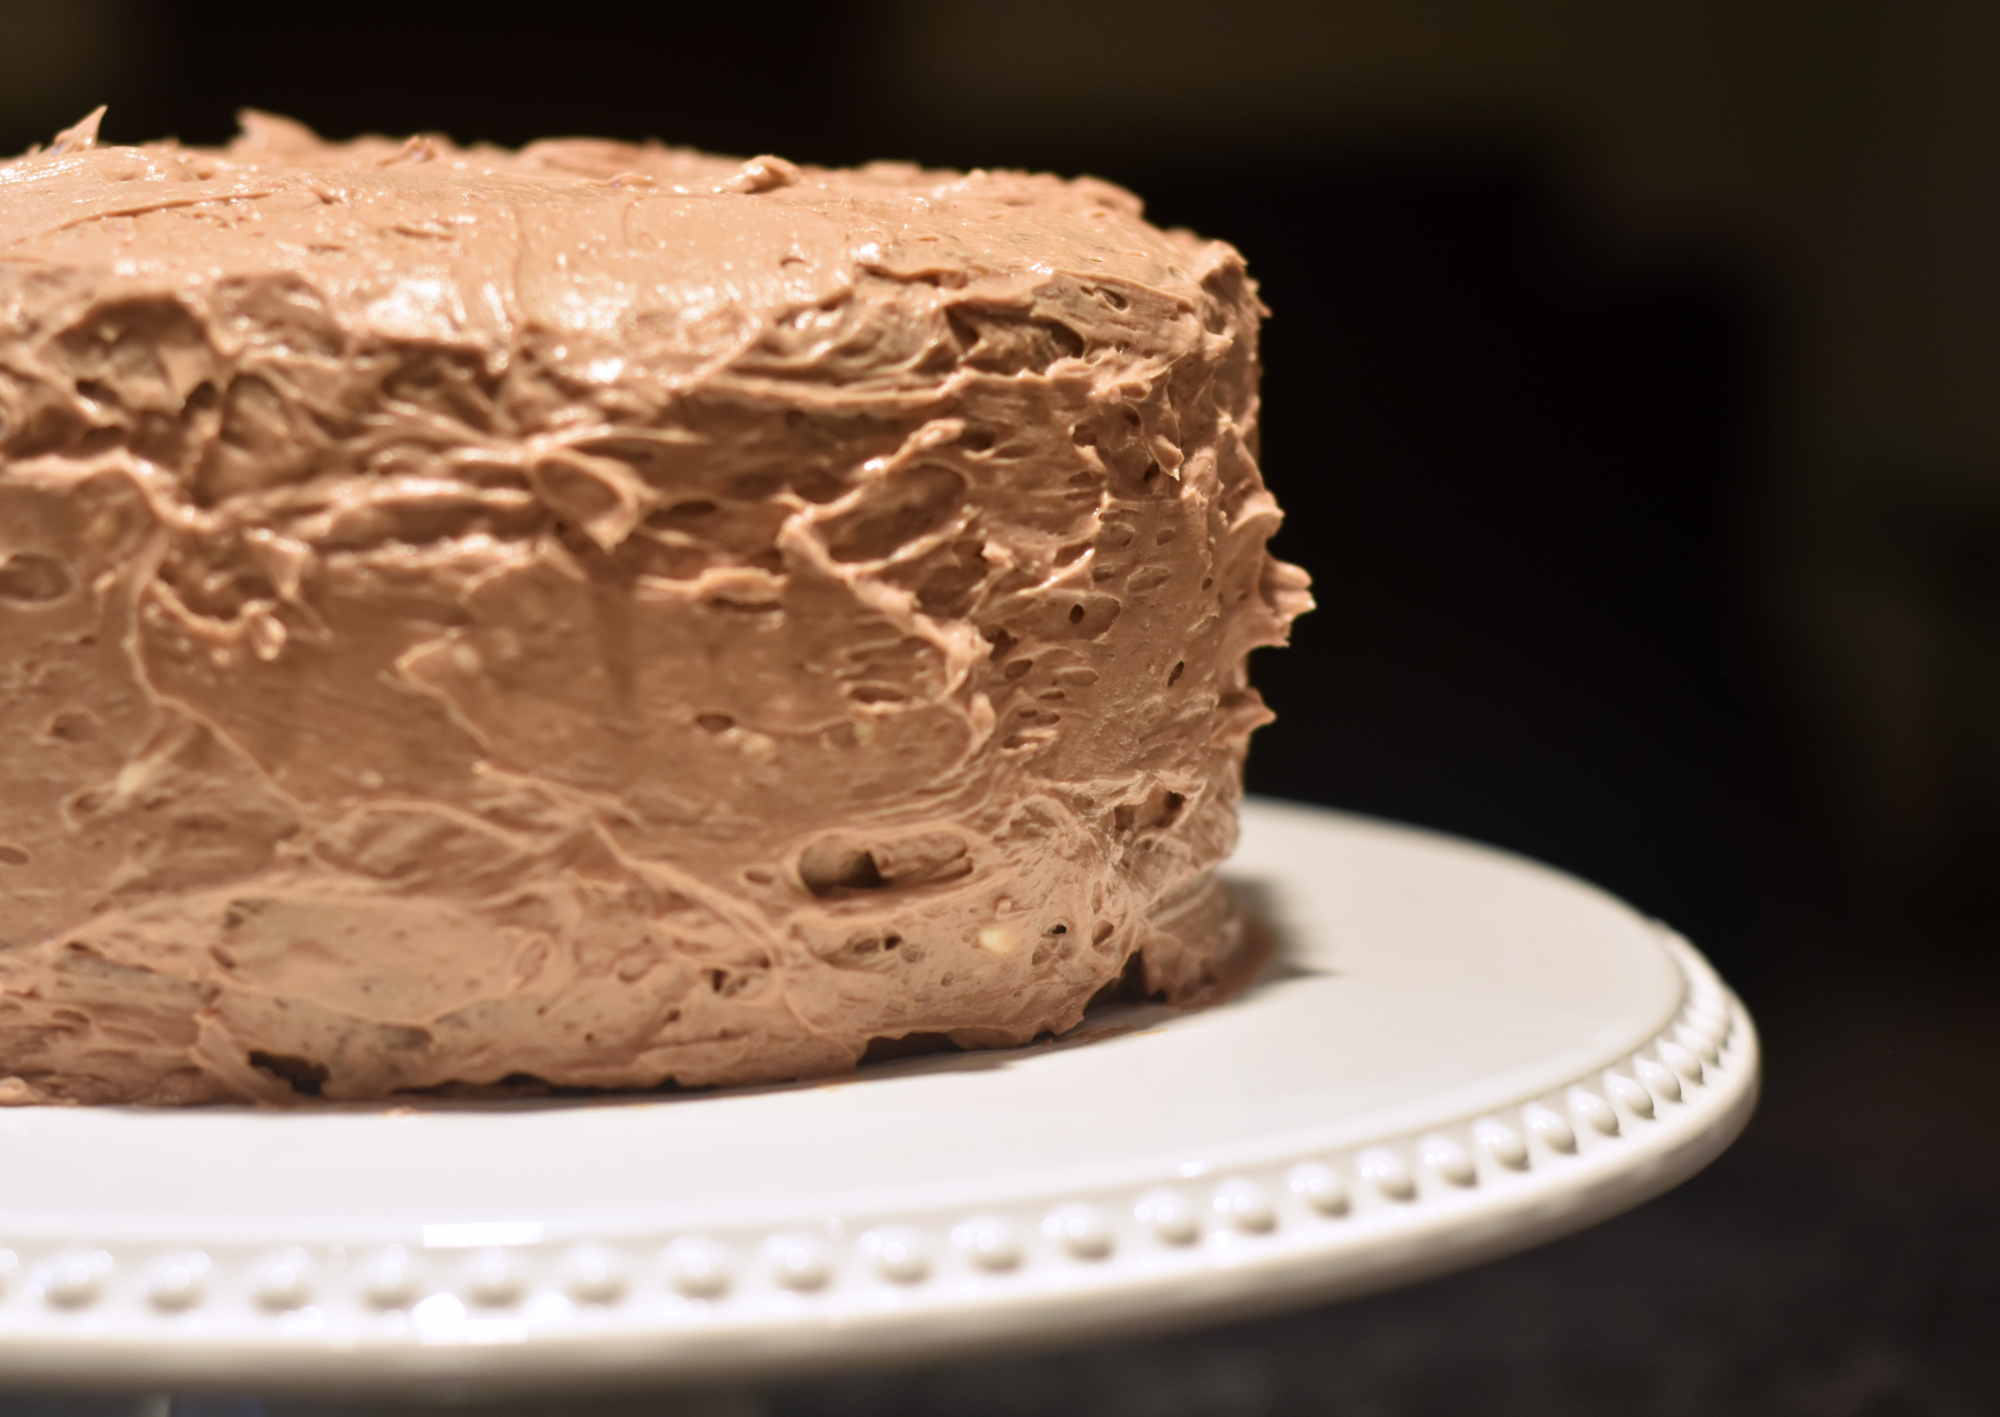
Once you have all of the layers, add a thin layer of frosting around the entire cake. This is a crumb coating. It helps keep the crumbs in place, so when you do the final layer of frosting, the crumbs don’t show. This frosting is great to work with because no matter how you swirl the frosting, the freeform style makes it look good. It is best to keep this in the refrigerator if you are not going to eat it right away.
A plus with this recipe, is that you get make this cake into cupcakes. You just reduce the time to 20 minutes and it makes about 24 minutes. I definitely enjoy eating them!


