
How to Layer Different HTV Brands
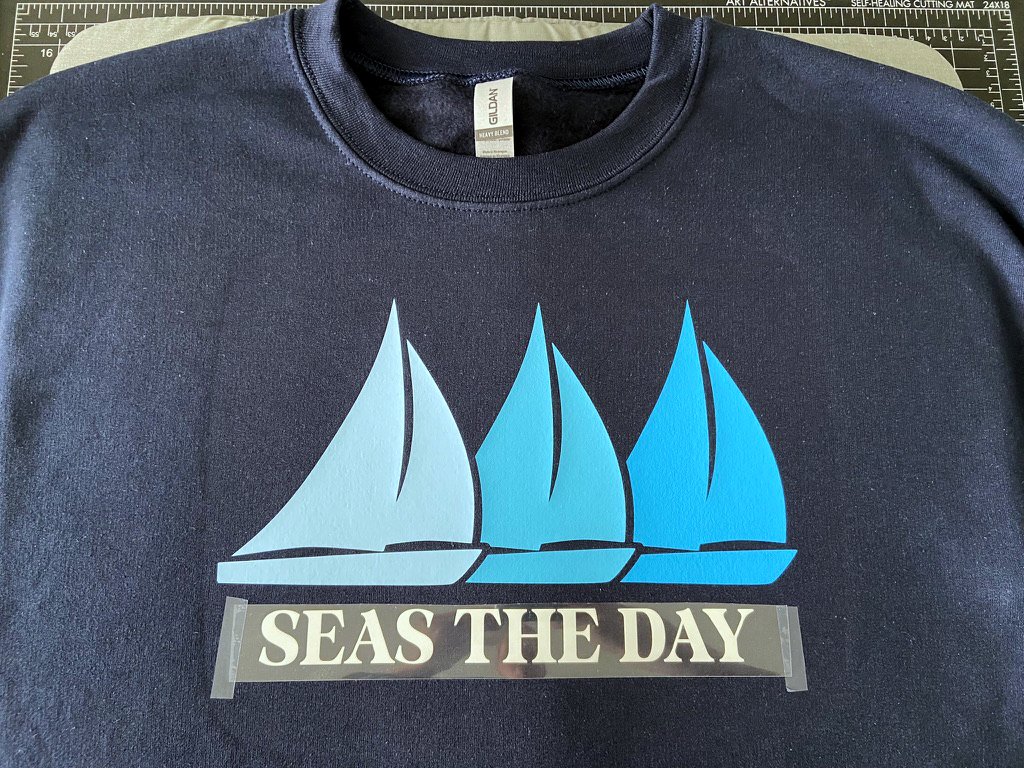
Growing up, my grandfather took my family sailing in the harbor and taught me how to sail. My dad always shared my grandfather’s love for sailboats and being on the water. While I haven’t sailed for a long time, I have many happy memories of being on a sailboat. This Seas the Day sweatshirt was fun to do for my dad and he is always up for a good pun.
While it is easier to use all the same brand of HTV (Heat Transfer Vinyl) for a project, sometimes you have to use what you have on hand because you want to use specific colors. That was the case for this sailboat sweatshirt project and the steps below explain how I navigated the different HTV temperatures. For this project, I used Cricut Smart Iron-On and Siser Easyweed HTV.
Materials:
SVG from HintofMitten Etsy
Green Mat
3 Blue Vinyls (I used Siser EasyWeed Pale Blue & Peacock Blue and Cricut Smart Iron-On Ocean)
1 White Vinyl (I used Cricut Smart Iron-On White)
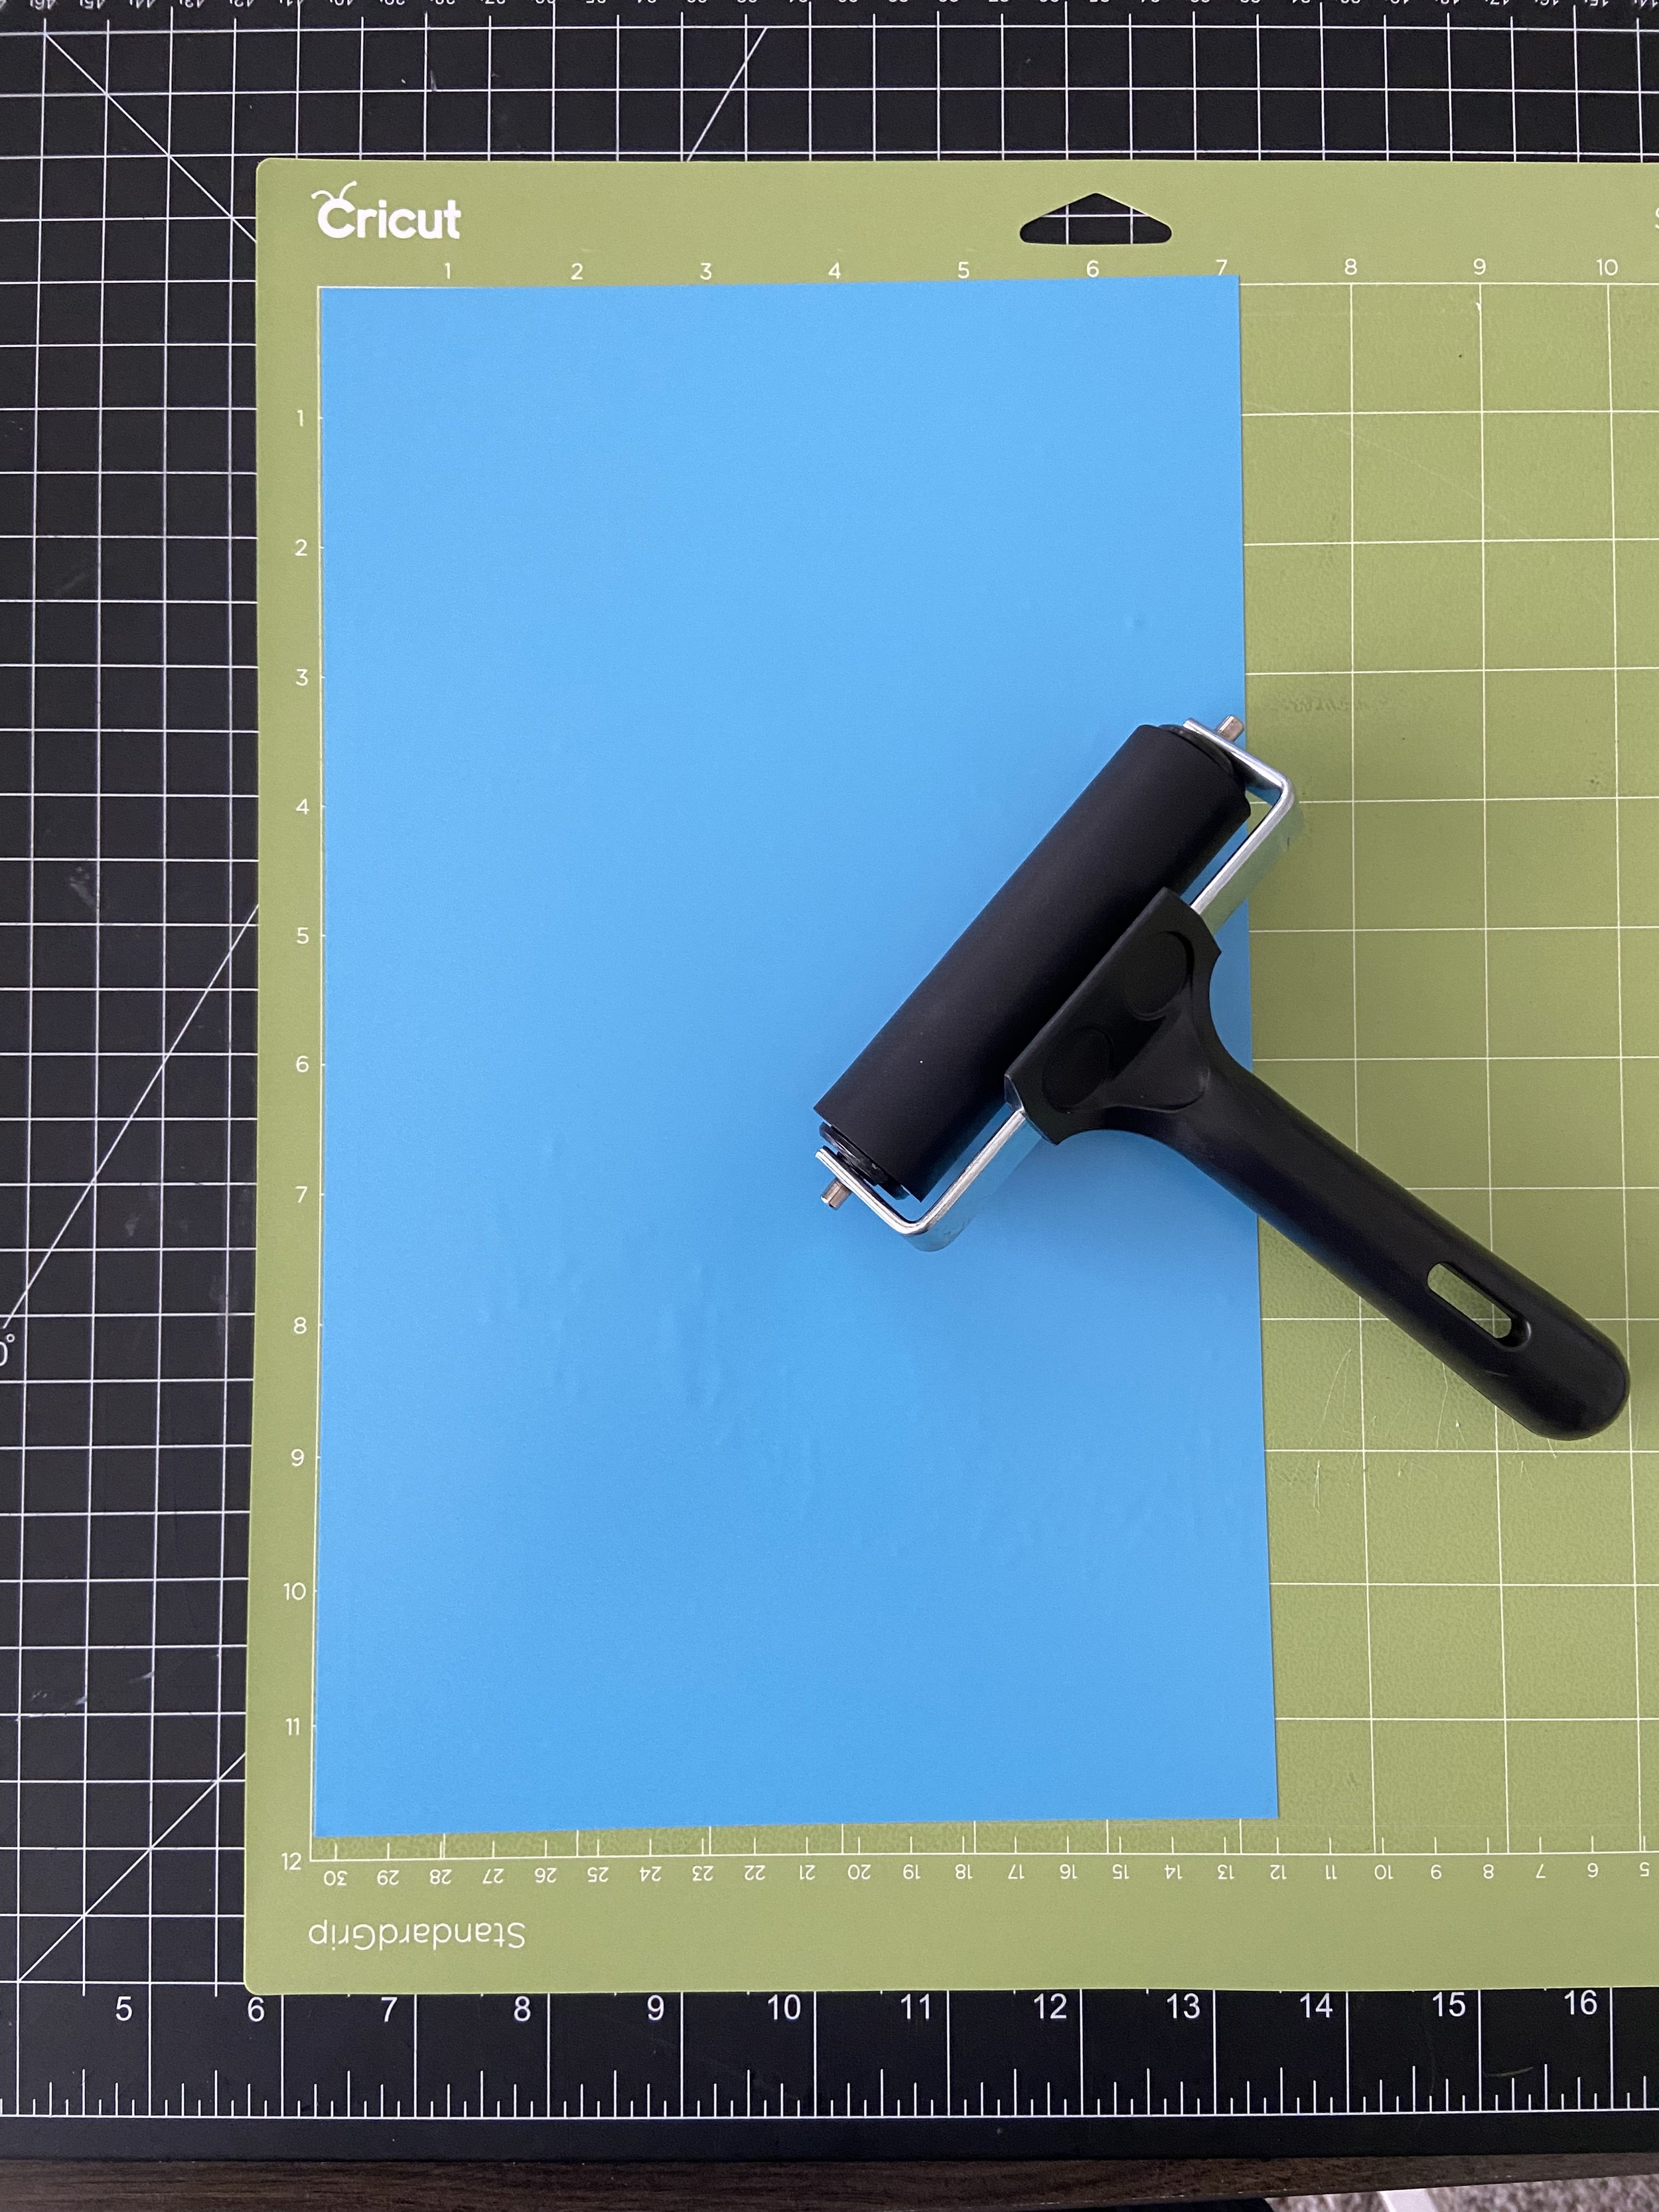
Brayer Tool
Scissors
Weeding Tool
Sweatshirt - I used Gildan’s Unisex Heavy Blend Fleece Sweatshirt from Jiffyshirts)
Lint Roller
Butcher Paper
T-Shirt Template such as Jennifer Maker’s
Fabric Measuring Tape
Heat Tape - I used this heat tape from Amazon)
Cricut Pressing Mat
Cricut EasyPress 2 12” x 10” or another heat press
Upload Files to Design Space
Purchase SVG from HintOfMitten Etsy shop. Download and save the Etsy files onto your computer. Open up your cutting program of choice such as Cricut Design Space.

Create a new project and upload the SVG file into Design Space. Select your uploaded image and then click “Add to Canvas” in the bottom right. You can select multiple uploaded files and add to canvas at the same time.
Prepare Design for Cutting

You will now see the Seas the Day image on your canvas. Size the image based on your final product. I did 11” wide for my large sweatshirt.
This SVG has four different parts: three sailboats and the “Seas the Day” text. Each one can have its own color. Choose a color by “Basic Cut”.
Click the “Make It” green button to start cutting the vinyl.
Cut the Heat Transfer Vinyl with a Cutting Machine

Select how you would like to cut your material. Because I used two different brands of HTV, I selected “multiple ways”.
Cricut HTV: Smart materials can be inserted directly into the machine.
Siser HTV: Cut to fit onto a standard mat.
Click “Confirm”.
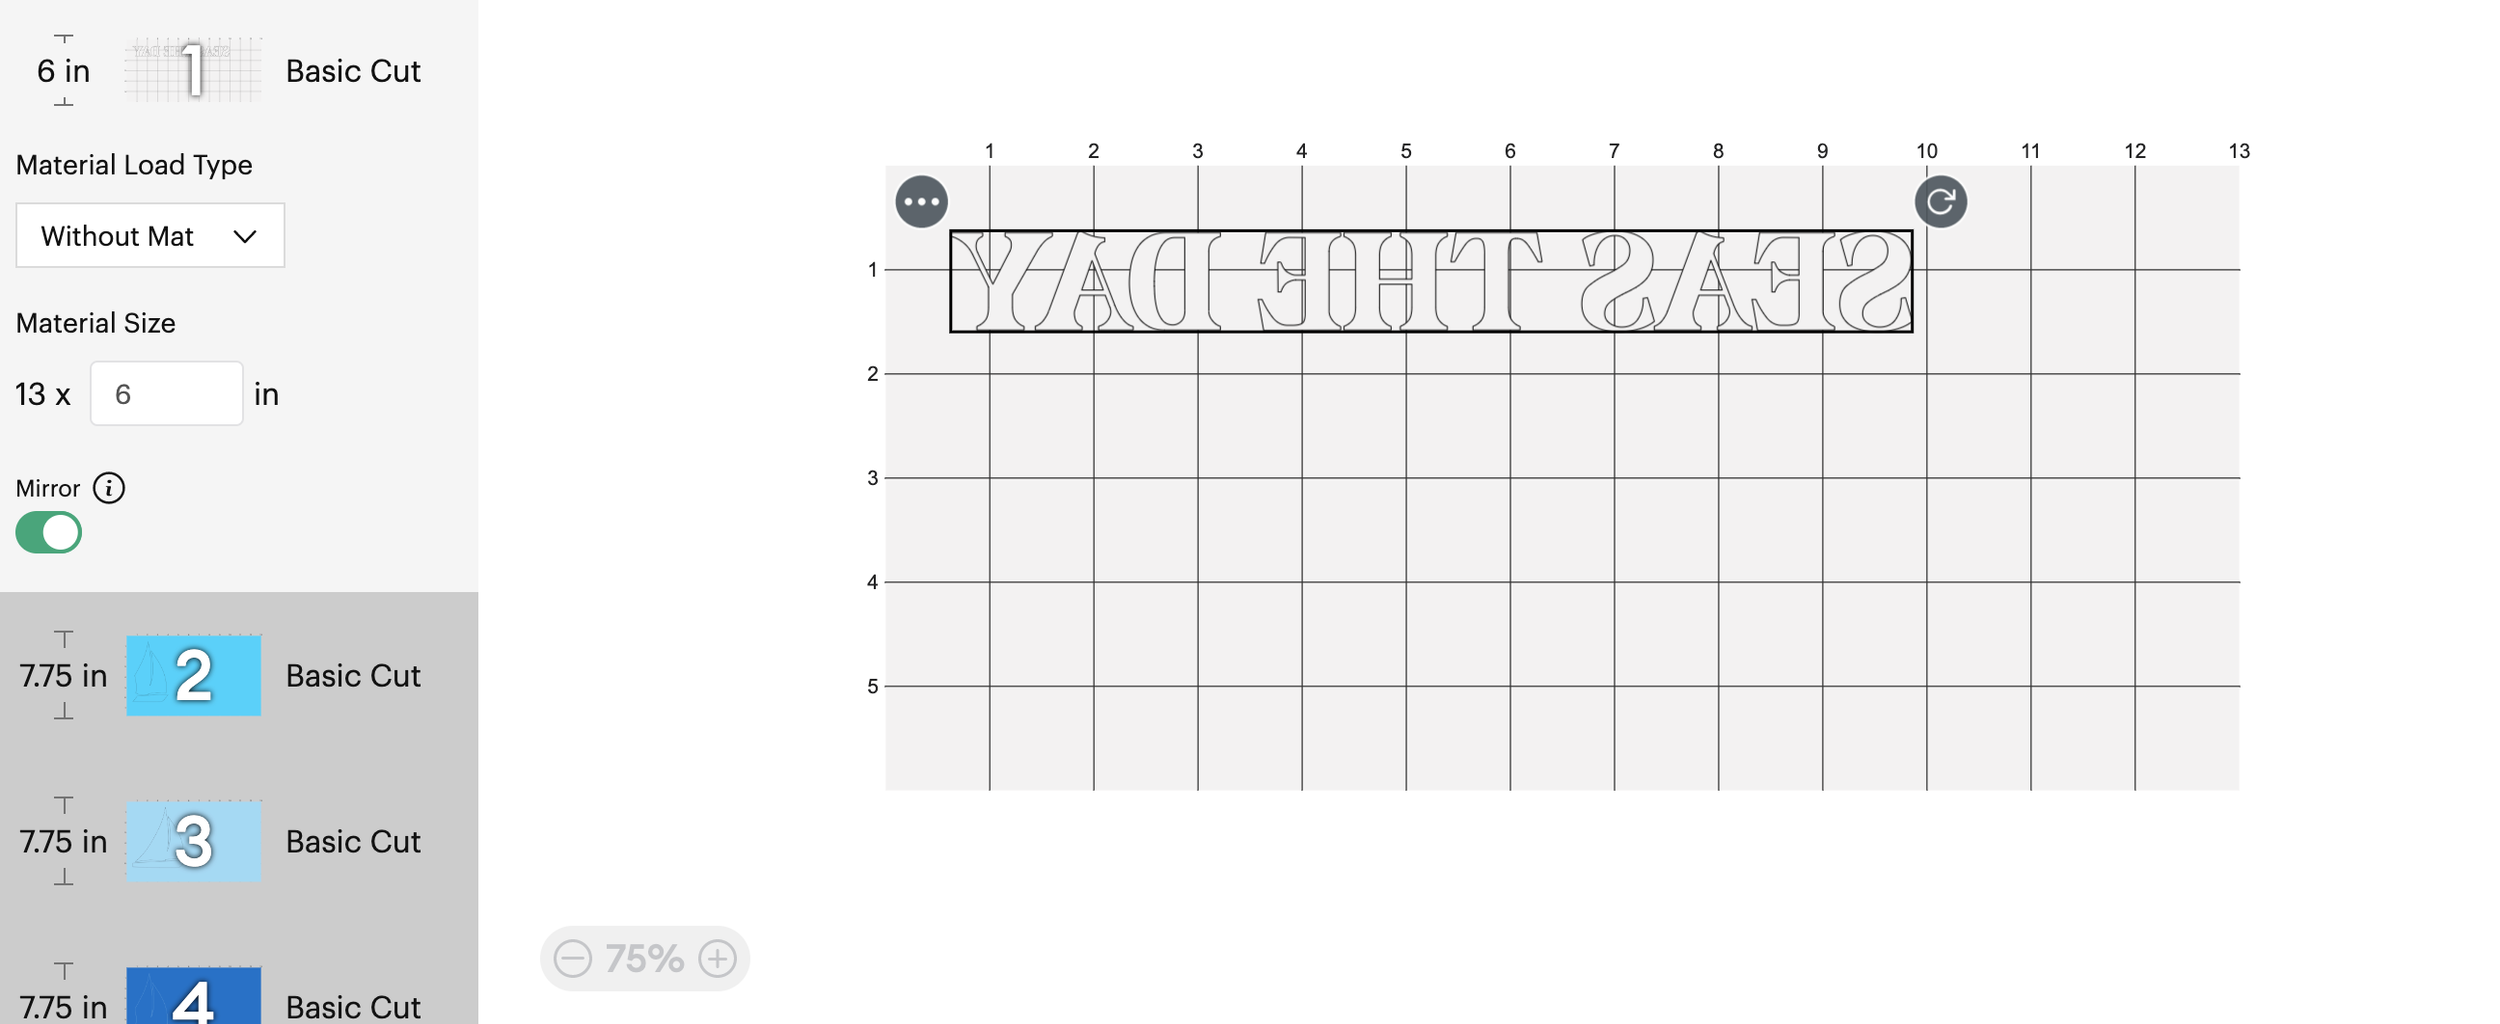
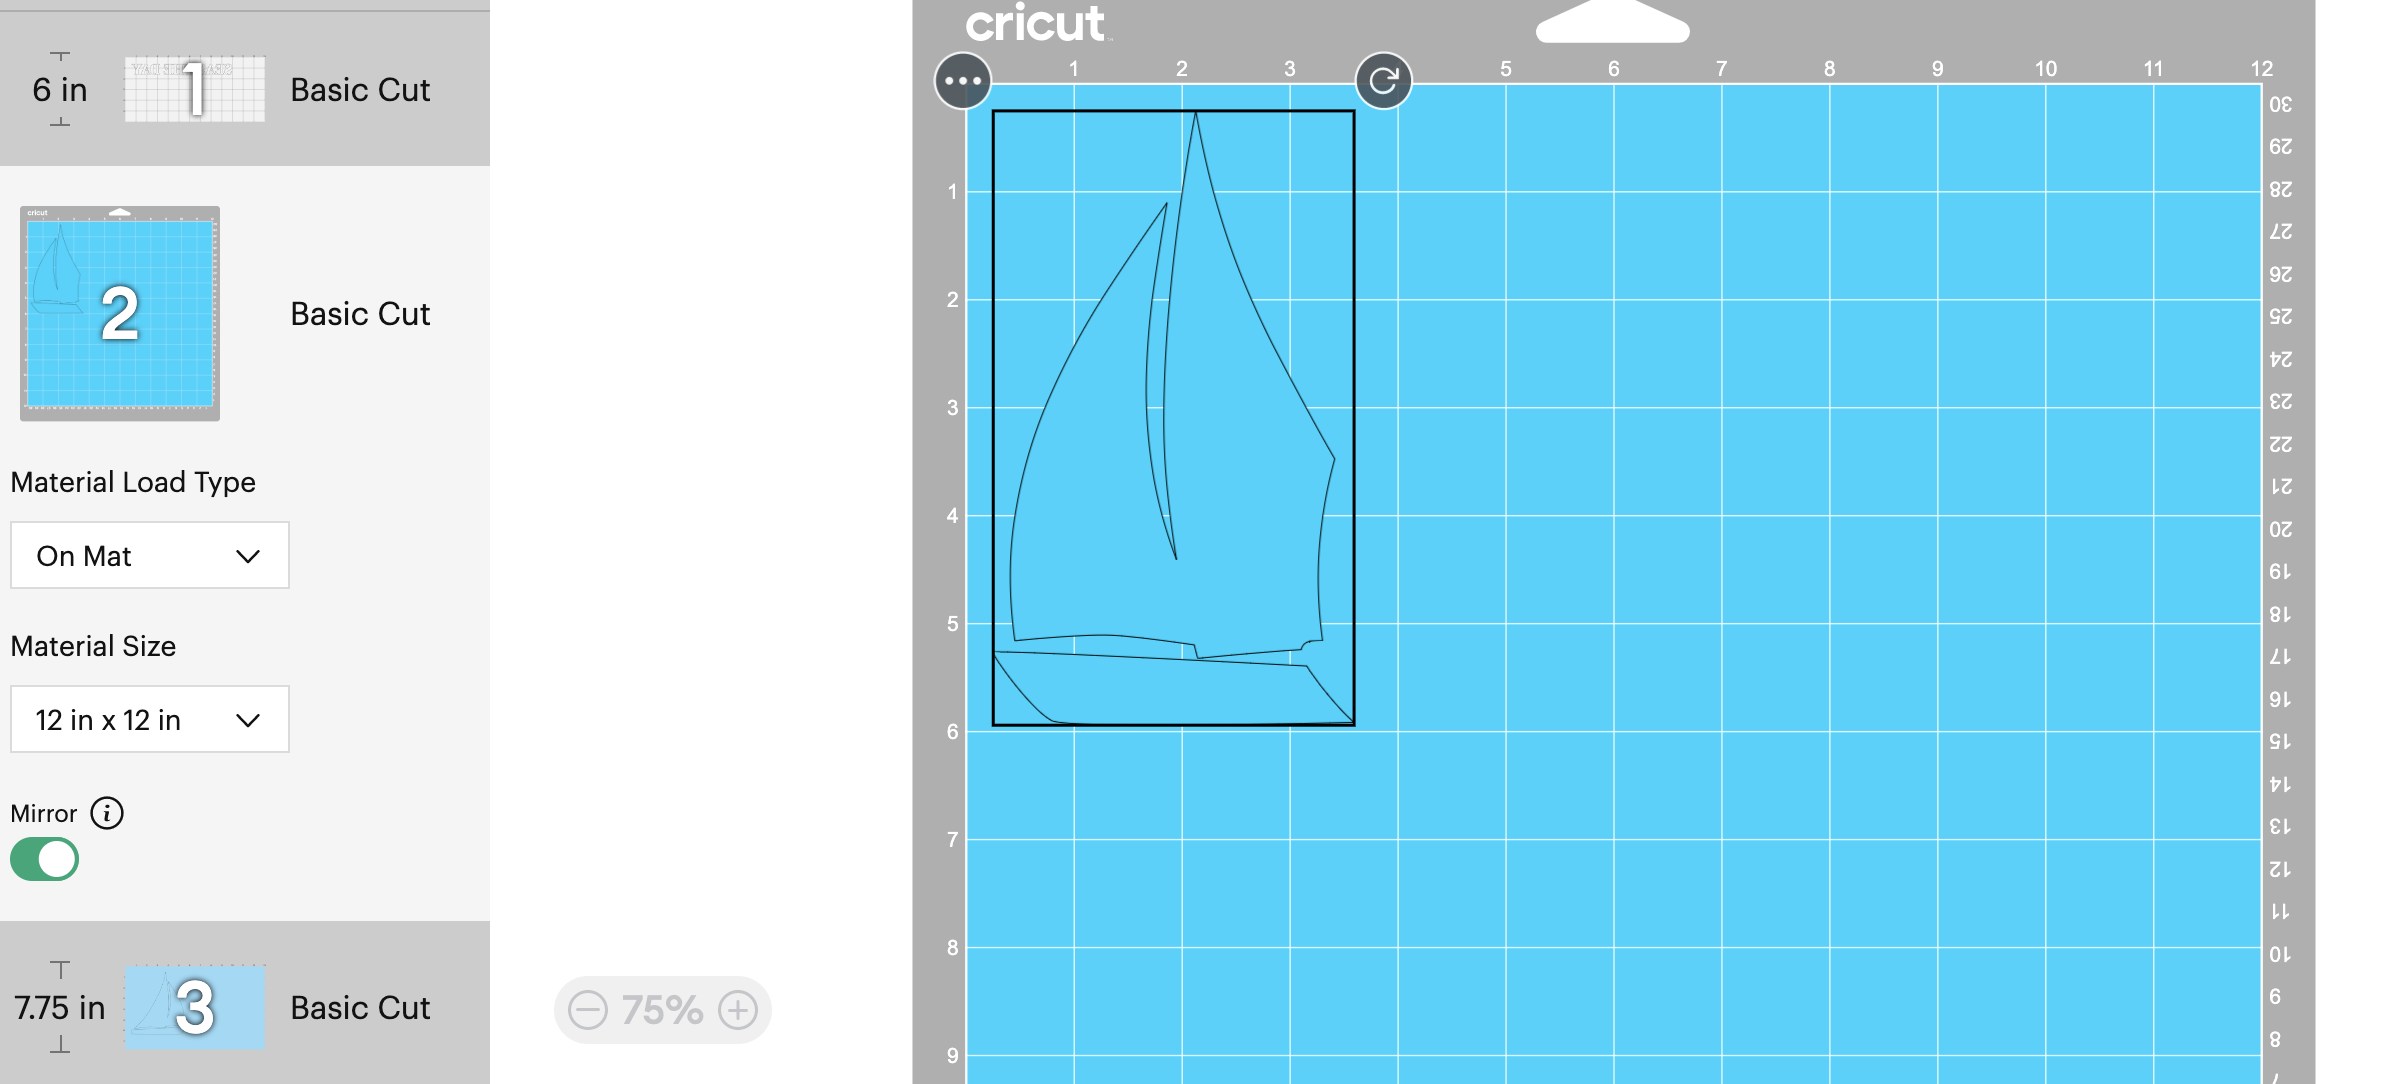

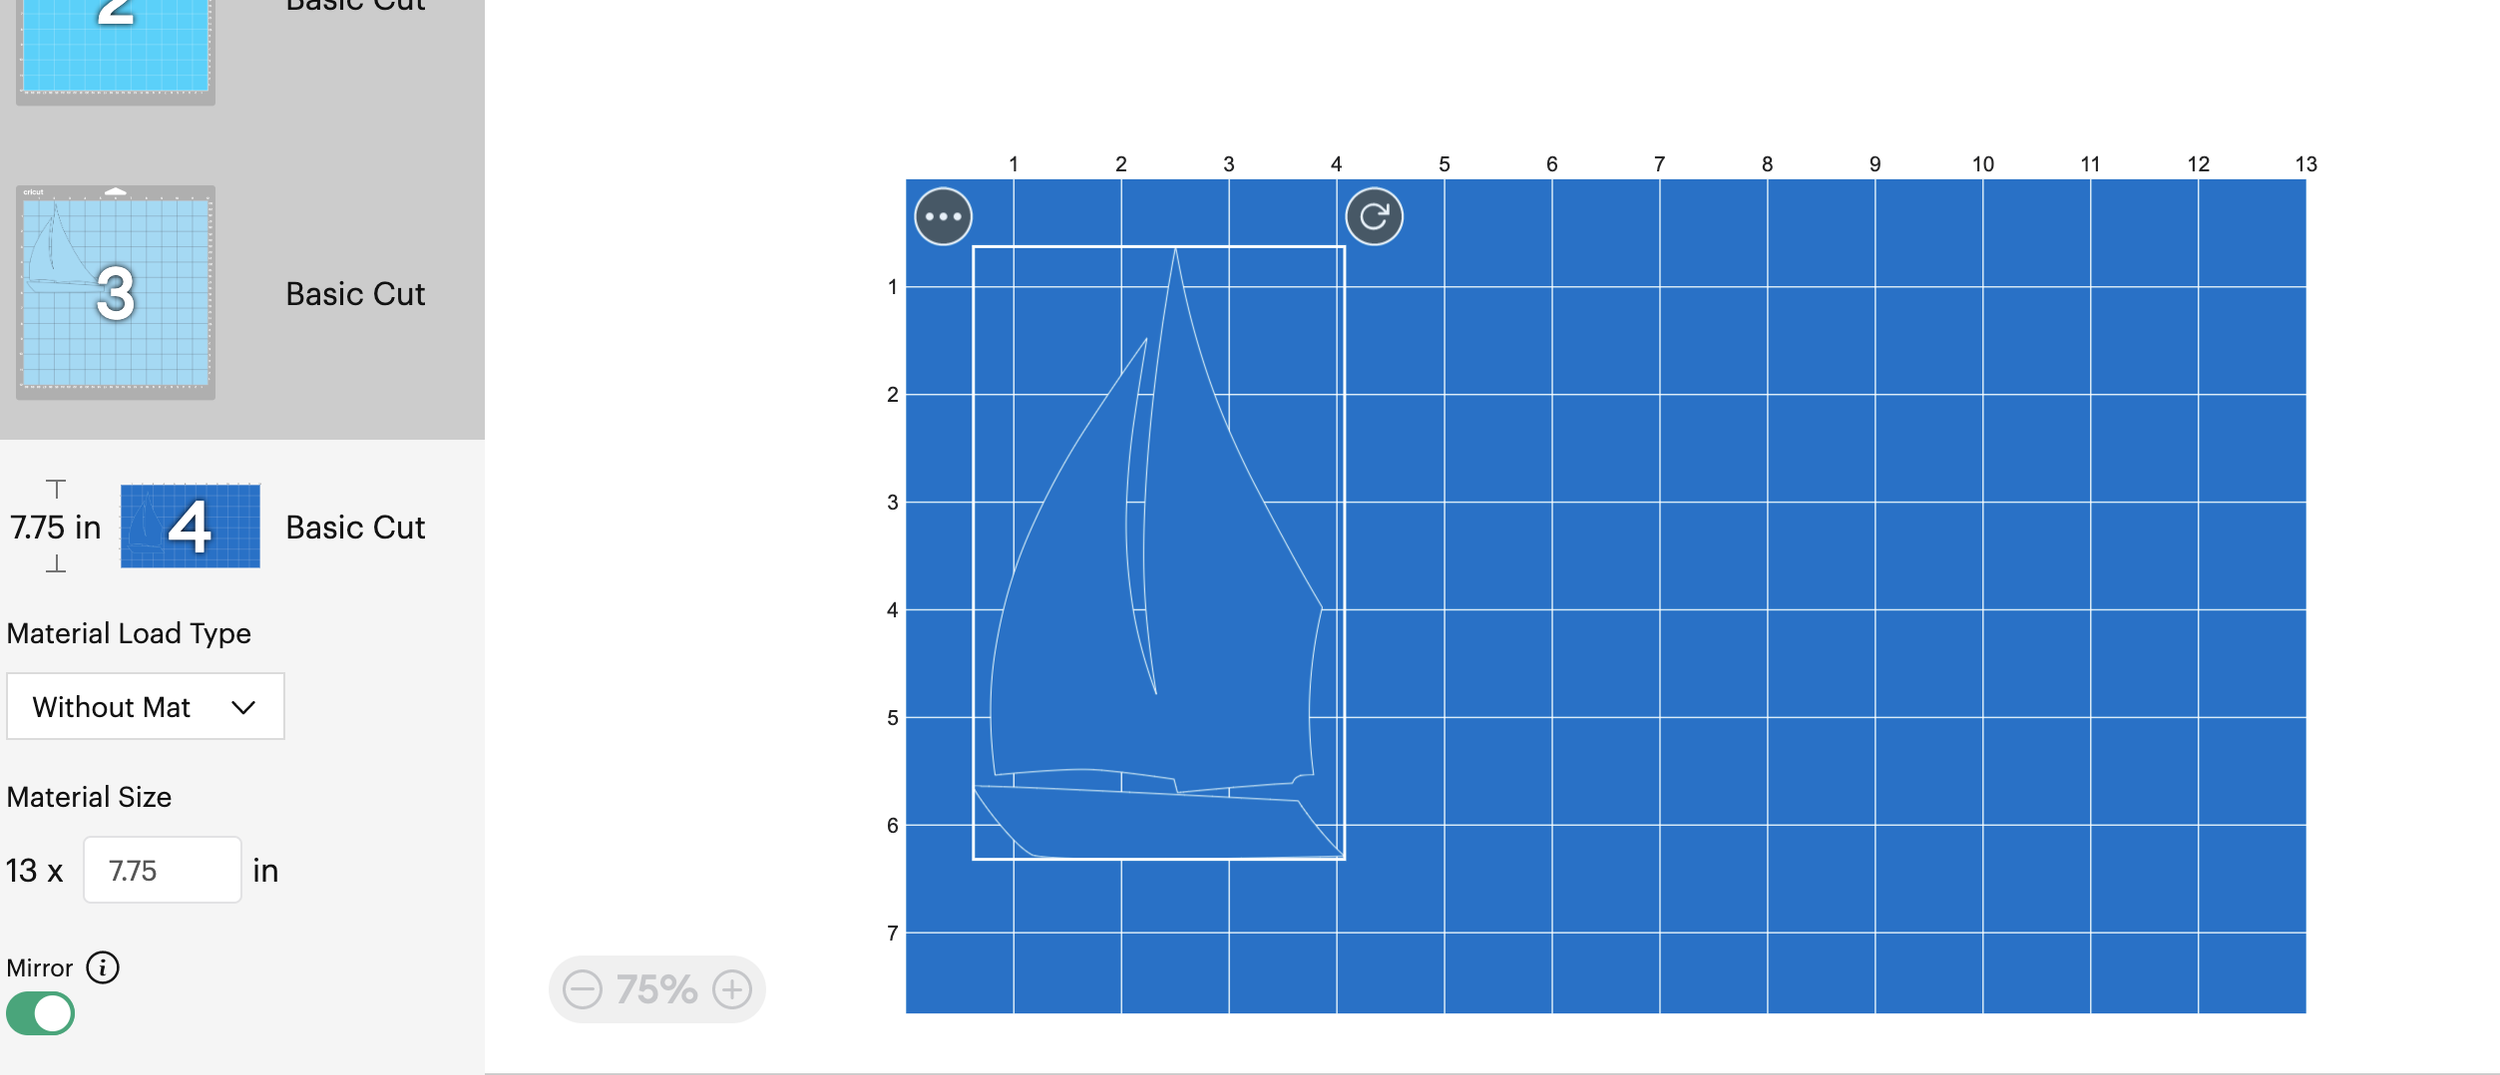
All color layers will show up on the left-hand side. Make sure to select the material load type for each color (either without mat or with mat) plus turn on mirror. Turning on mirror is very important because the cut side will be face down on the sweatshirt. If you forget to mirror, the design will be backwards. Double check the vinyl on the mat matches the location of the design shown on the computer screen. Click the “Continue” green button in the bottom right corner.

The next step is to select the material. Select the “more” pressure cut setting.
Cricut HTV: Material selection is Smart Iron-On.
Siser HTV: Material selection is Iron-On
There are two sides to the HTV material. Both are the same color, but one side is shiny and the other side is matte. The shiny side is the carrier sheet, which helps adhere the design to the sweatshirt. The shiny side should be face down. The matte side is where you cut and weed the design.
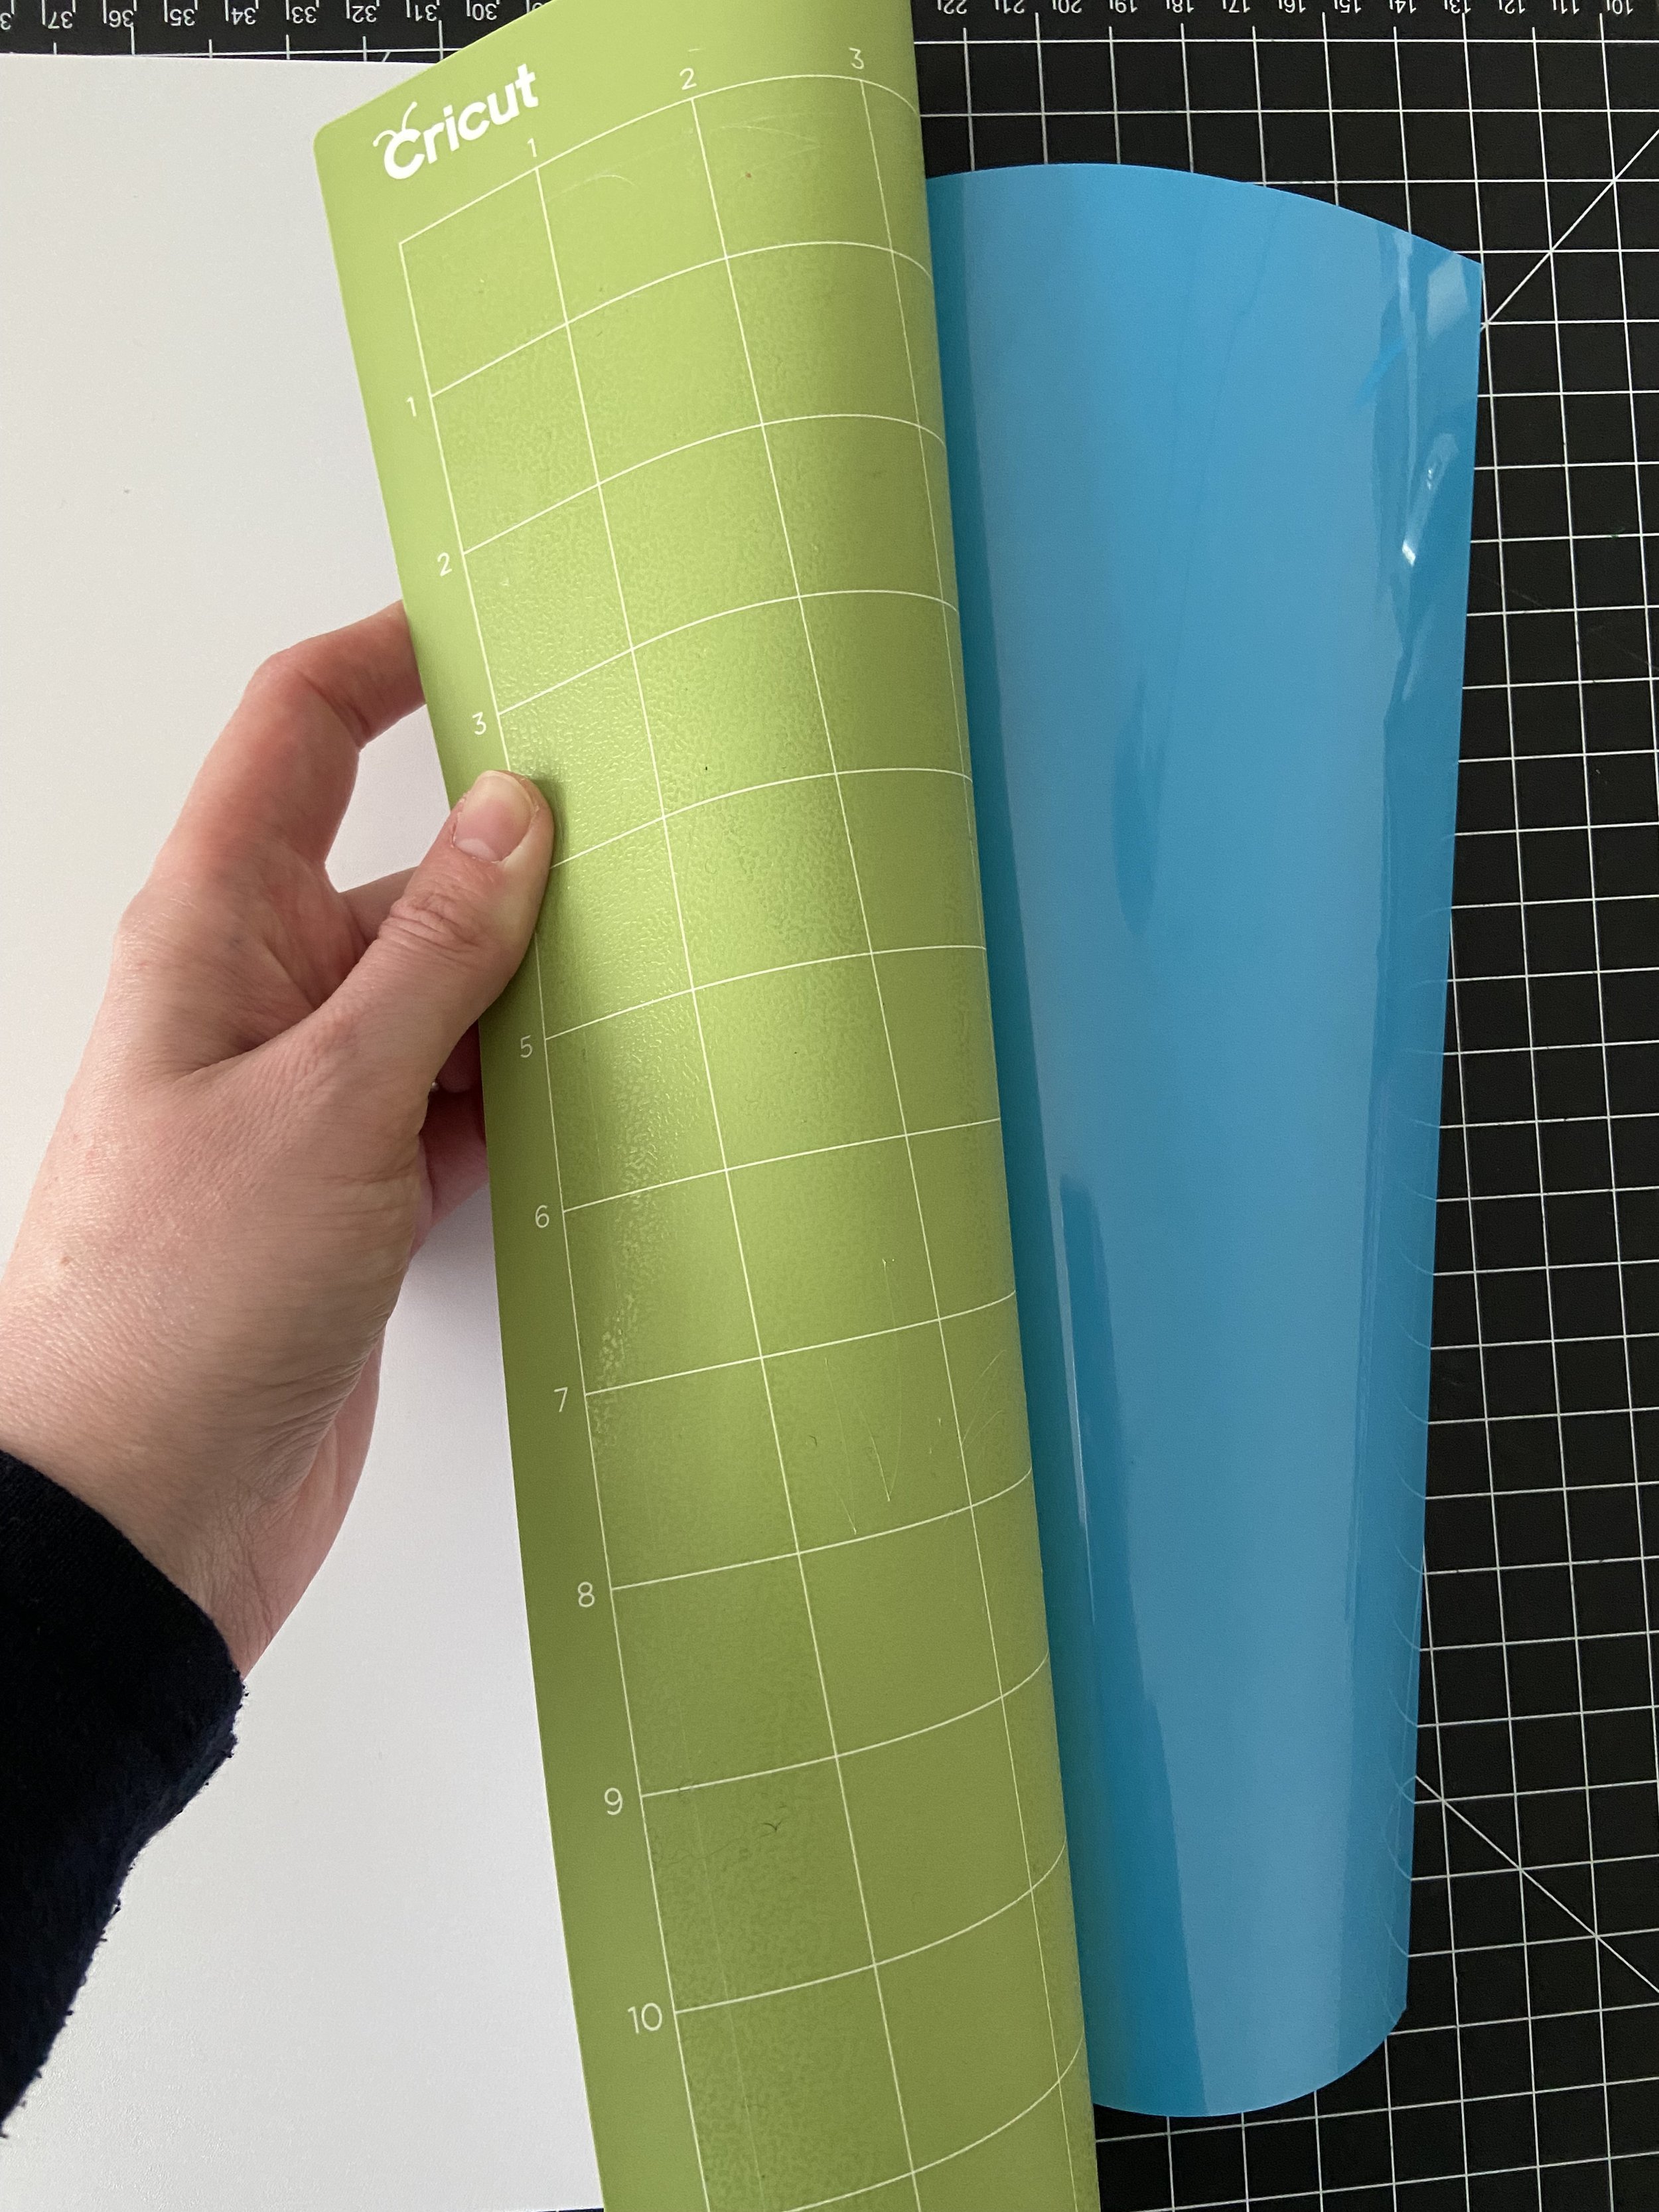
Siser Vinyl: Use the brayer tool to smooth the vinyl onto the green mat and insert.
Cricut Smart Iron-On: Insert directly into the machine.
Push the blinking insert button. The machine will now cut the design. When the design is done cutting, push the blinking eject button. To remove the vinyl from the mat, bend the mat away from the vinyl.
Weed HTV
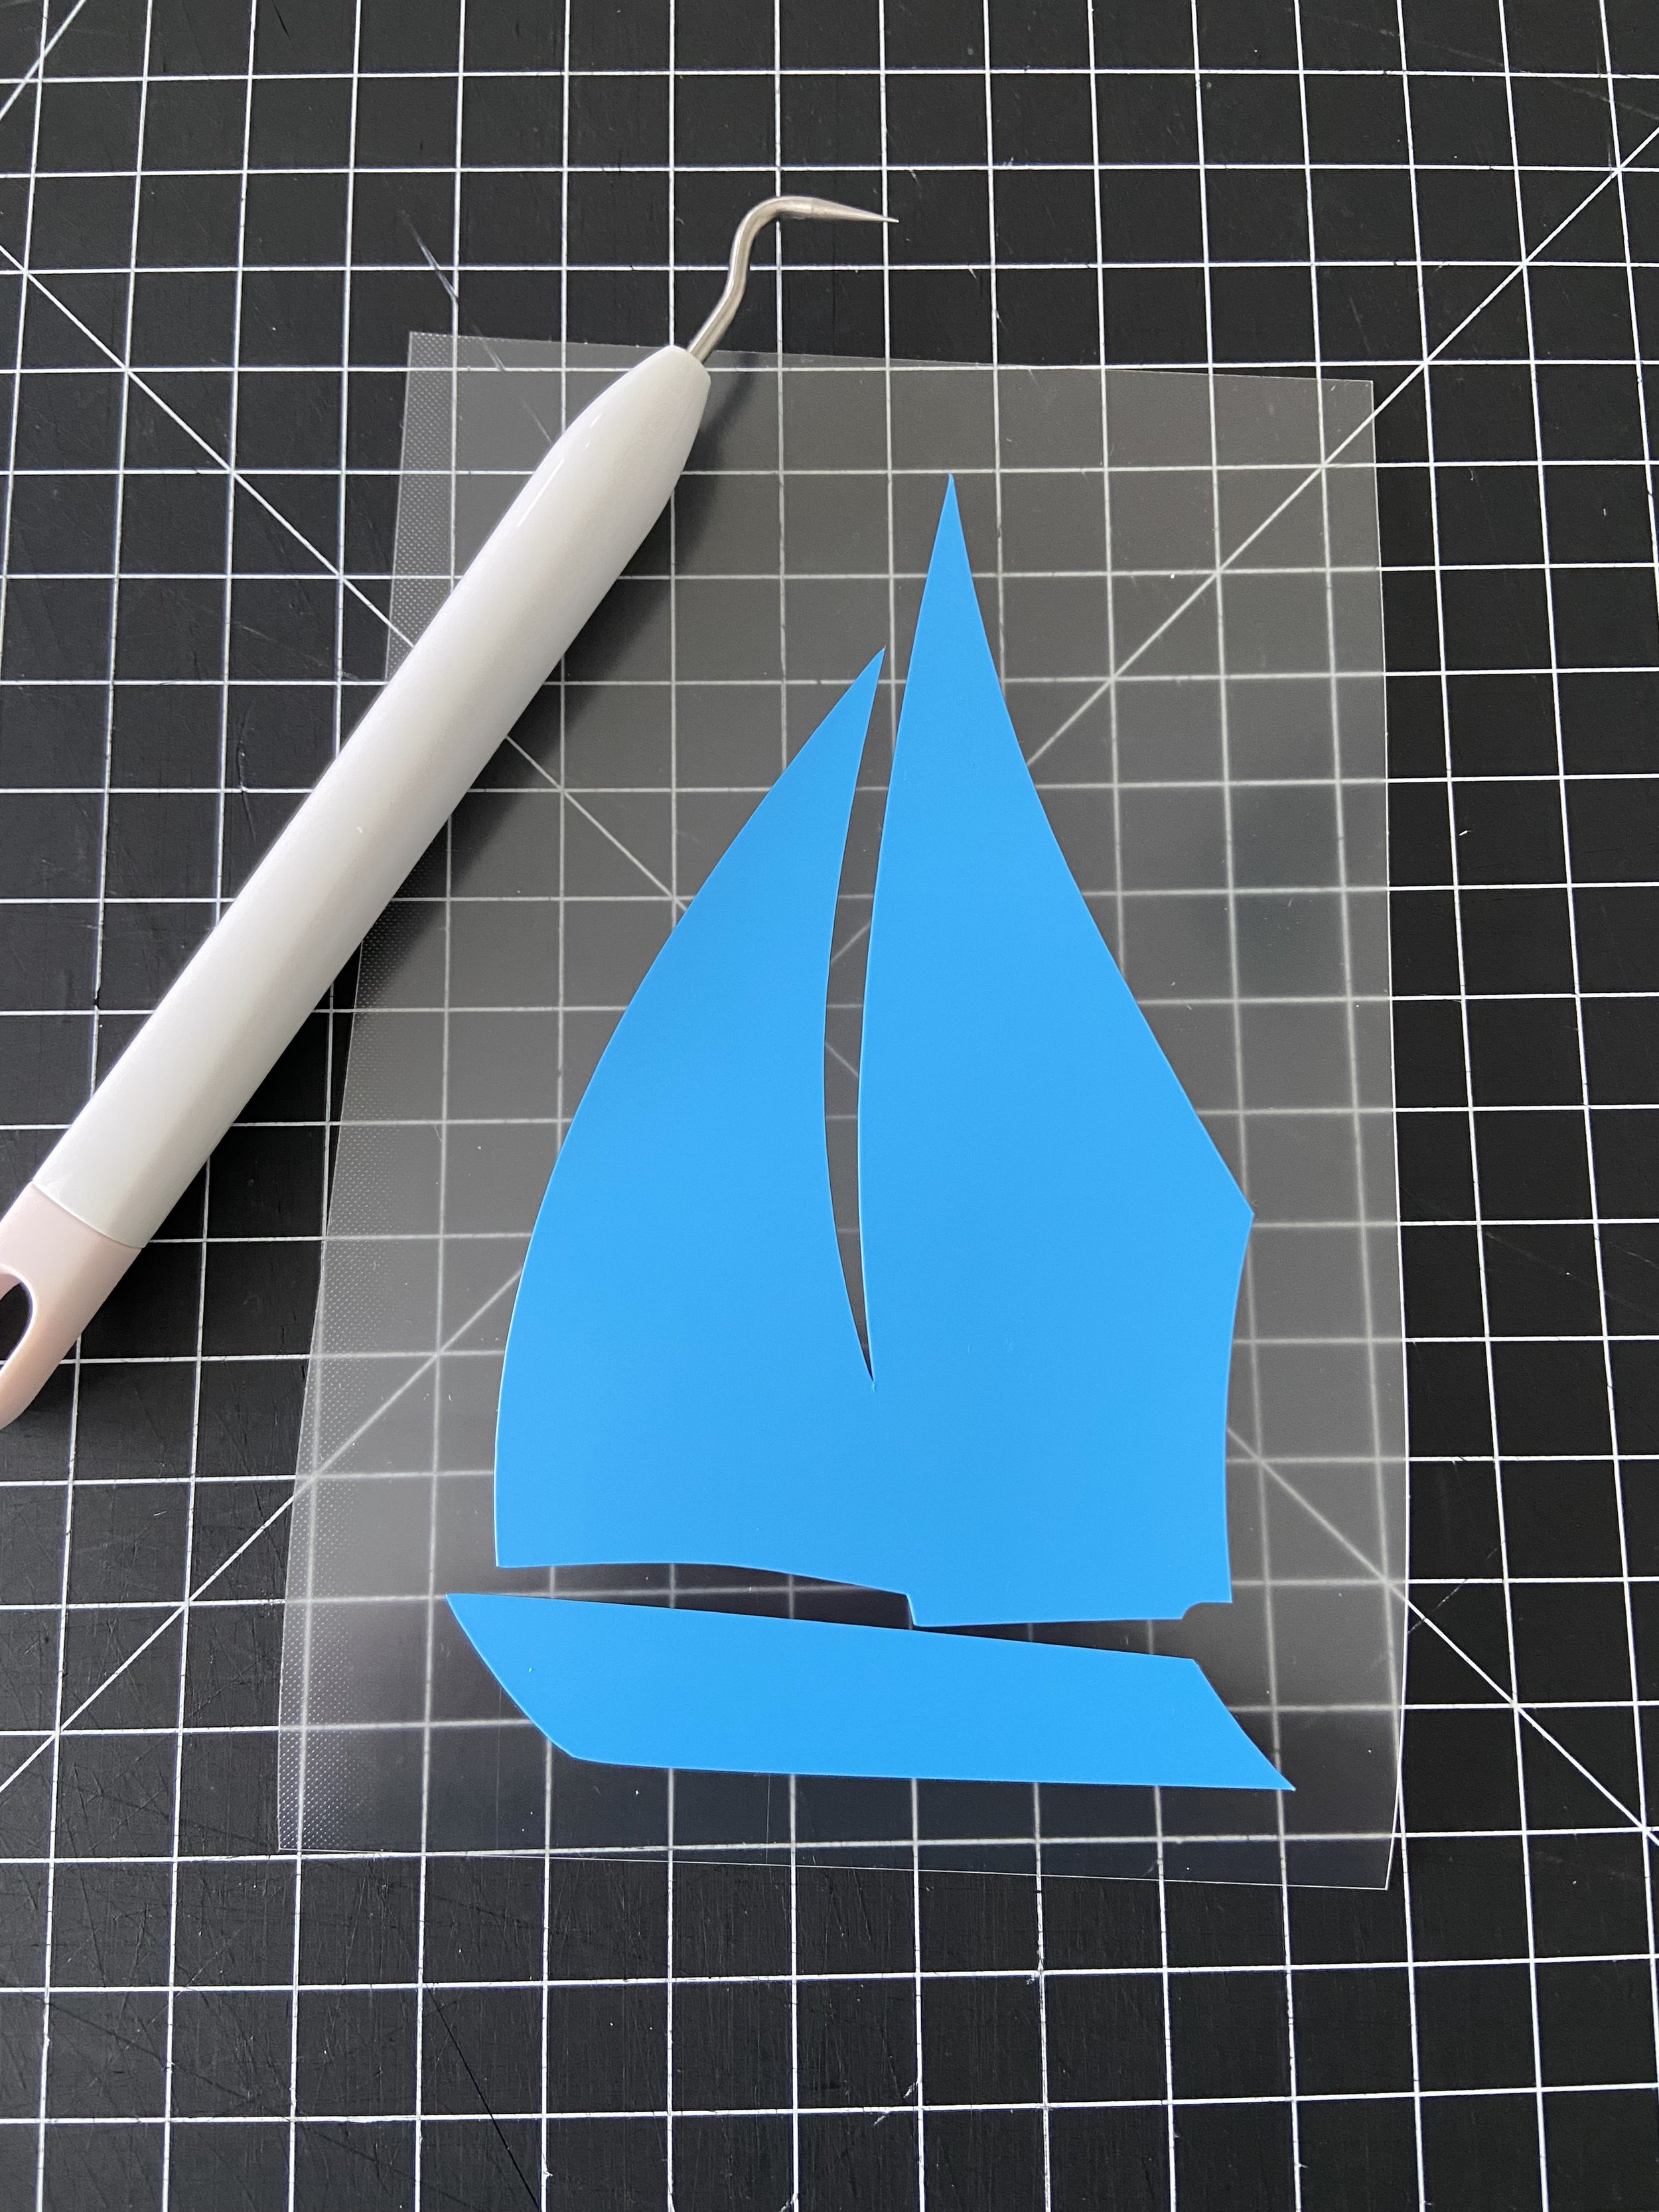
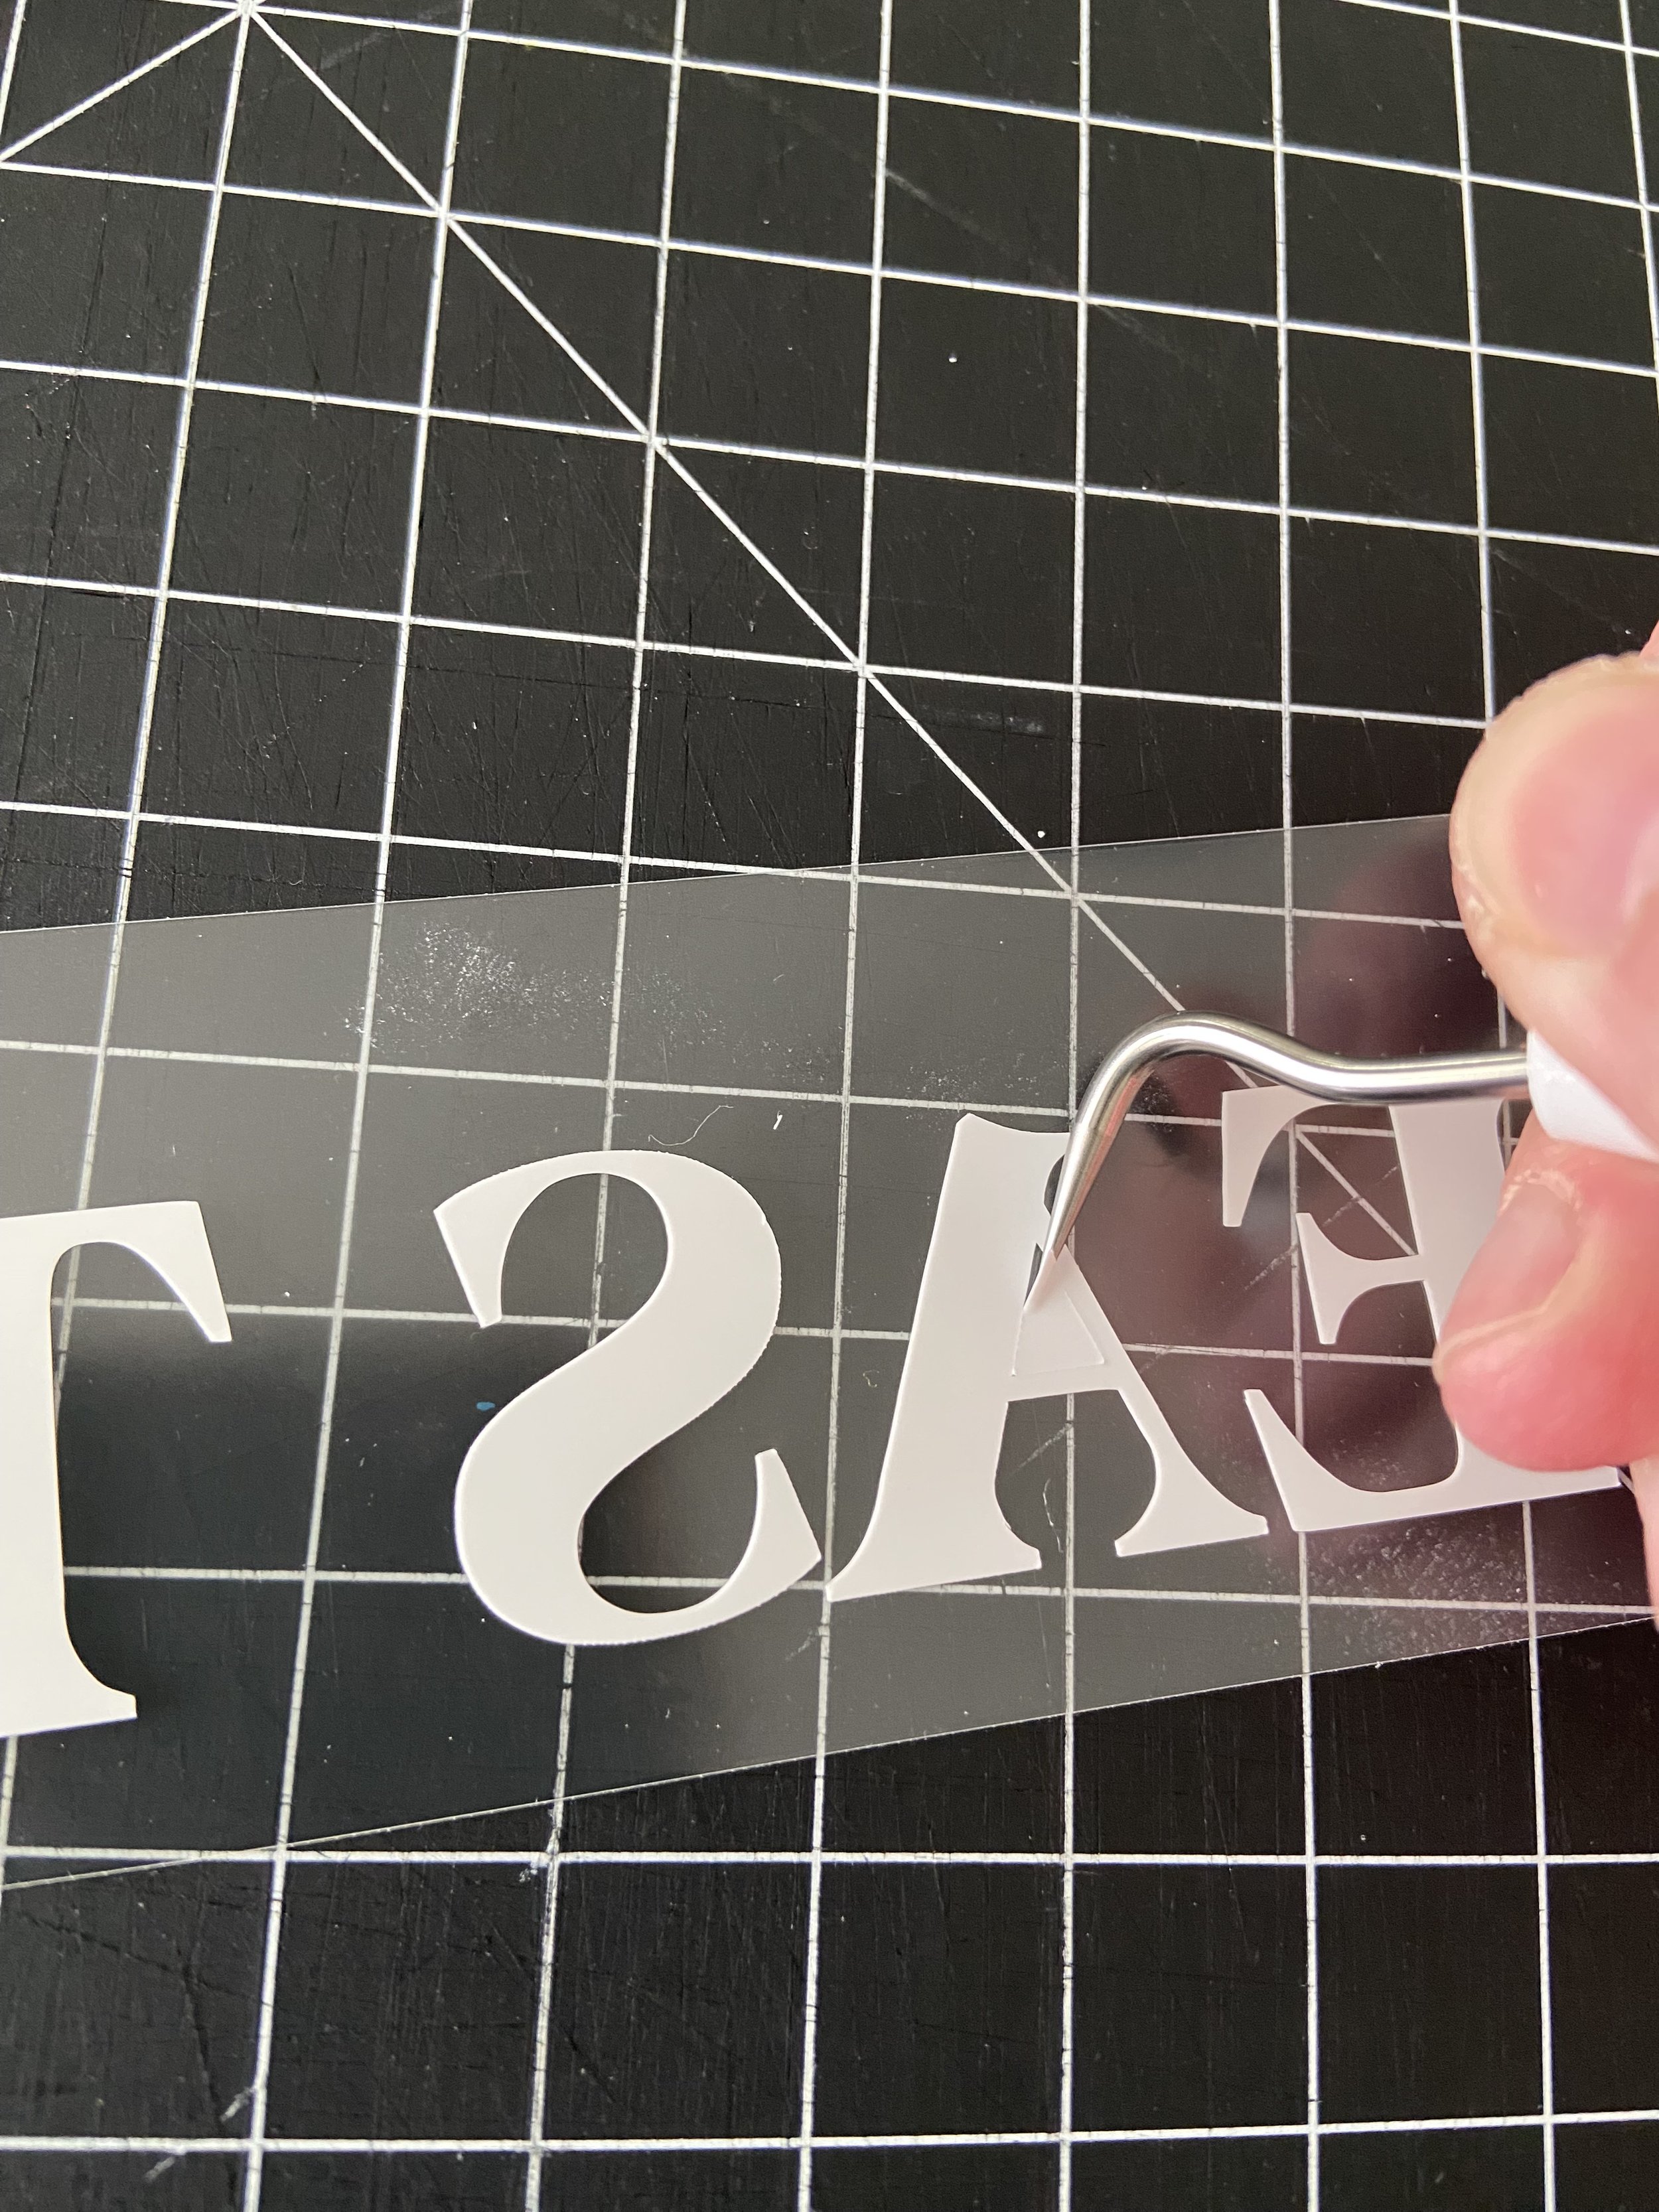

Trim the excess vinyl with scissors around each design. I found it easier to cut fairly close to the design.
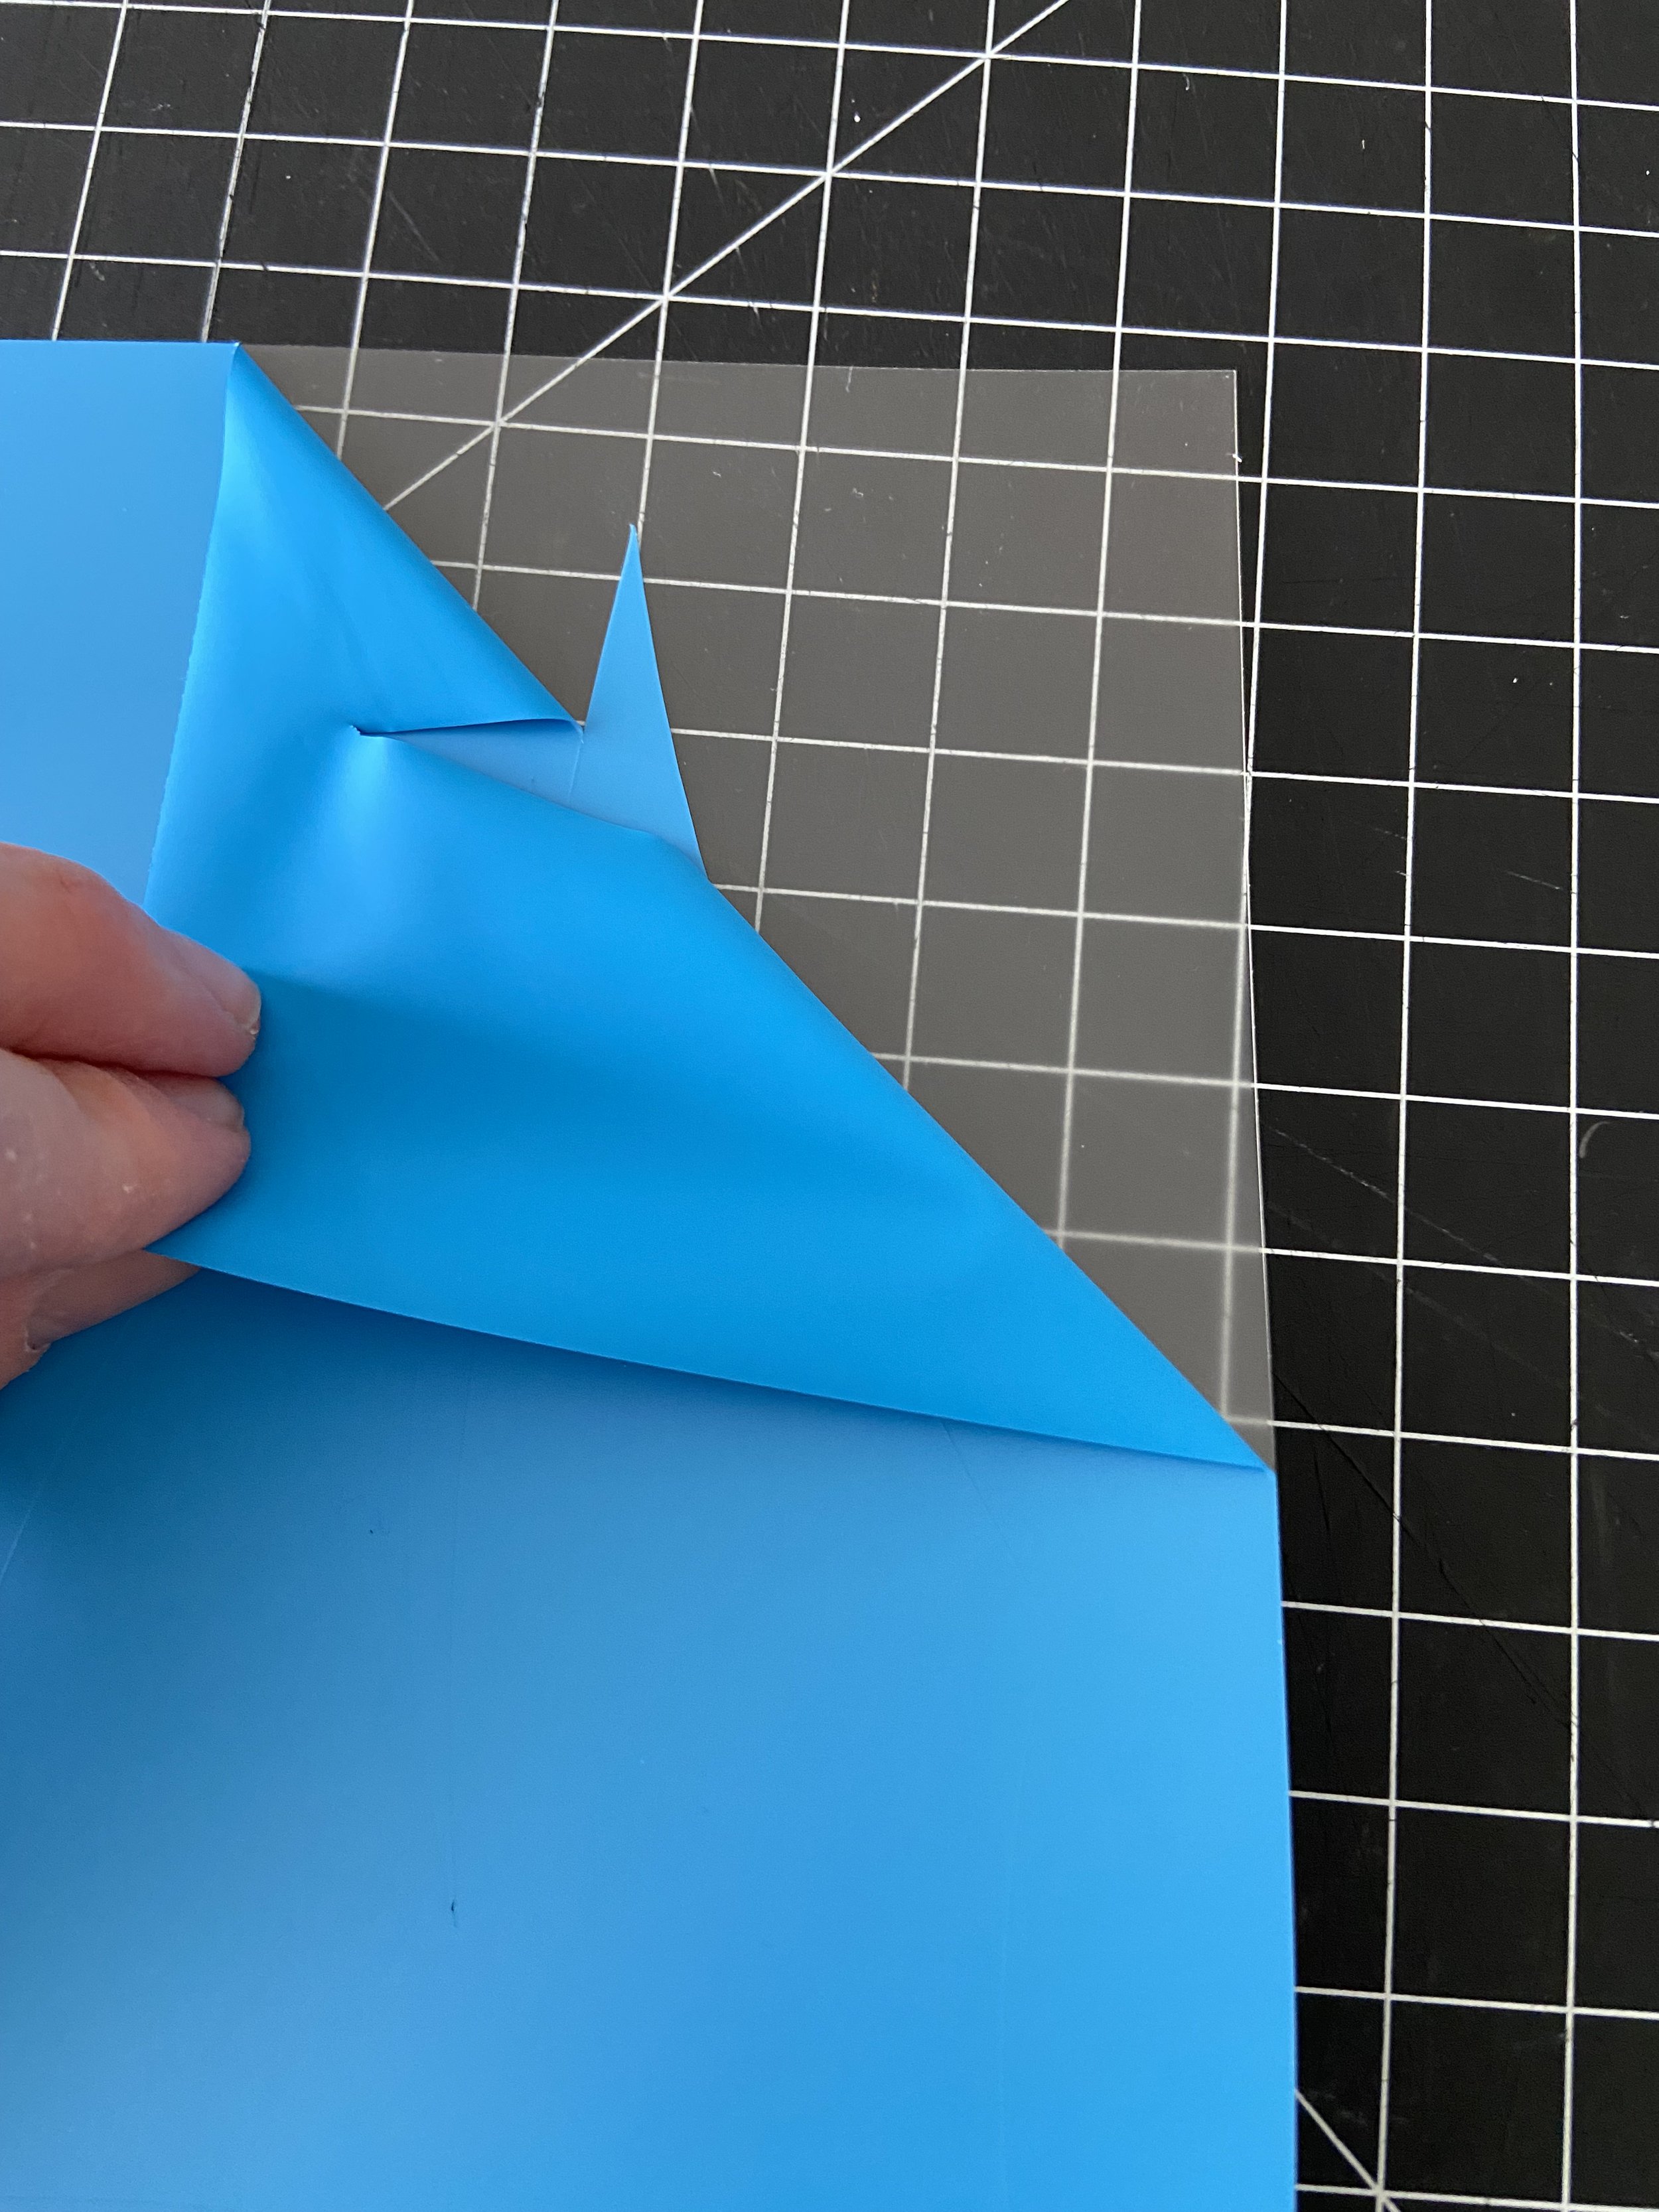
The next step is to weed away anything that you do not want applied to the sweatshirt. Start in a corner and pull the vinyl at a 45 degree angle. You may need to use the weeding tool to get it started. I have found that weeding HTV is a lot easier than permanent vinyl. Carefully work around the design and use the weeding tool to hold down any of the design that gets pulled up with the extra vinyl. Use the weeding tool to remove any extra vinyl in the middle of the letters.
Repeat steps for all colors.
Heat Press HTV to Sweatshirt
Once all colors have been prepared, preheat the heat press. Cricut has a heat guide on their website along with Design Space. This heat guide allows you to select your material (i.e. Smart Iron-On) and base material (i.e. cotton/polyester). Siser provides a heat guide with their materials as well. I pressed each layer individually, so I had more control over the placement of each color. For layered presses, the overall temperature needs to be reduced by 15 degrees. The temperature for Siser HTV is less than Cricut Smart Iron-On, so I did the Siser layers first (lowest to highest). The recommended temperature for Siser HTV is 305 degrees, so I preheated my heat press to 280 degrees.

Lay out the top half of your sweatshirt on the pressing mat. After the heat press has come to temperature, preheat the sweatshirt for 5 seconds to remove any wrinkles and moisture. Once preheated, use a lint roller to remove any lint and extra fibers from the sweatshirt.

Using a t-shirt guide, place the three sailboats onto the sweatshirt, carrier sheet facing up. I used a fabric measuring tape to make sure the sailboats were centered onto the sweatshirt. The t-shirt guide helps with the placement from the collar. For this particular sweatshirt, I felt it was too low when I lined up the t-shirt guide from the bottom seam. I lined up the guide with the top seam of the collar instead. Make sure the sailboats are as level as possible. I have found it helpful in design space to use a line to determine the center of the design.
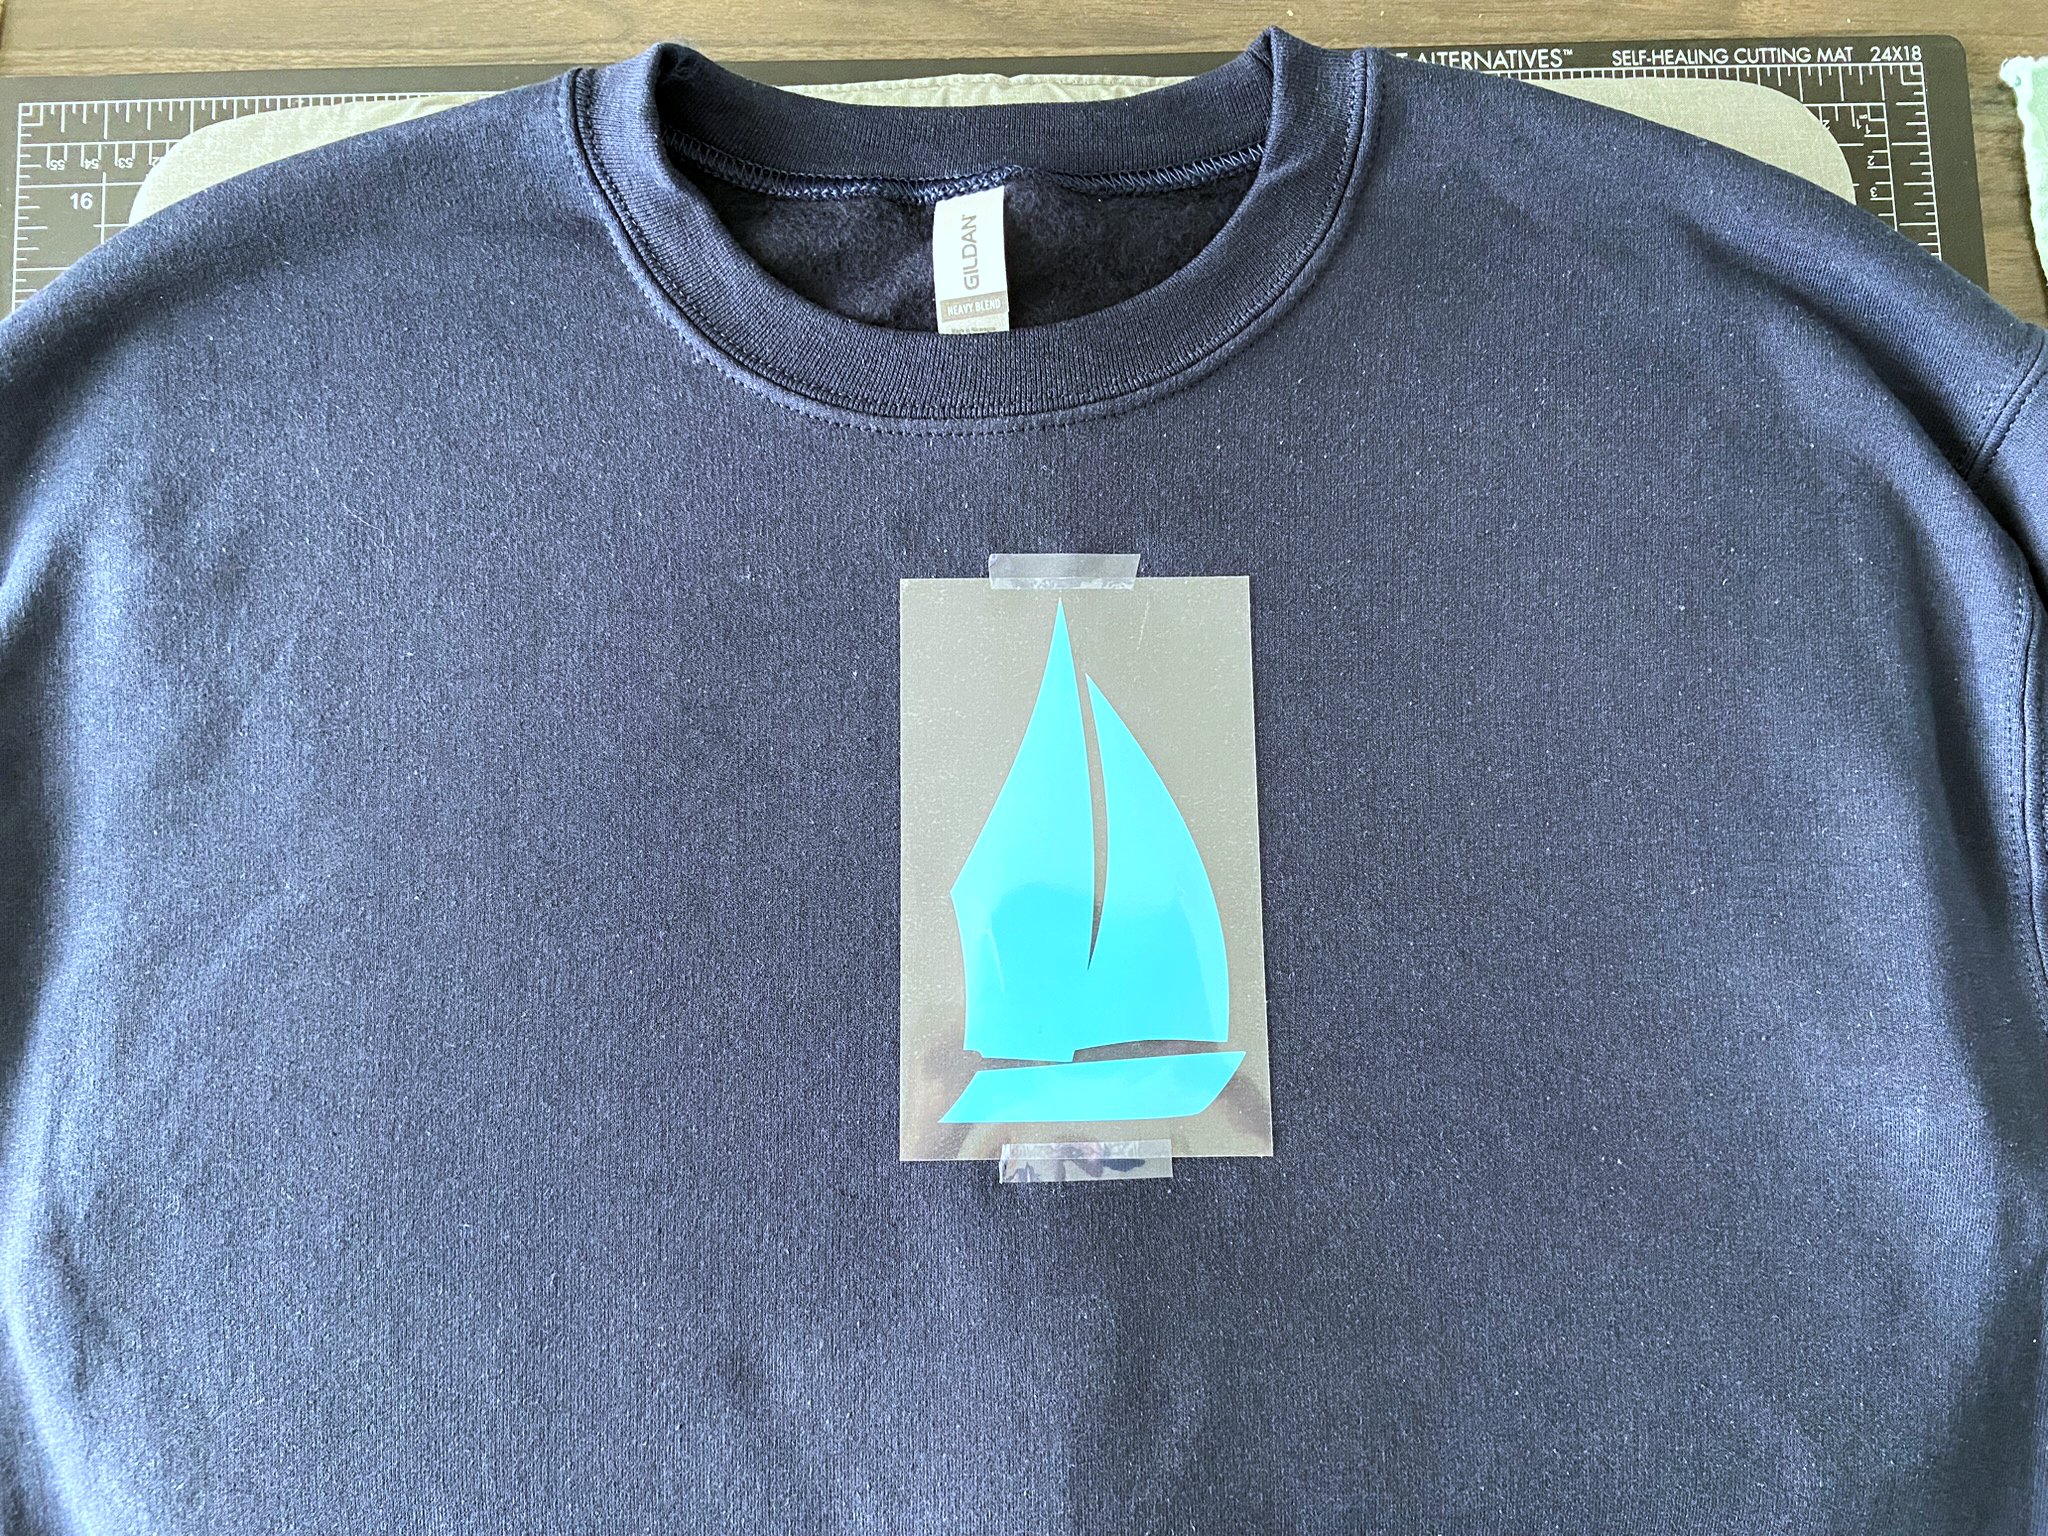
Once the center sailboat position has been determined, remove the other two sailboats and use heat tape to keep the middle sailboat in place. My middle sailboat was Siser HTV, so I made the center boat my starting point. Place butcher paper over the sweatshirt and design - big enough so none of the heat press touches the sweatshirt.
Siser HTV (Layer #1): For the middle Siser HTV sailboat, press down for 2-3 seconds with the heat press. I find I need to use most of my weight pressing into the heat press. Siser is a hot peel HTV which means you can peel the carrier sheet while it is still hot. Even though you are pressing only for a few seconds, the HTV should still stick to the sweatshirt. If the carrier sheet is hard to peel and the HTV is not fully adhered, use the butcher paper and press a couple more seconds and it should be fine. The whole design will be adhered fully at the end. You do not want to do the full amount of time because it overheats the layers.
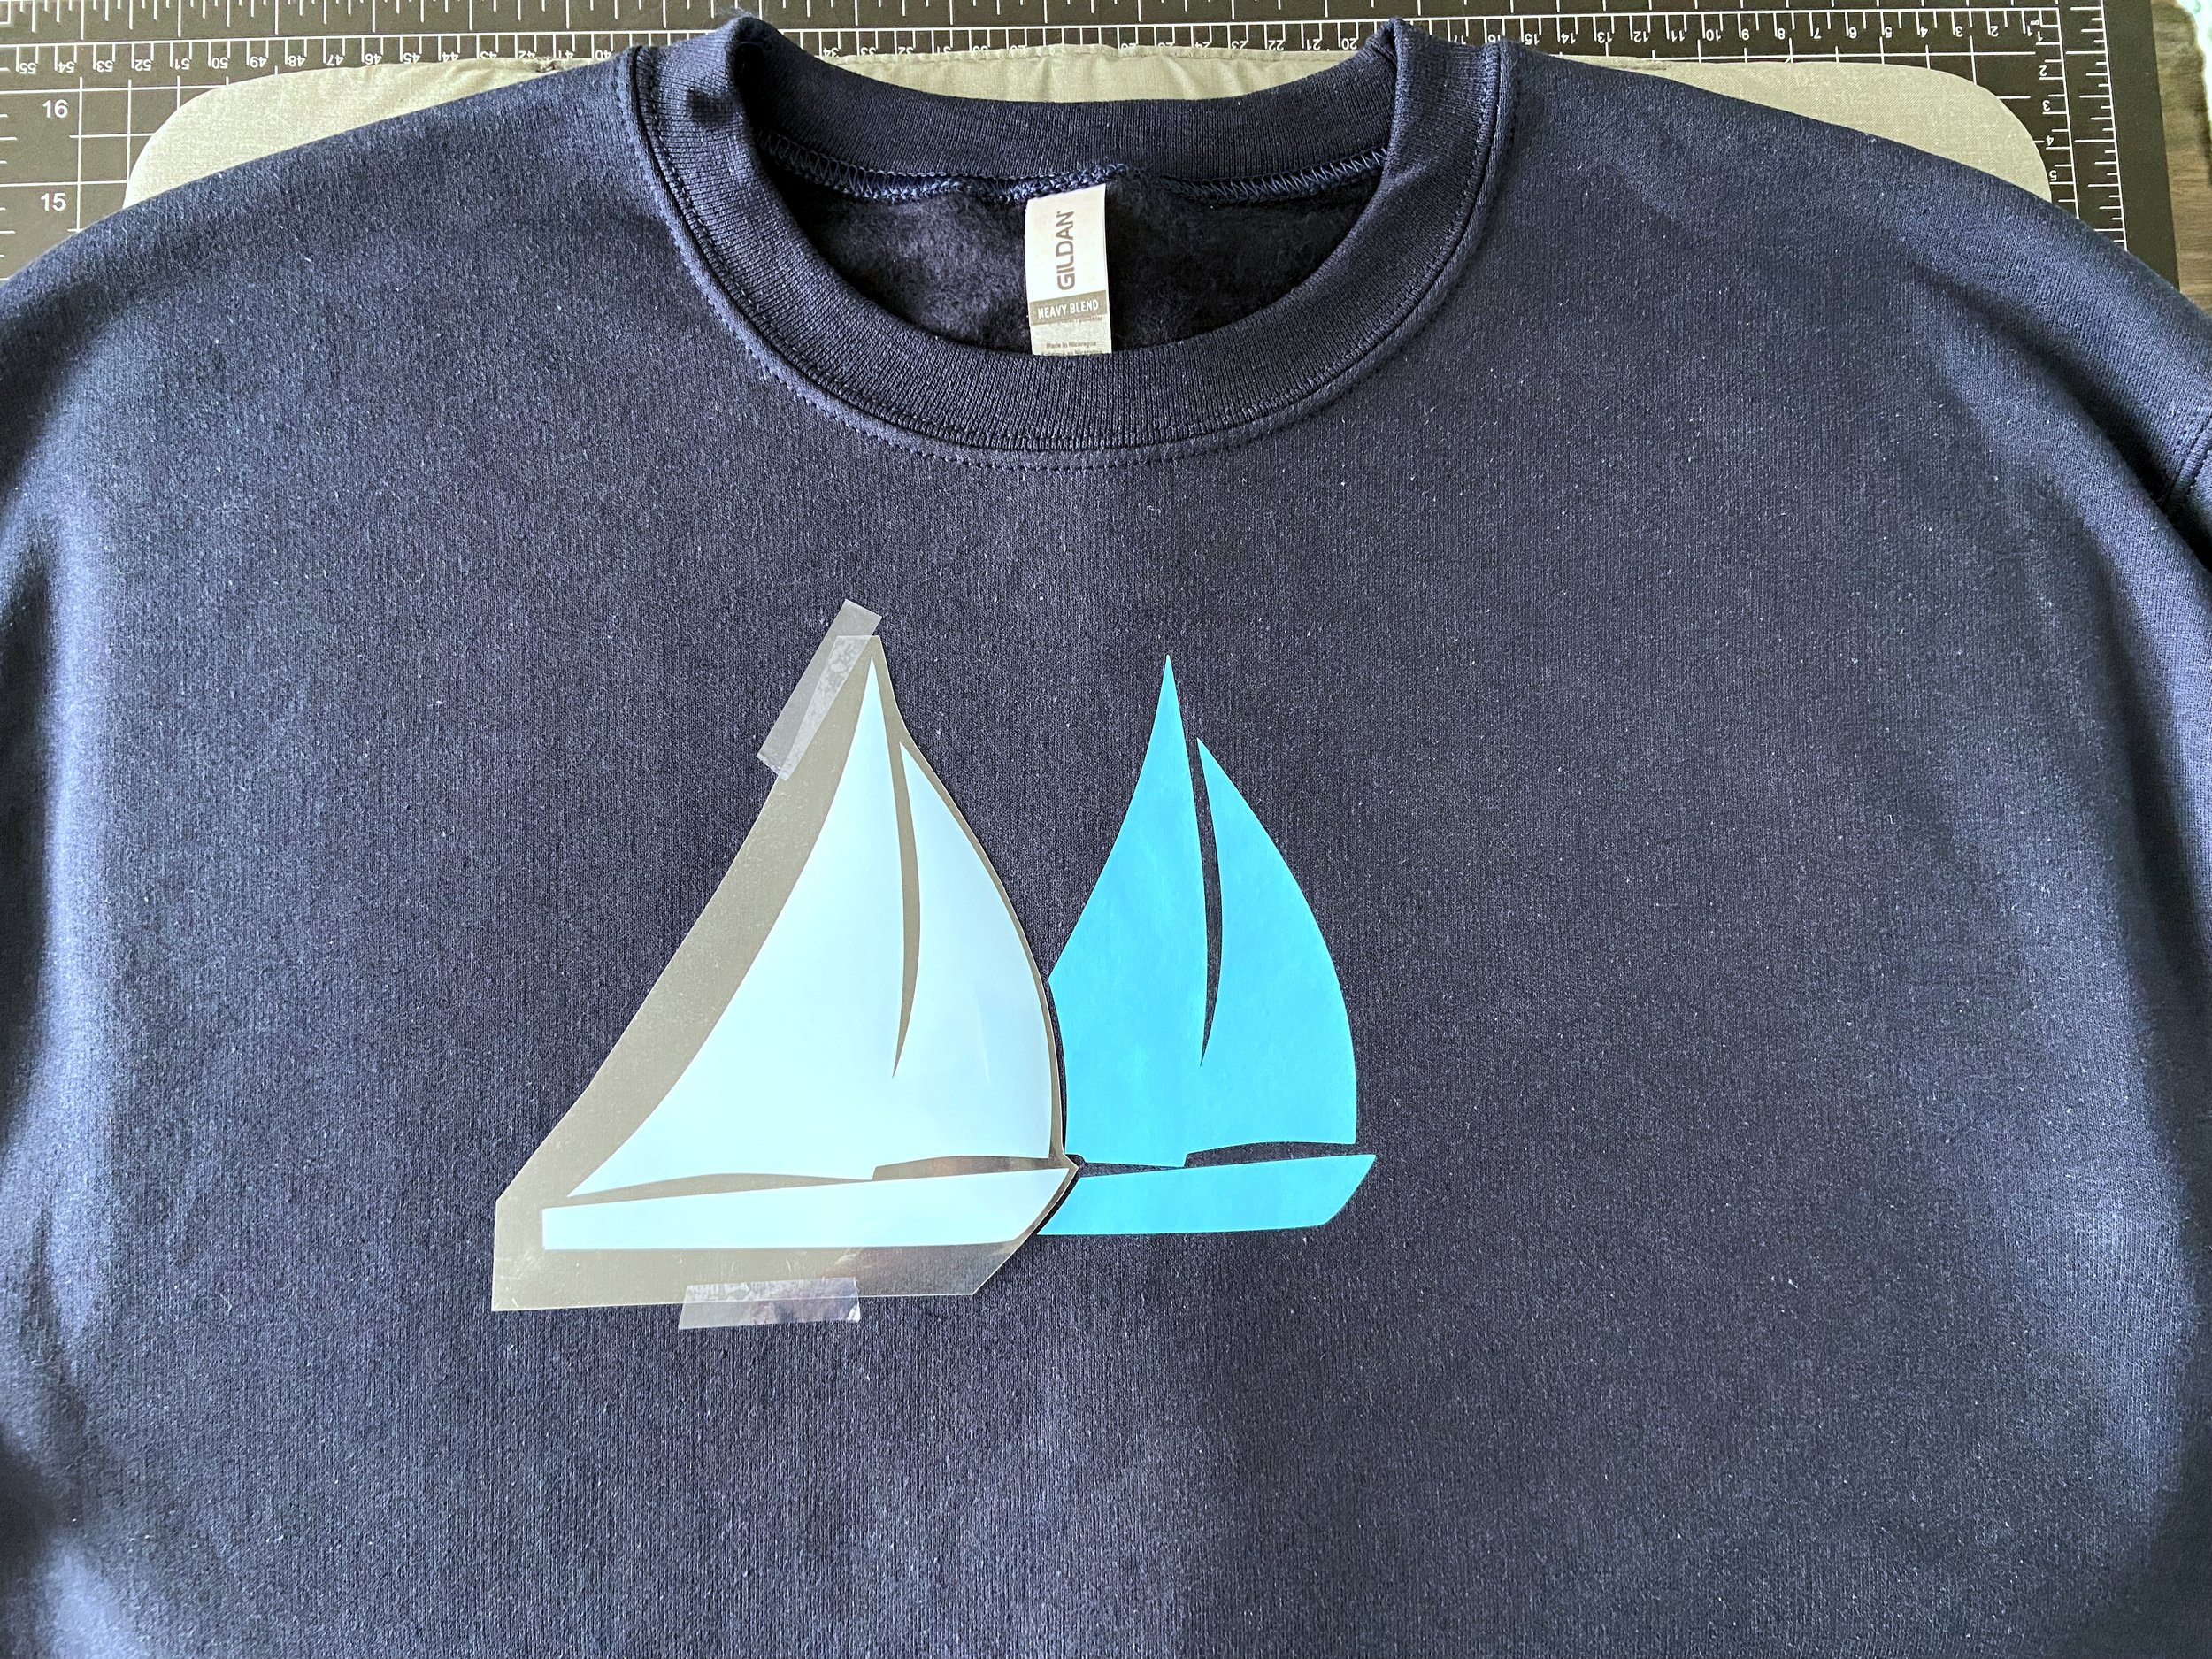
Siser HTV (Layer #2): For the light blue Siser sailboat, trim the carrier sheet at the base of the sailboat so it does not overlap with the middle layer. Use the heat tape to keep this sailboat in place once you have it lined up. Cover with butcher paper and press this layer down for 2-3 seconds then do a hot peel.
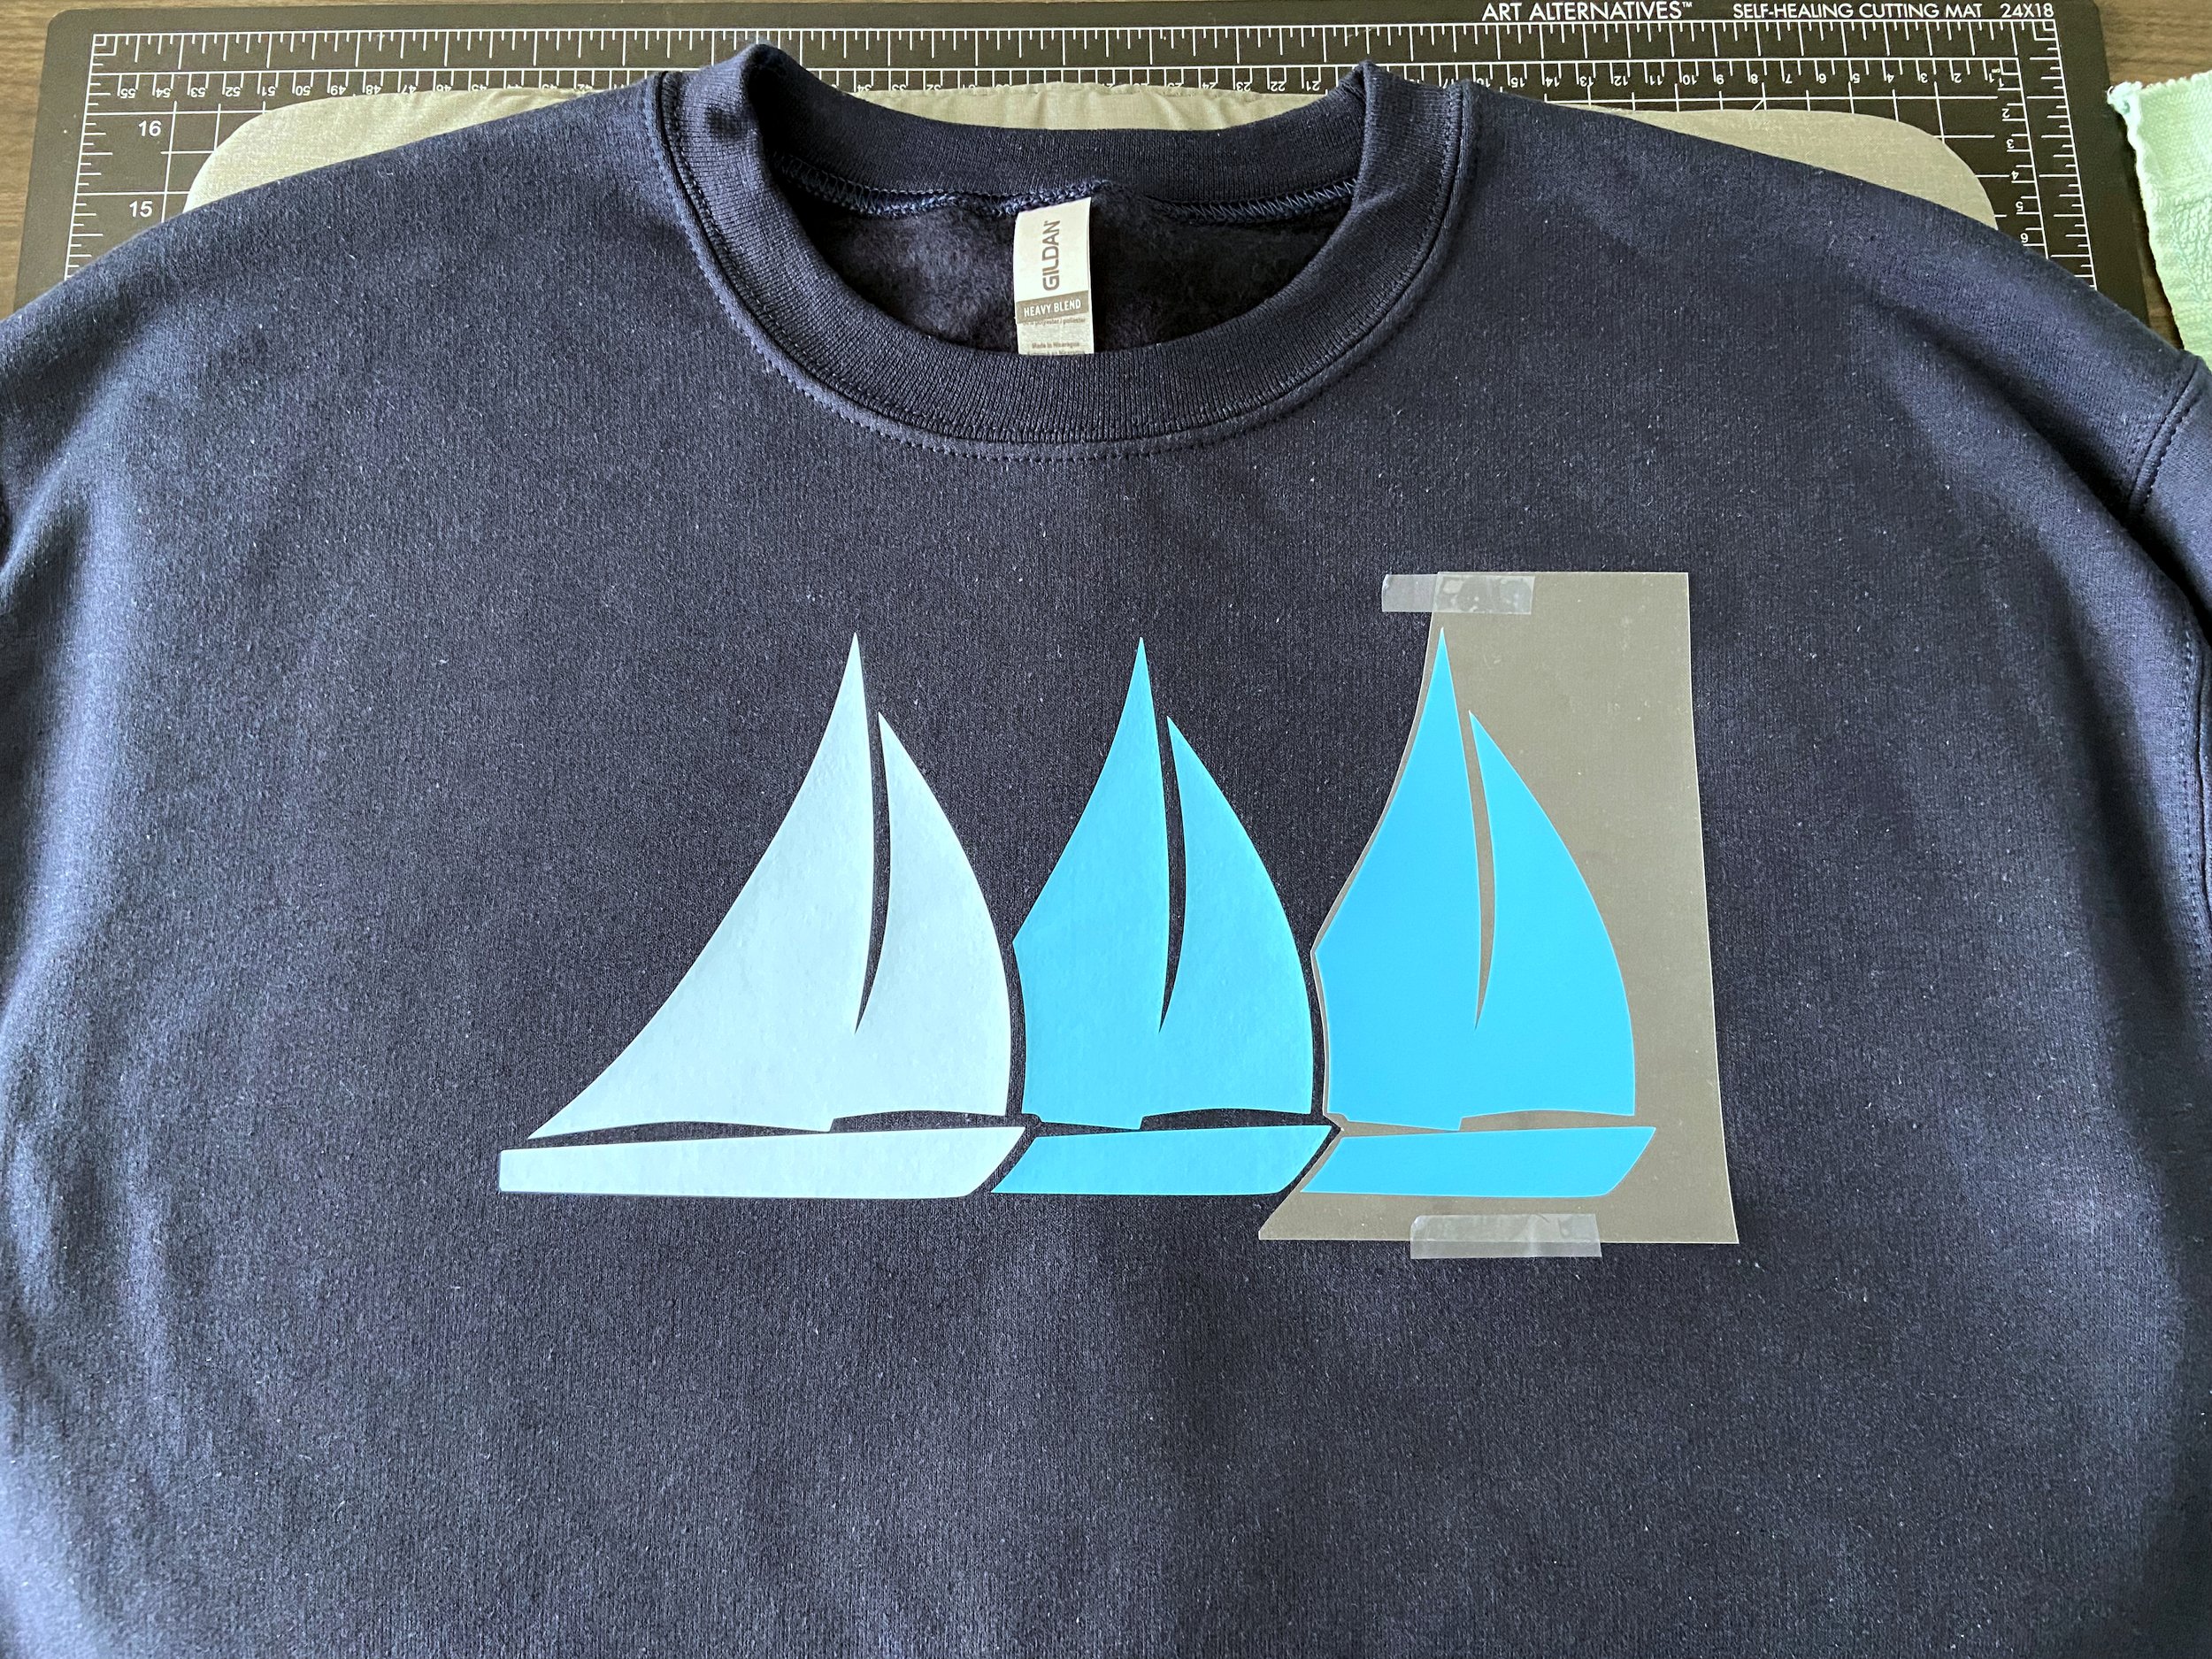
Cricut HTV (Layer #3): For the dark blue Cricut HTV, increase the heat to 300 degrees (15 degrees less than 315 Cricut material temperature) and trim this sailboat carrier sheet as well. Use the heat tape to keep in place. Press for 2-3 seconds. Cricut Smart Iron-On is a cold peel, so wait until the carrier sheet is cool to the touch. If the carrier sheet is not releasing, press for an additional 2-3 seconds. Wait to do another cold peel.
Cricut HTV (Layer #4): For the white Cricut HTV, increase the heat to 305 degrees and press for 15 seconds. Do a cold peel for this layer as well. This is a final press. I did the max temperature for this press based on the Siser temperature not the Cricut temperature, so as not to overheat the Siser sailboats. All materials are adhered due to overall heat time and pressure.
Care Instructions: Wash inside out on cold without any fabric softener. Hang dry or dry on low.
Even if you are not into sailing, these steps can be helpful for any layered project with different brands of HTV!


