
How to Apply Vinyl to a Tumbler

Tumblers of any design are a perfect gift. There are lots of cute tumblers out there, but it is more rewarding when you can make it yourself with a cutting machine such as Cricut. How to apply permanent vinyl to a tumbler or cup is a great project for beginners and seasoned crafters. You can start with everything one color and work your way up to a more complex design.
The inspiration for this design was based on my move to Michigan. I have come to appreciate going to the beach on Lake Michigan versus the Pacific Ocean in California. The plus side of going to the beach on Lake Michigan is that there is no salt water. The lake life in Michigan is perfect in the summer.
The following steps can apply to any tumbler design, but this Michigan SVG is a great one to start with!
Materials:
SVG from HintOfMitten
Cutting Machine
Tumbler (I got mine from Hobby Lobby)
Green Cutting Mat
Permanent Vinyl (I used Cricut Smart Permanent Mint Vinyl and Cricut Smart Permanent Gold Shimmer Vinyl)
Weeding Tool
Scraper Tool
Transfer Tape
Parchment Paper
Rubbing Alcohol
Upload Files to Design Space
Purchase SVG from HintOfMitten Etsy shop. Download and save the Etsy files onto your computer. Open up your cutting program of choice such as Cricut Design Space.
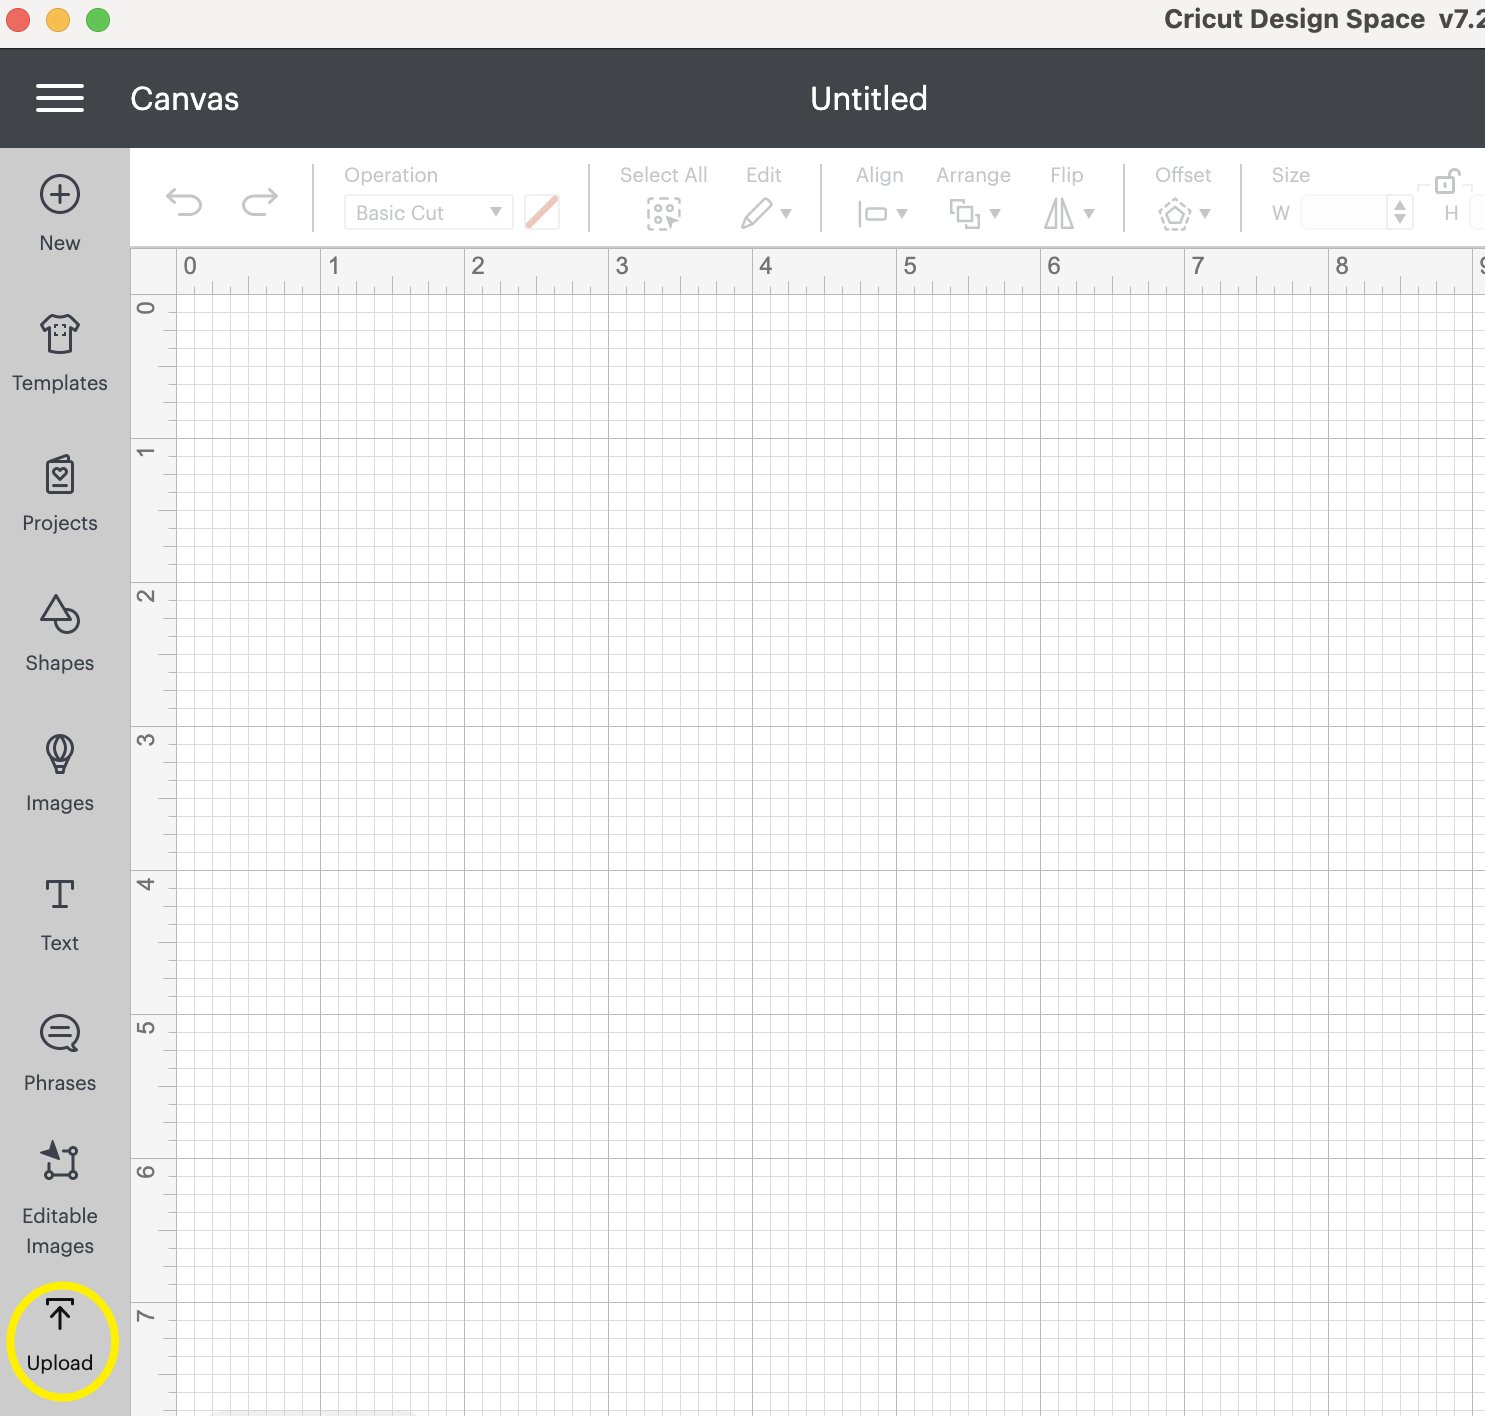
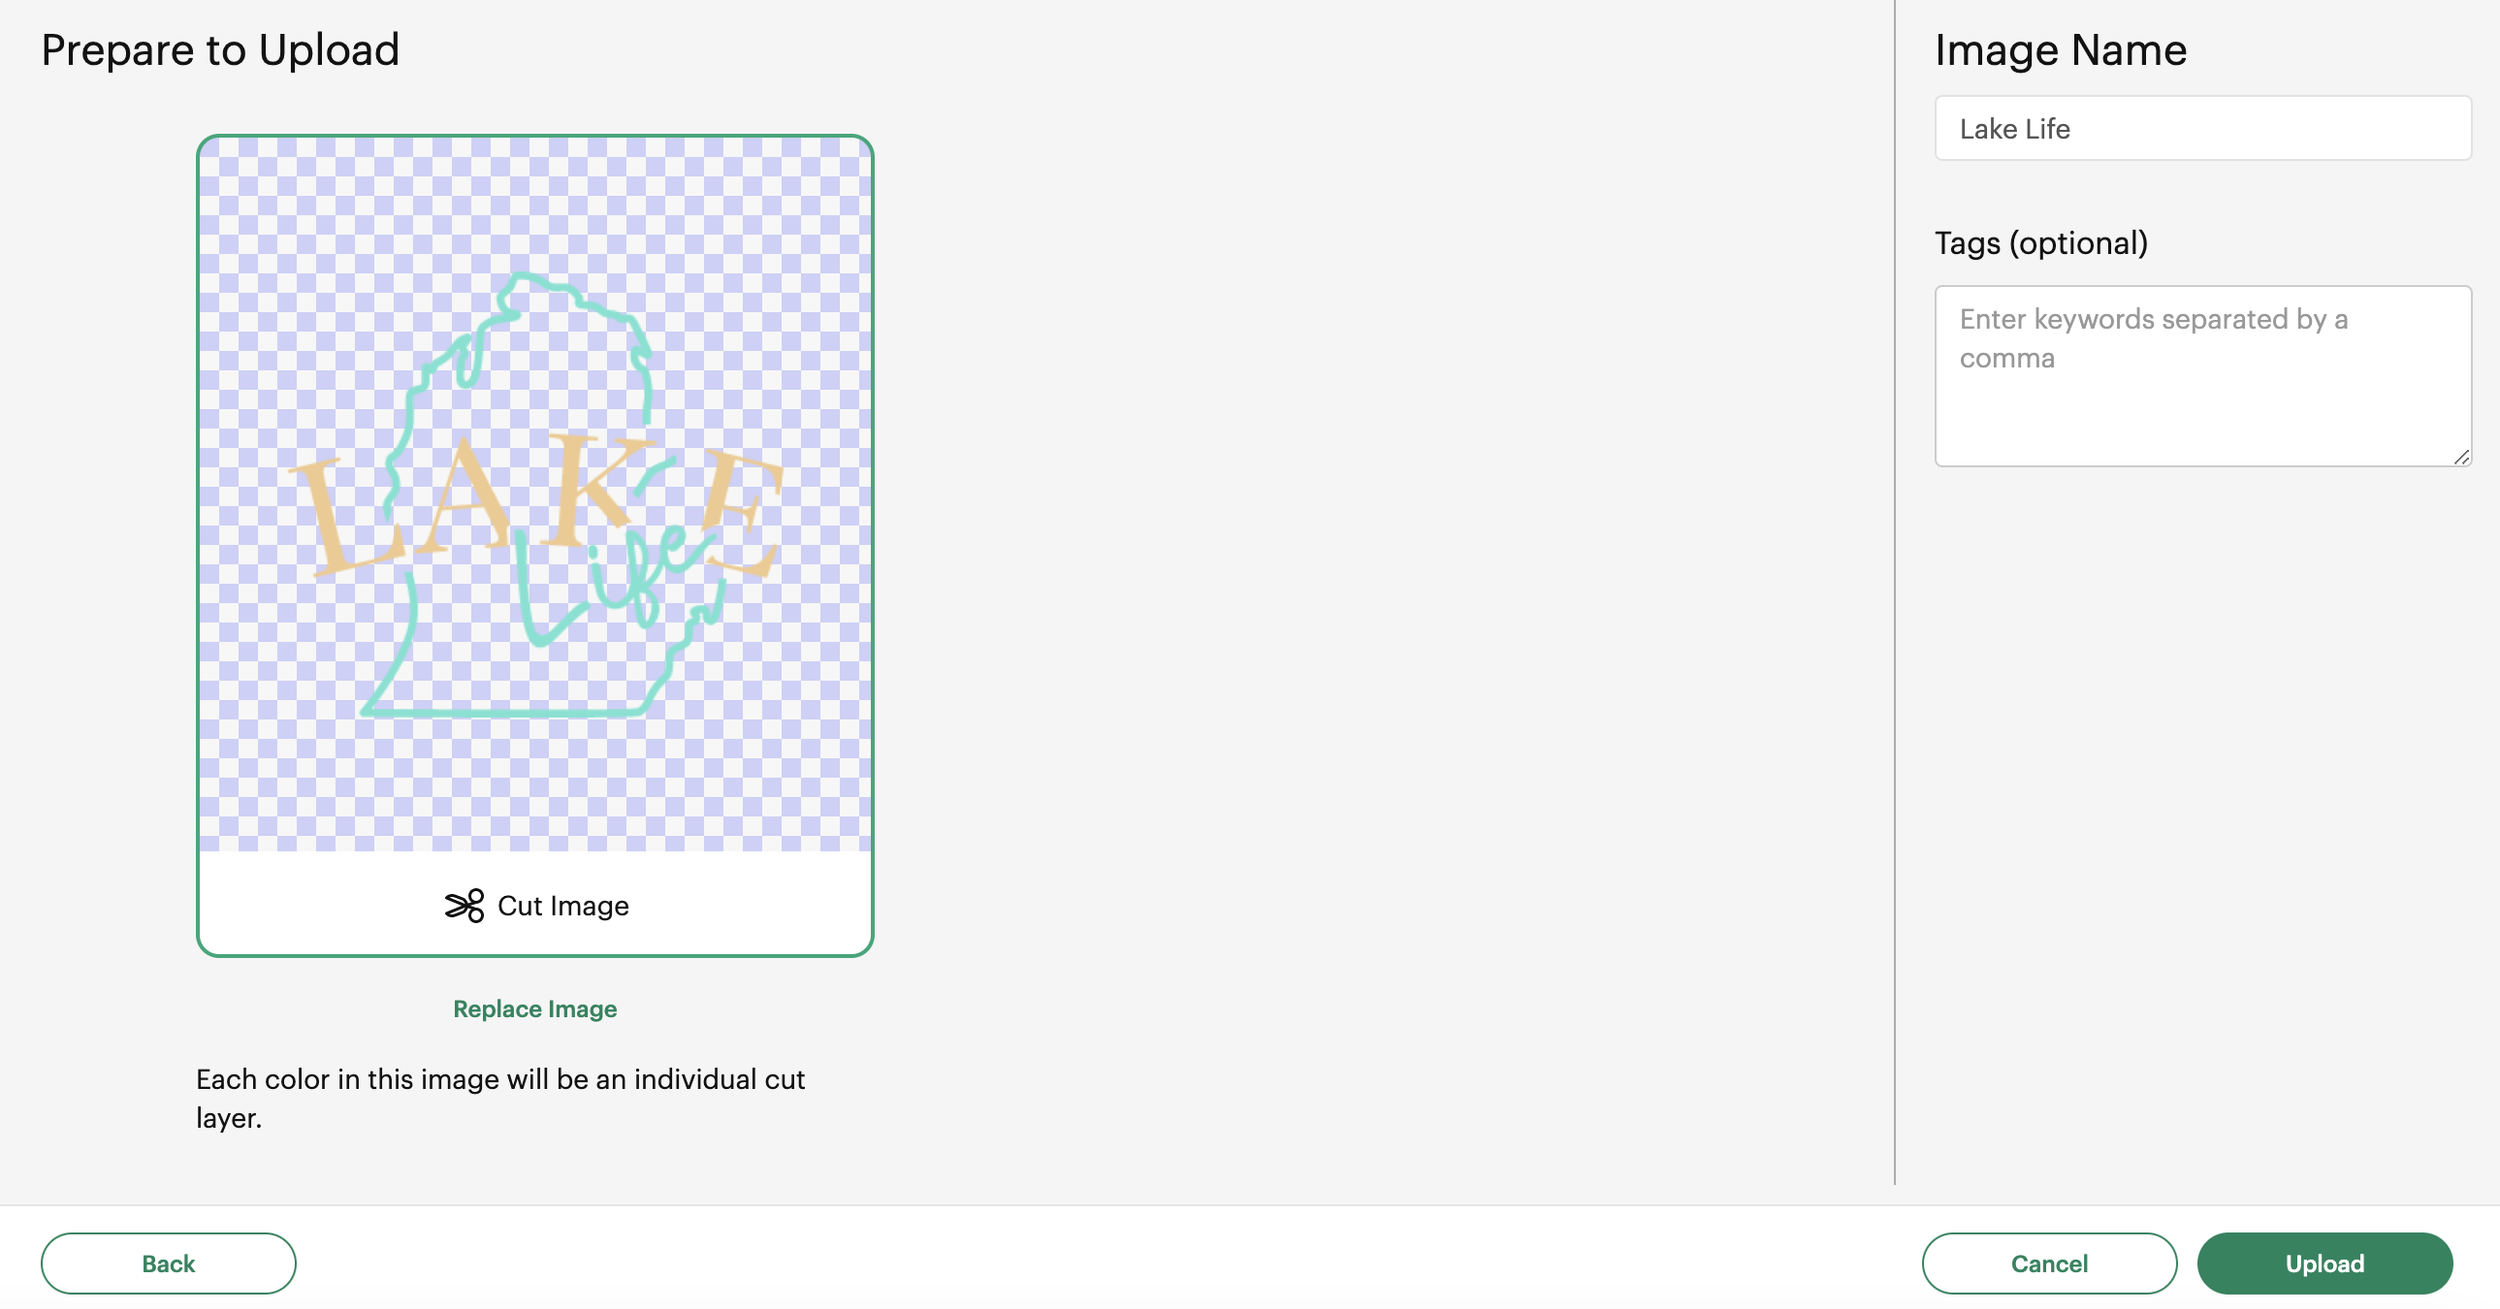
Create a new project and upload the svg file(s) into Design Space. Select your uploaded image and then click “Add to Canvas” in the bottom right. You can select multiple uploaded files and add to canvas at the same time.
Prepare Design for Cutting

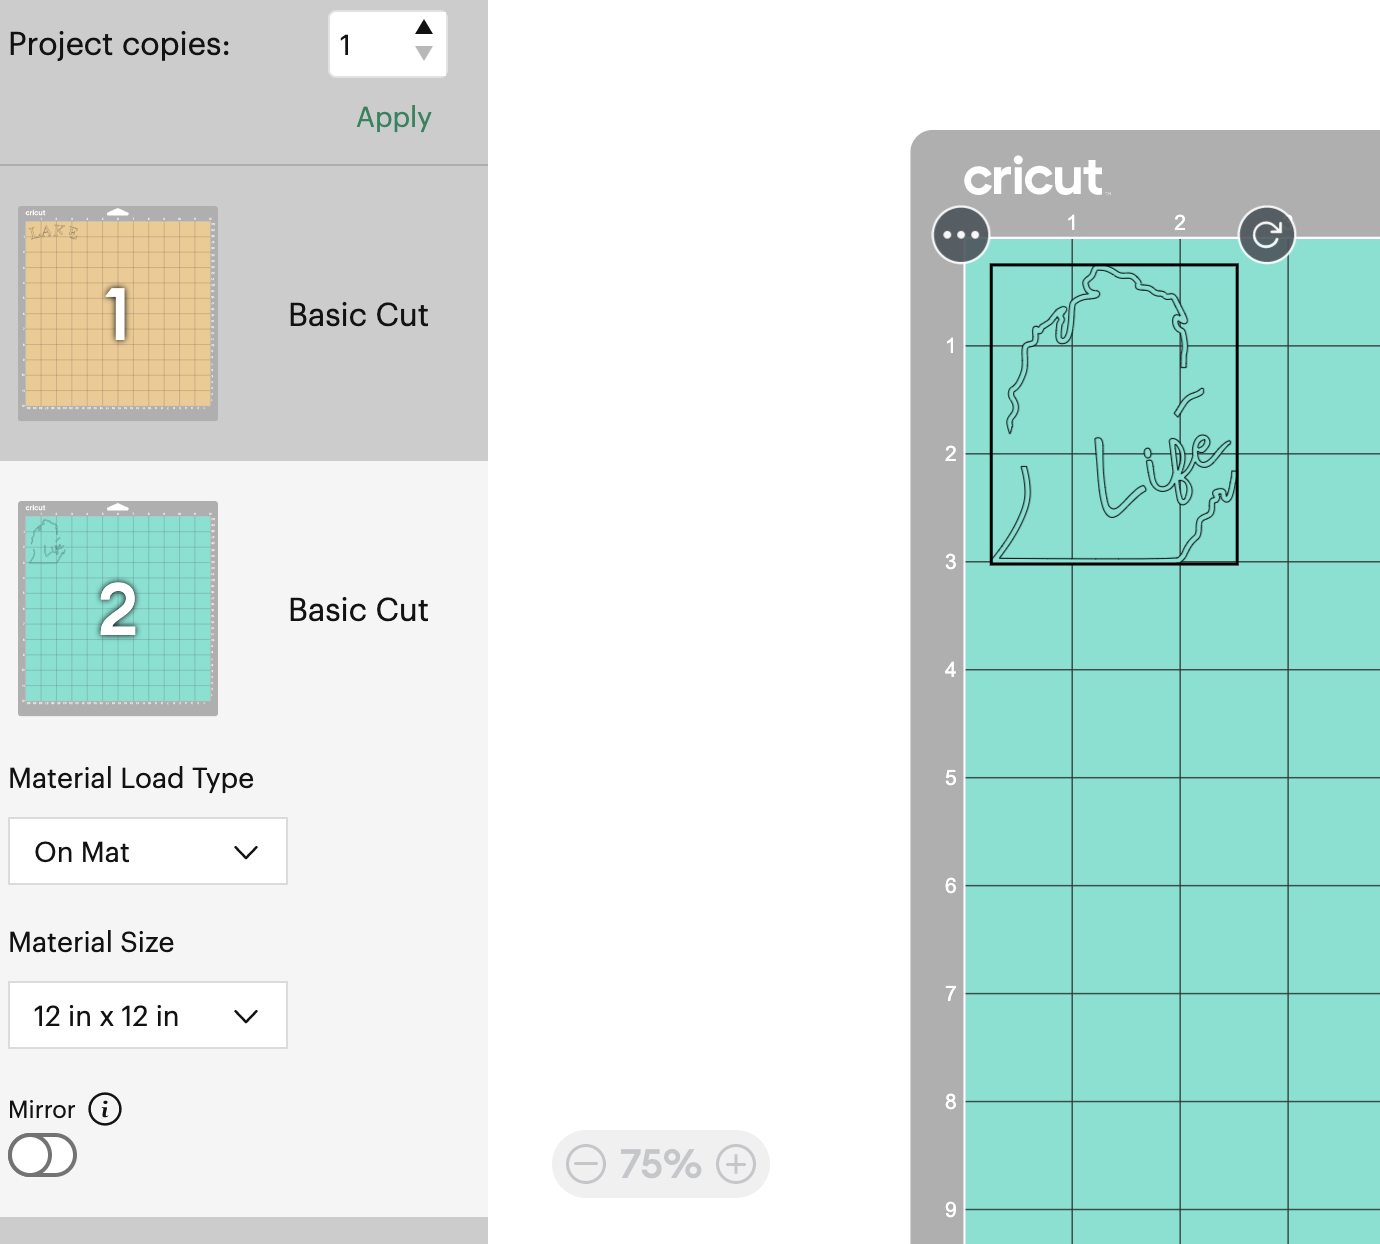
You will now see the Lake Life image on your canvas. Size the image based on your final product. I did 3” wide for my tumbler.
This SVG has three different parts: Michigan shape, “Lake” text, and “Life” text. Each one can have its own color. Choose a color by “Basic Cut”. I did the same mint color for both the Michigan shape and “Life” text. The “Lake” text is gold.
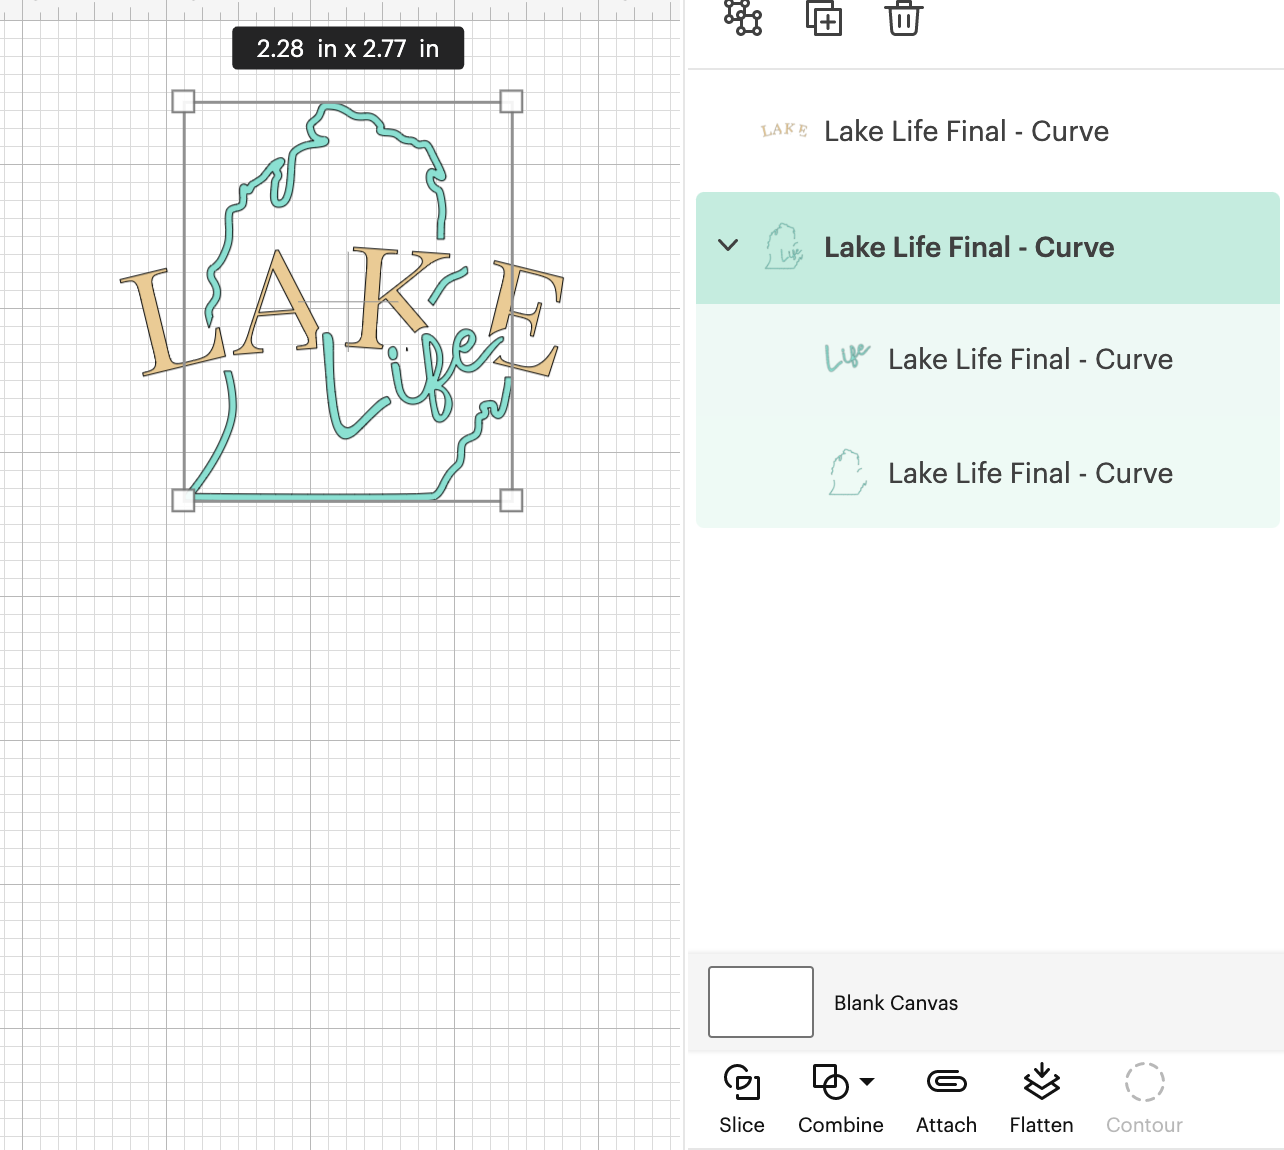

To make it easier to transfer the vinyl to the tumbler, attach both mint layers so it cuts them at the same time and in the final position. To attach, highlight the layers and click the button on the bottom that says “Attach”. The mint layers you highlighted will be under an “Attach” category.
Make sure all mint layers are in the same group or next to each other in the layer panel on the right-hand side. If you have gold in the same group, it will attach as well and make everything mint.
Click the “Make It” green button to start cutting the vinyl.
Cut the Vinyl with a Cutting Machine

Select how you would like to cut your material. I have found it is easier to weed permanent vinyl if the Cricut does two passes. To do this, the vinyl needs to be on a green mat instead of inserted directly. Click “Confirm”.
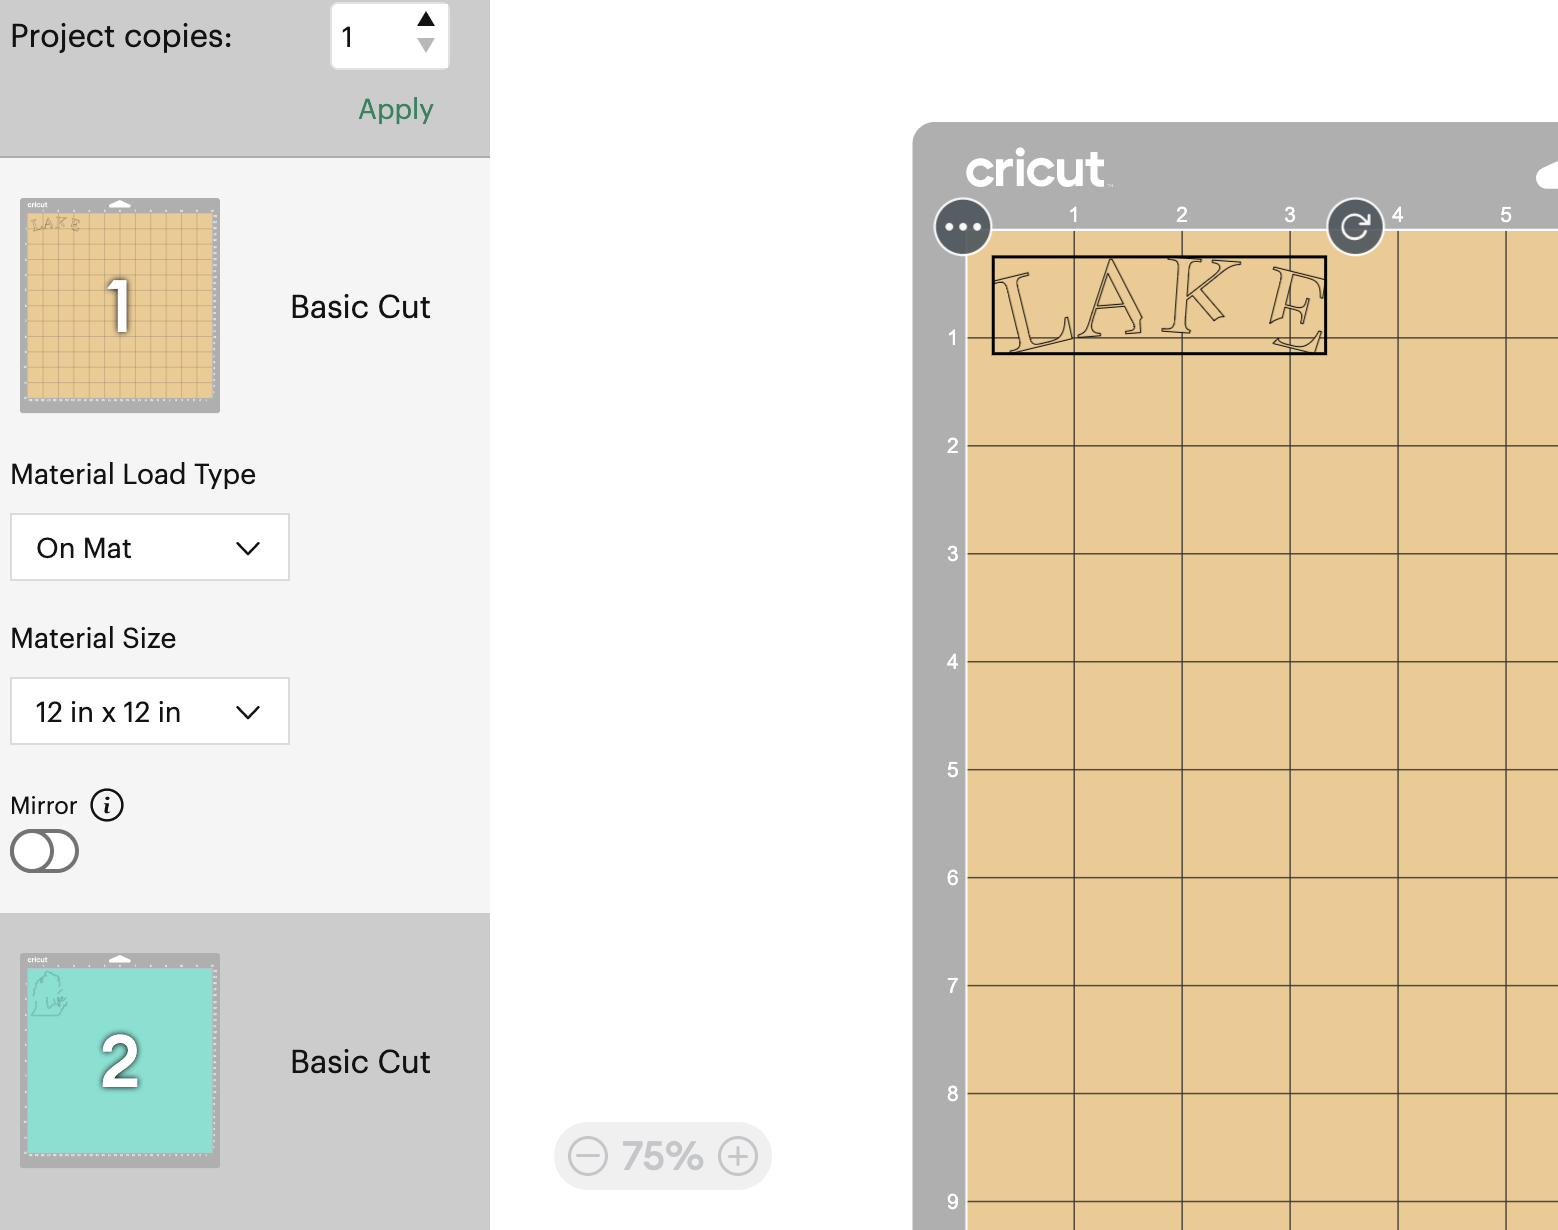
All color layers will show up on the left-hand side. Confirm everything looks good before proceeding. Click the “Continue” green button in the bottom right corner.
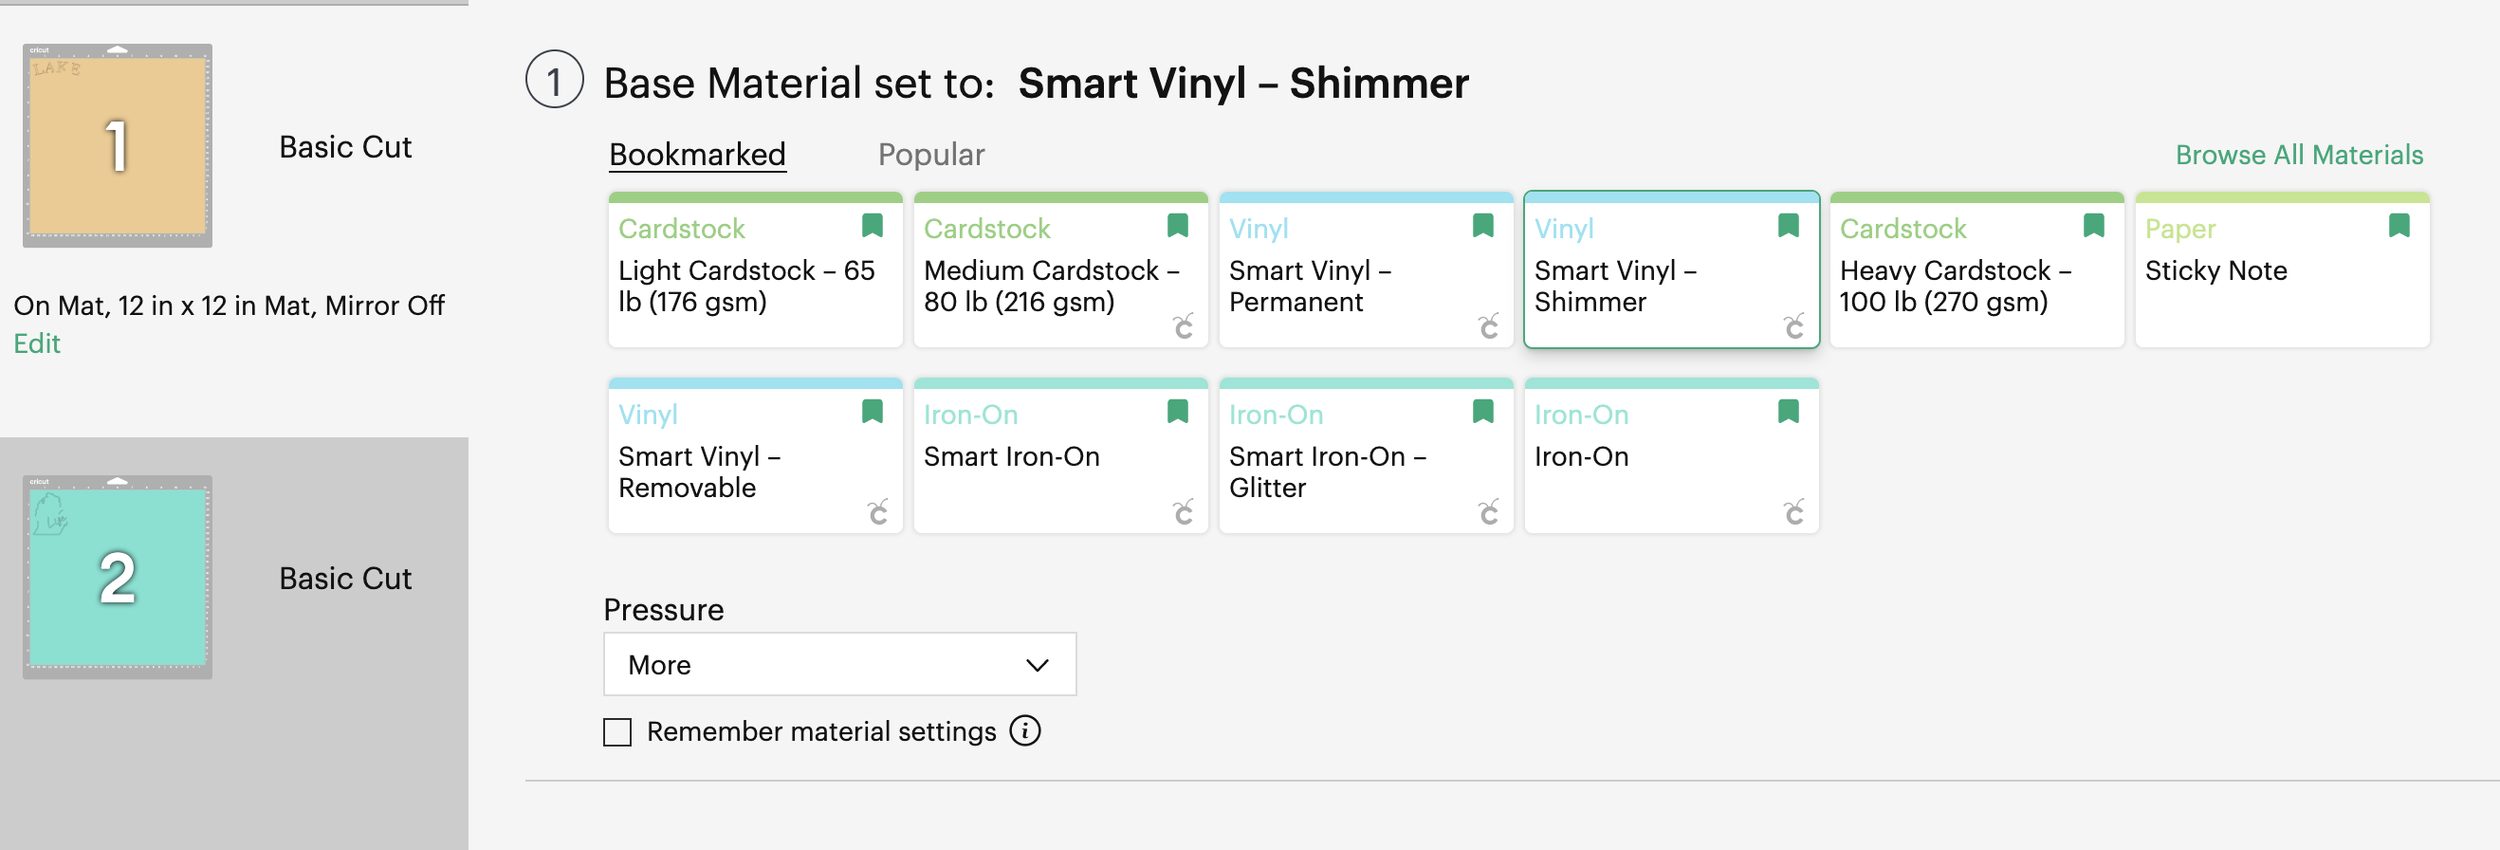
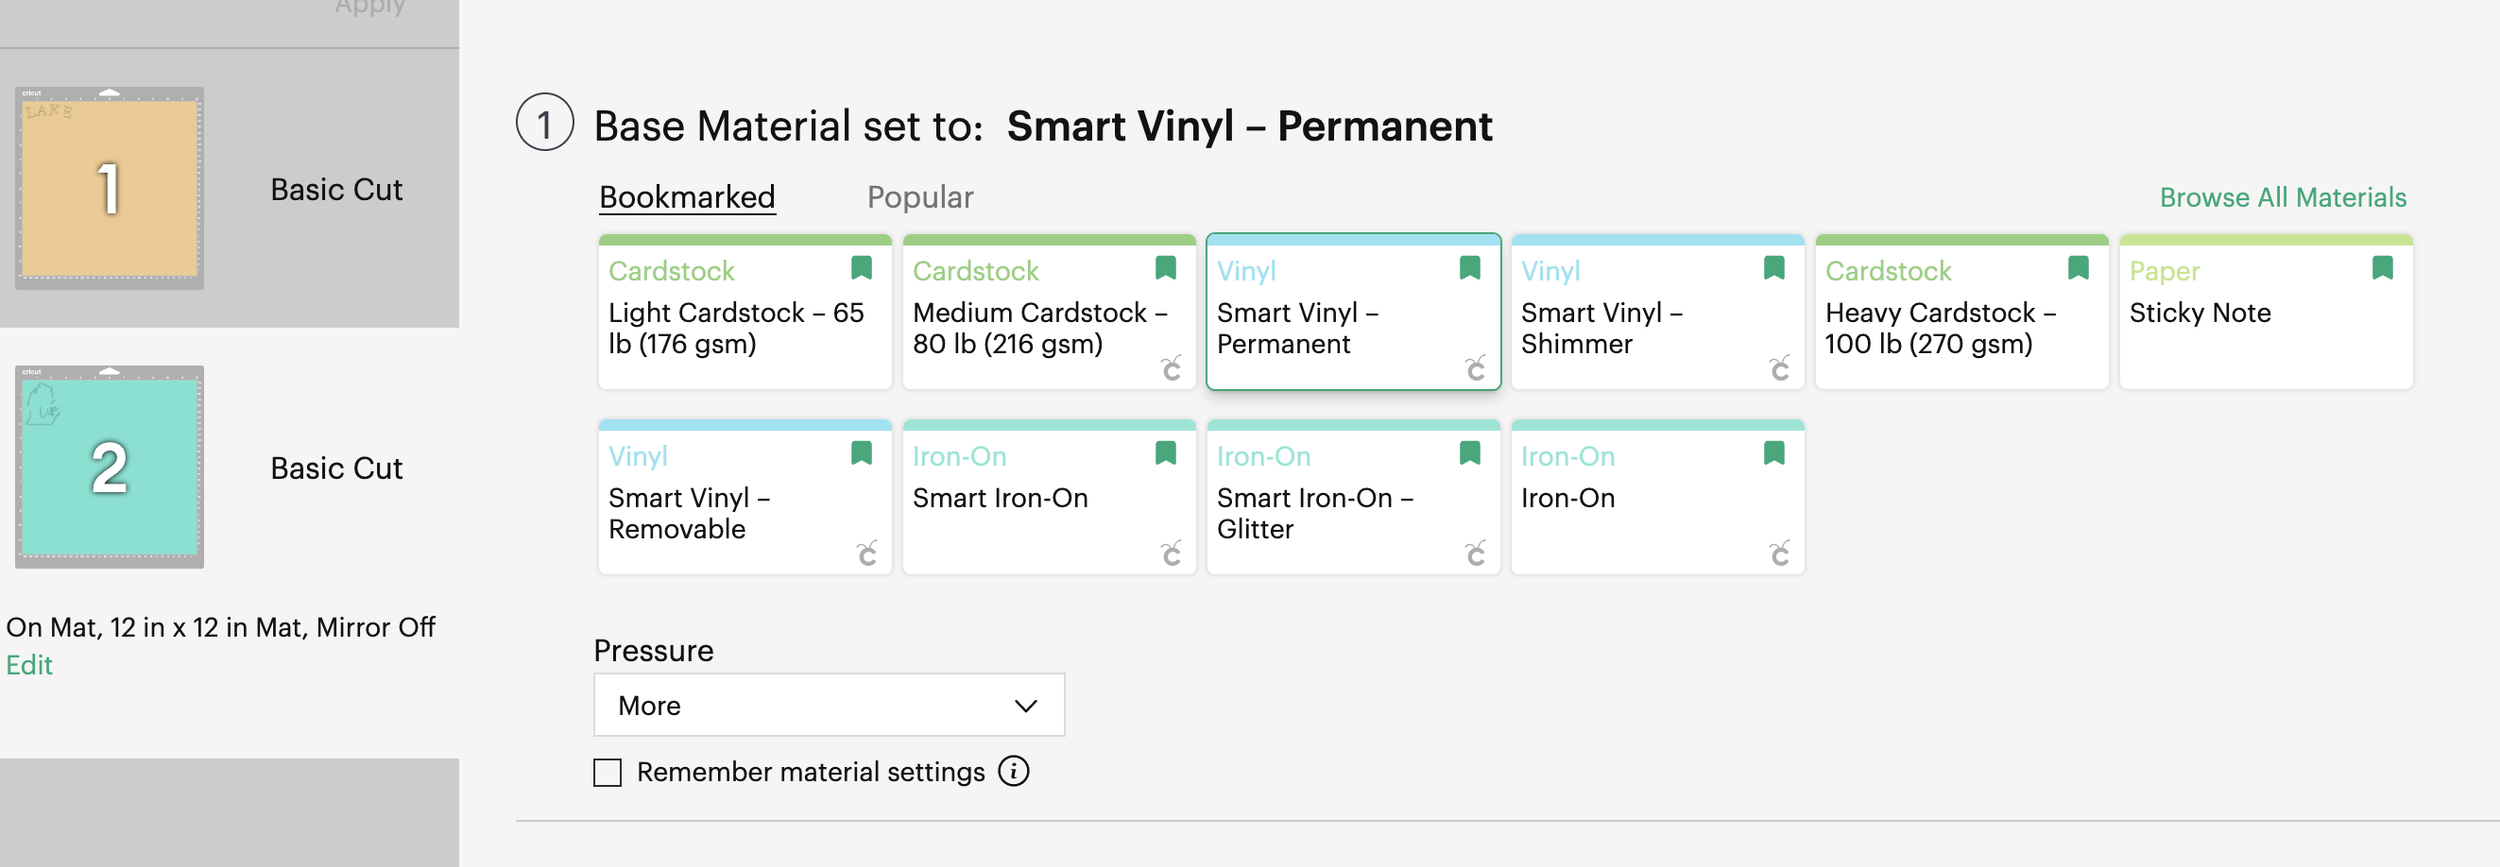
The next step is to select the material such as Smart Vinyl - Shimmer for Gold and Smart Vinyl - Permanent for Mint. Select the “more” pressure cut setting.
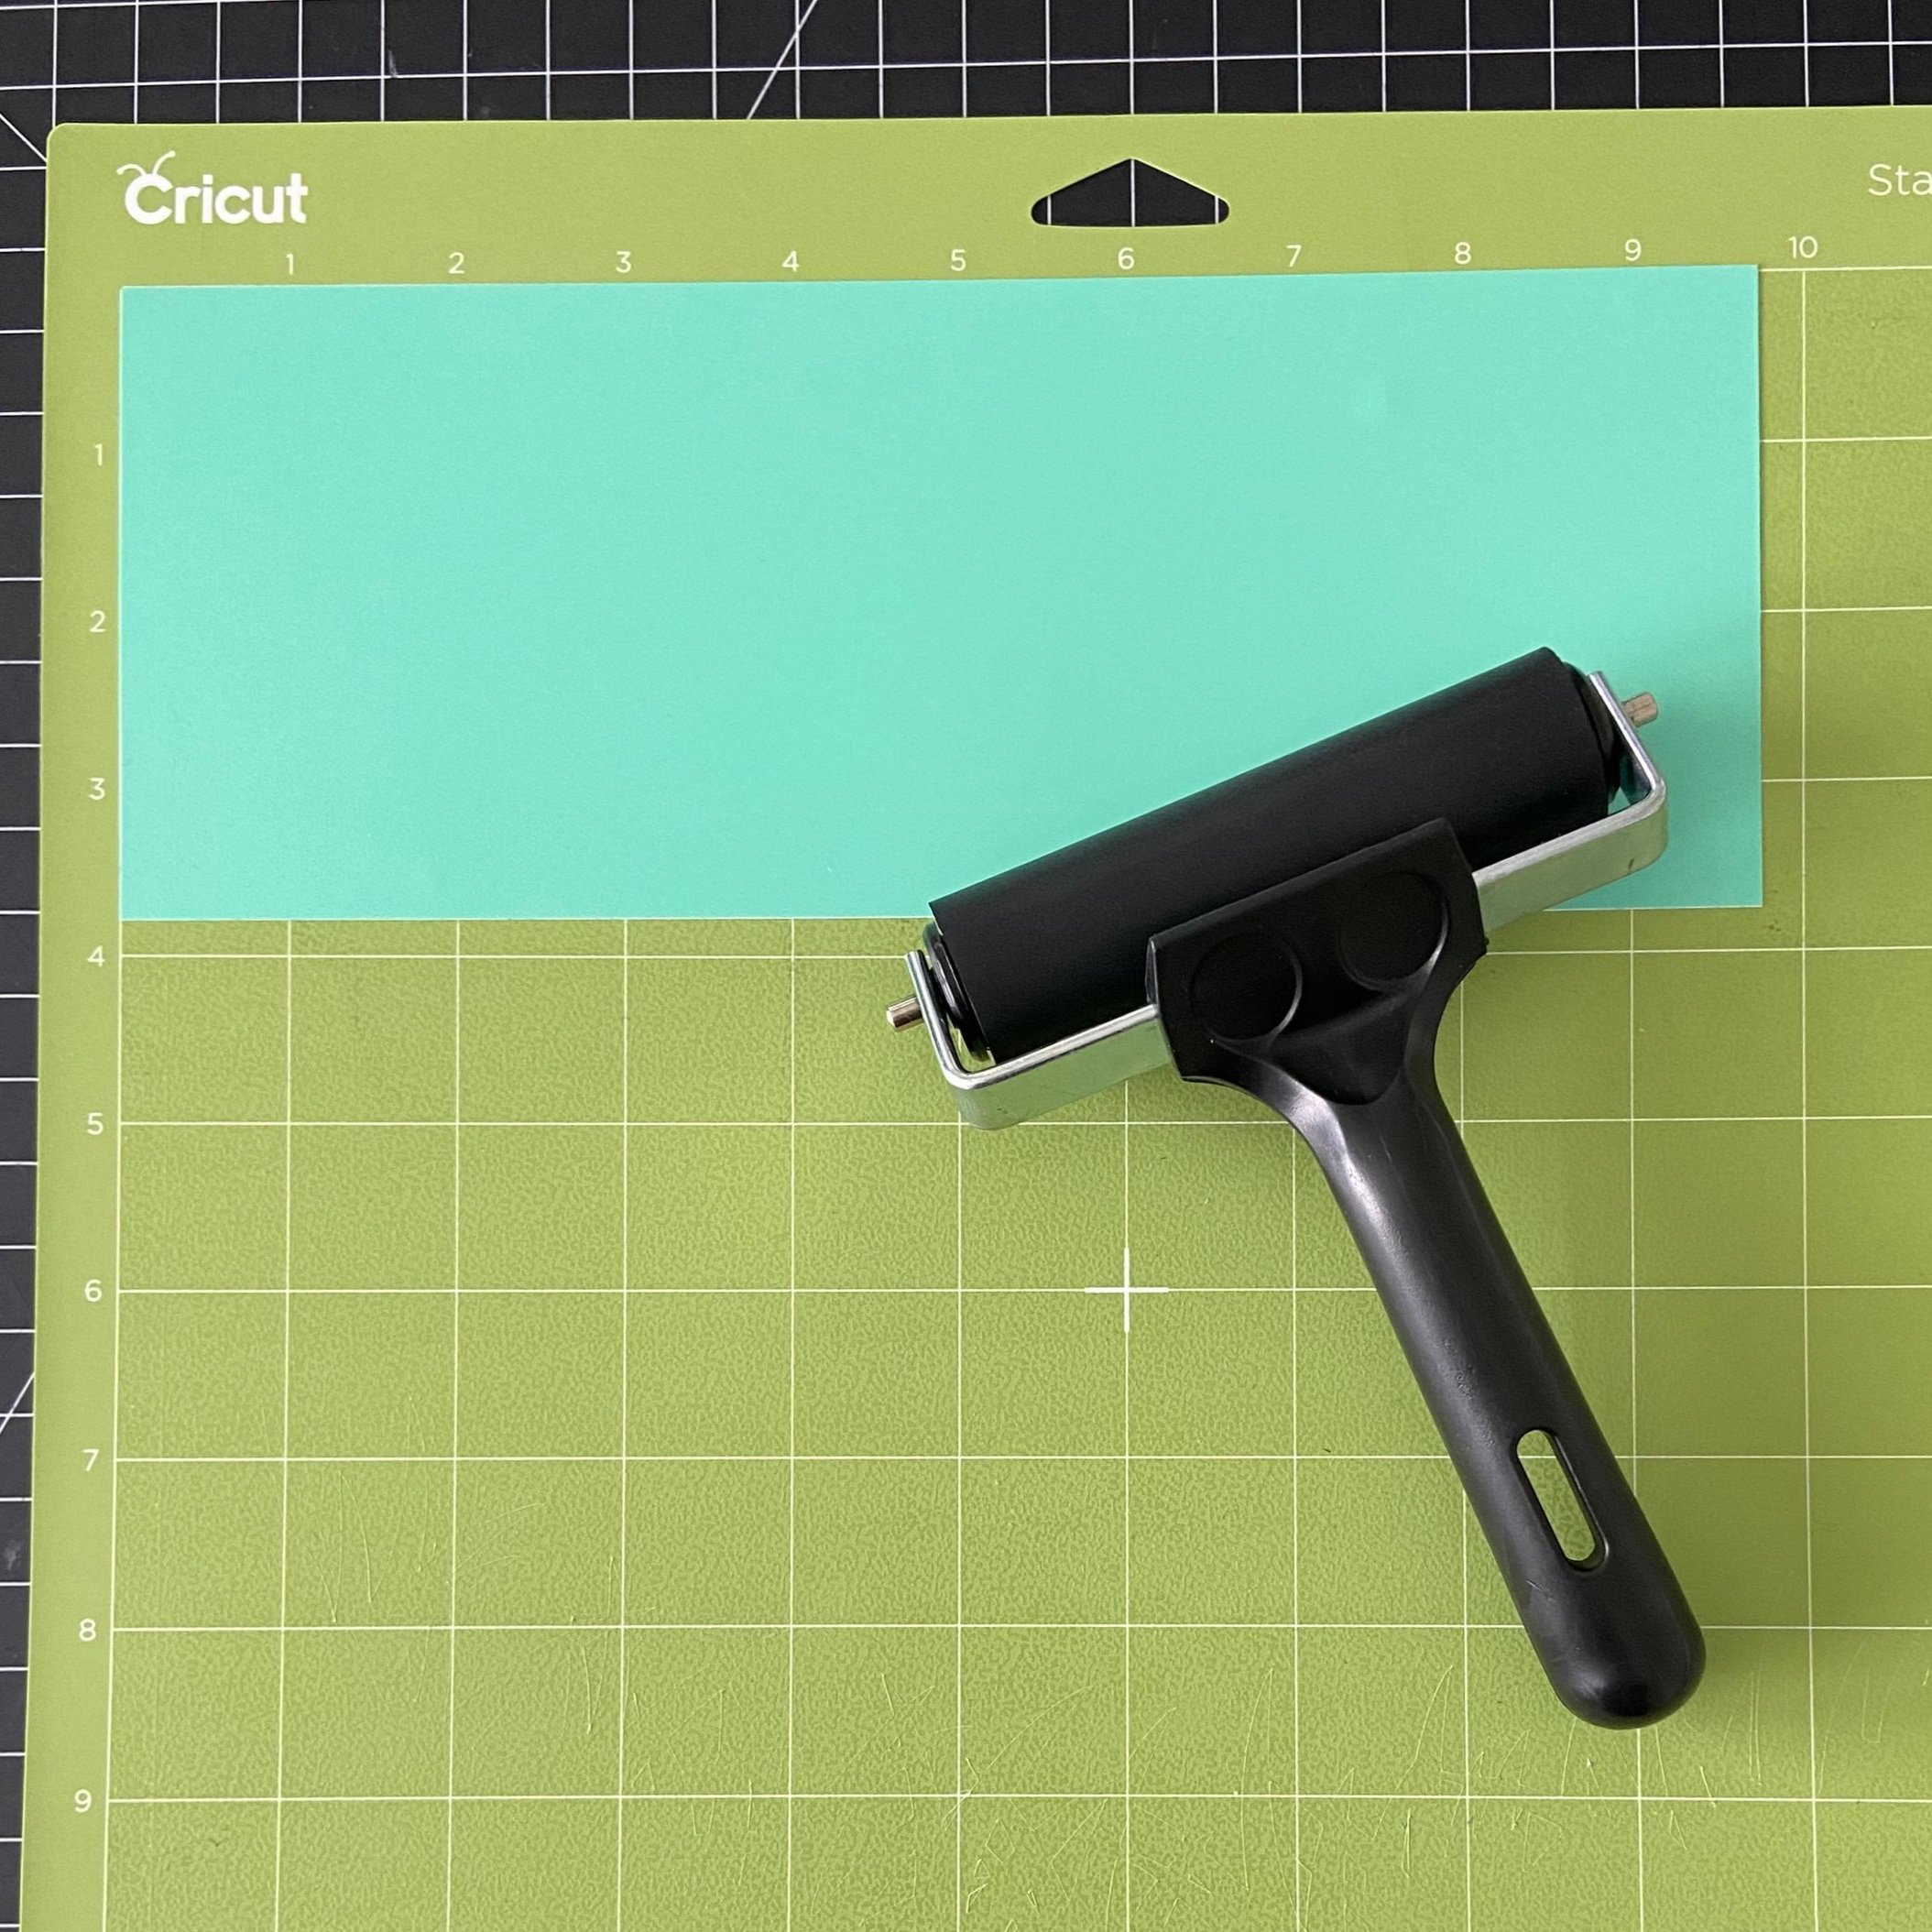
Make sure the vinyl on the mat matches the location of the design shown on the computer screen. Use the brayer to smooth the vinyl onto the green mat. Insert the green mat into the machine and push the blinking insert button.
The machine will now cut the design. When the machine is done, push the play/start button again and the Cricut machine will cut the design a second time in the same spot. Once it has completed the second cut, you can eject the mat.
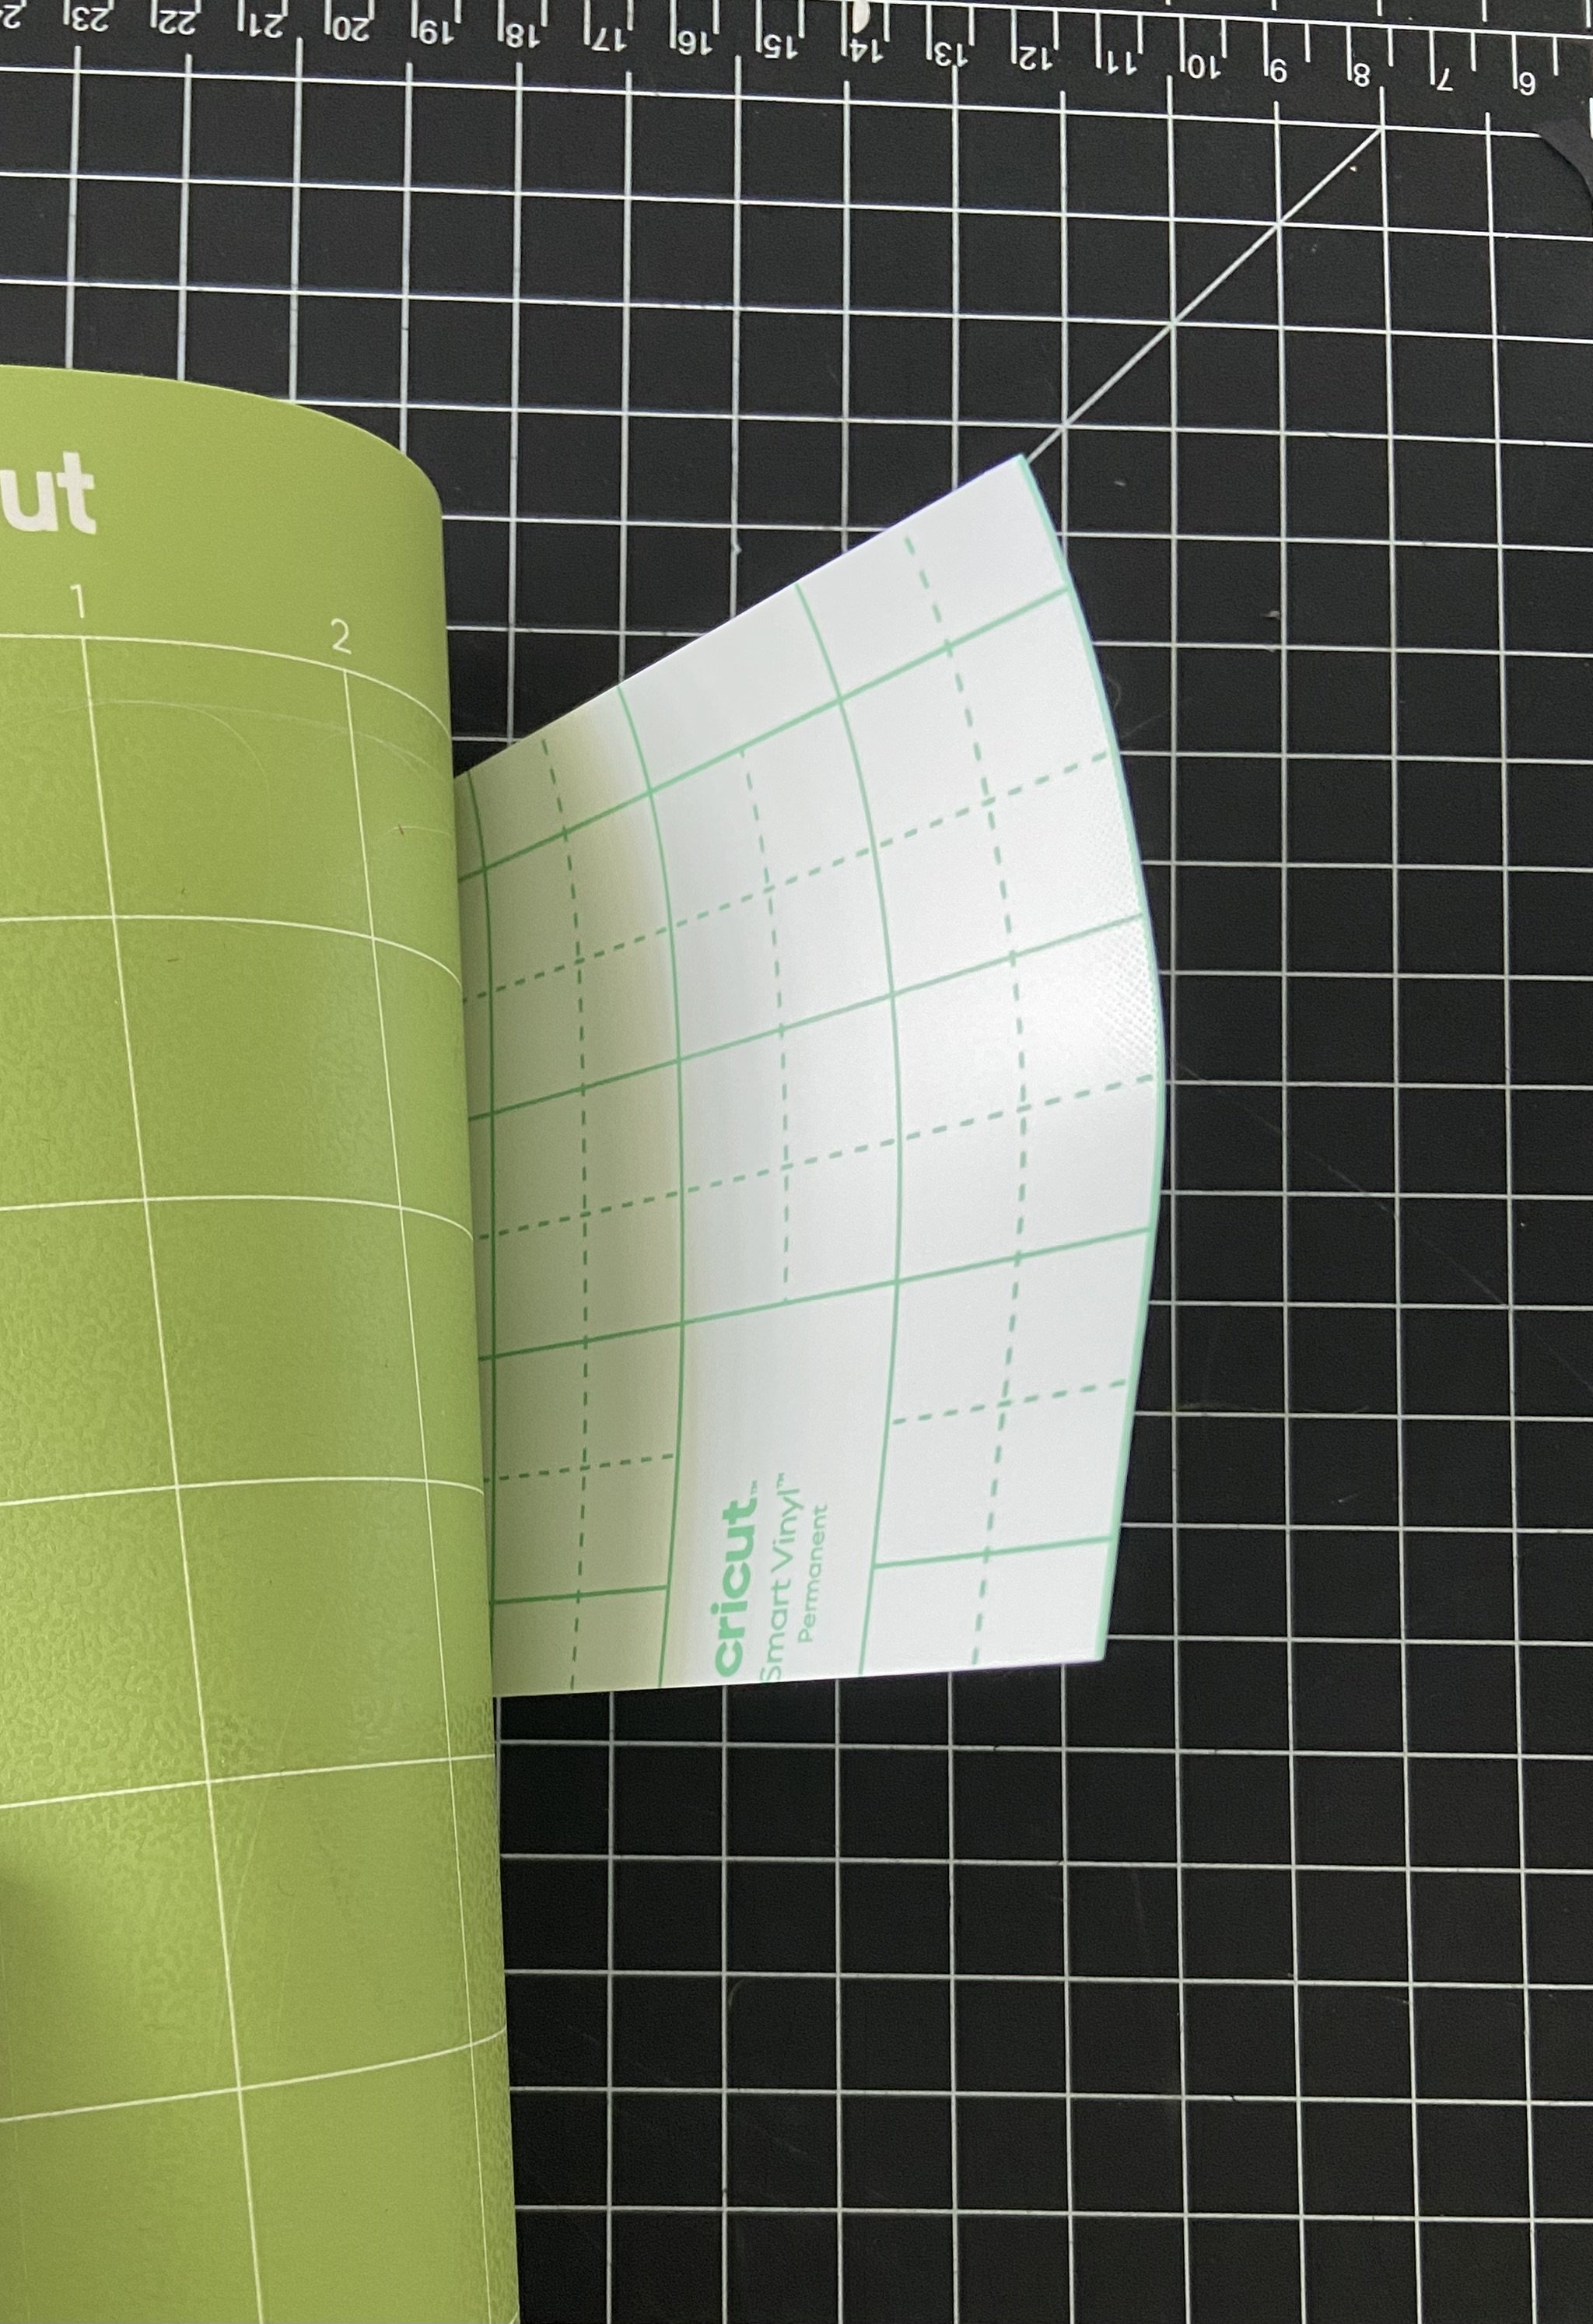
To remove the vinyl from the mat, bend the mat away from the vinyl. Trim the vinyl around the design. Leave extra room around the mint design for the gold letters.
Weed the Vinyl
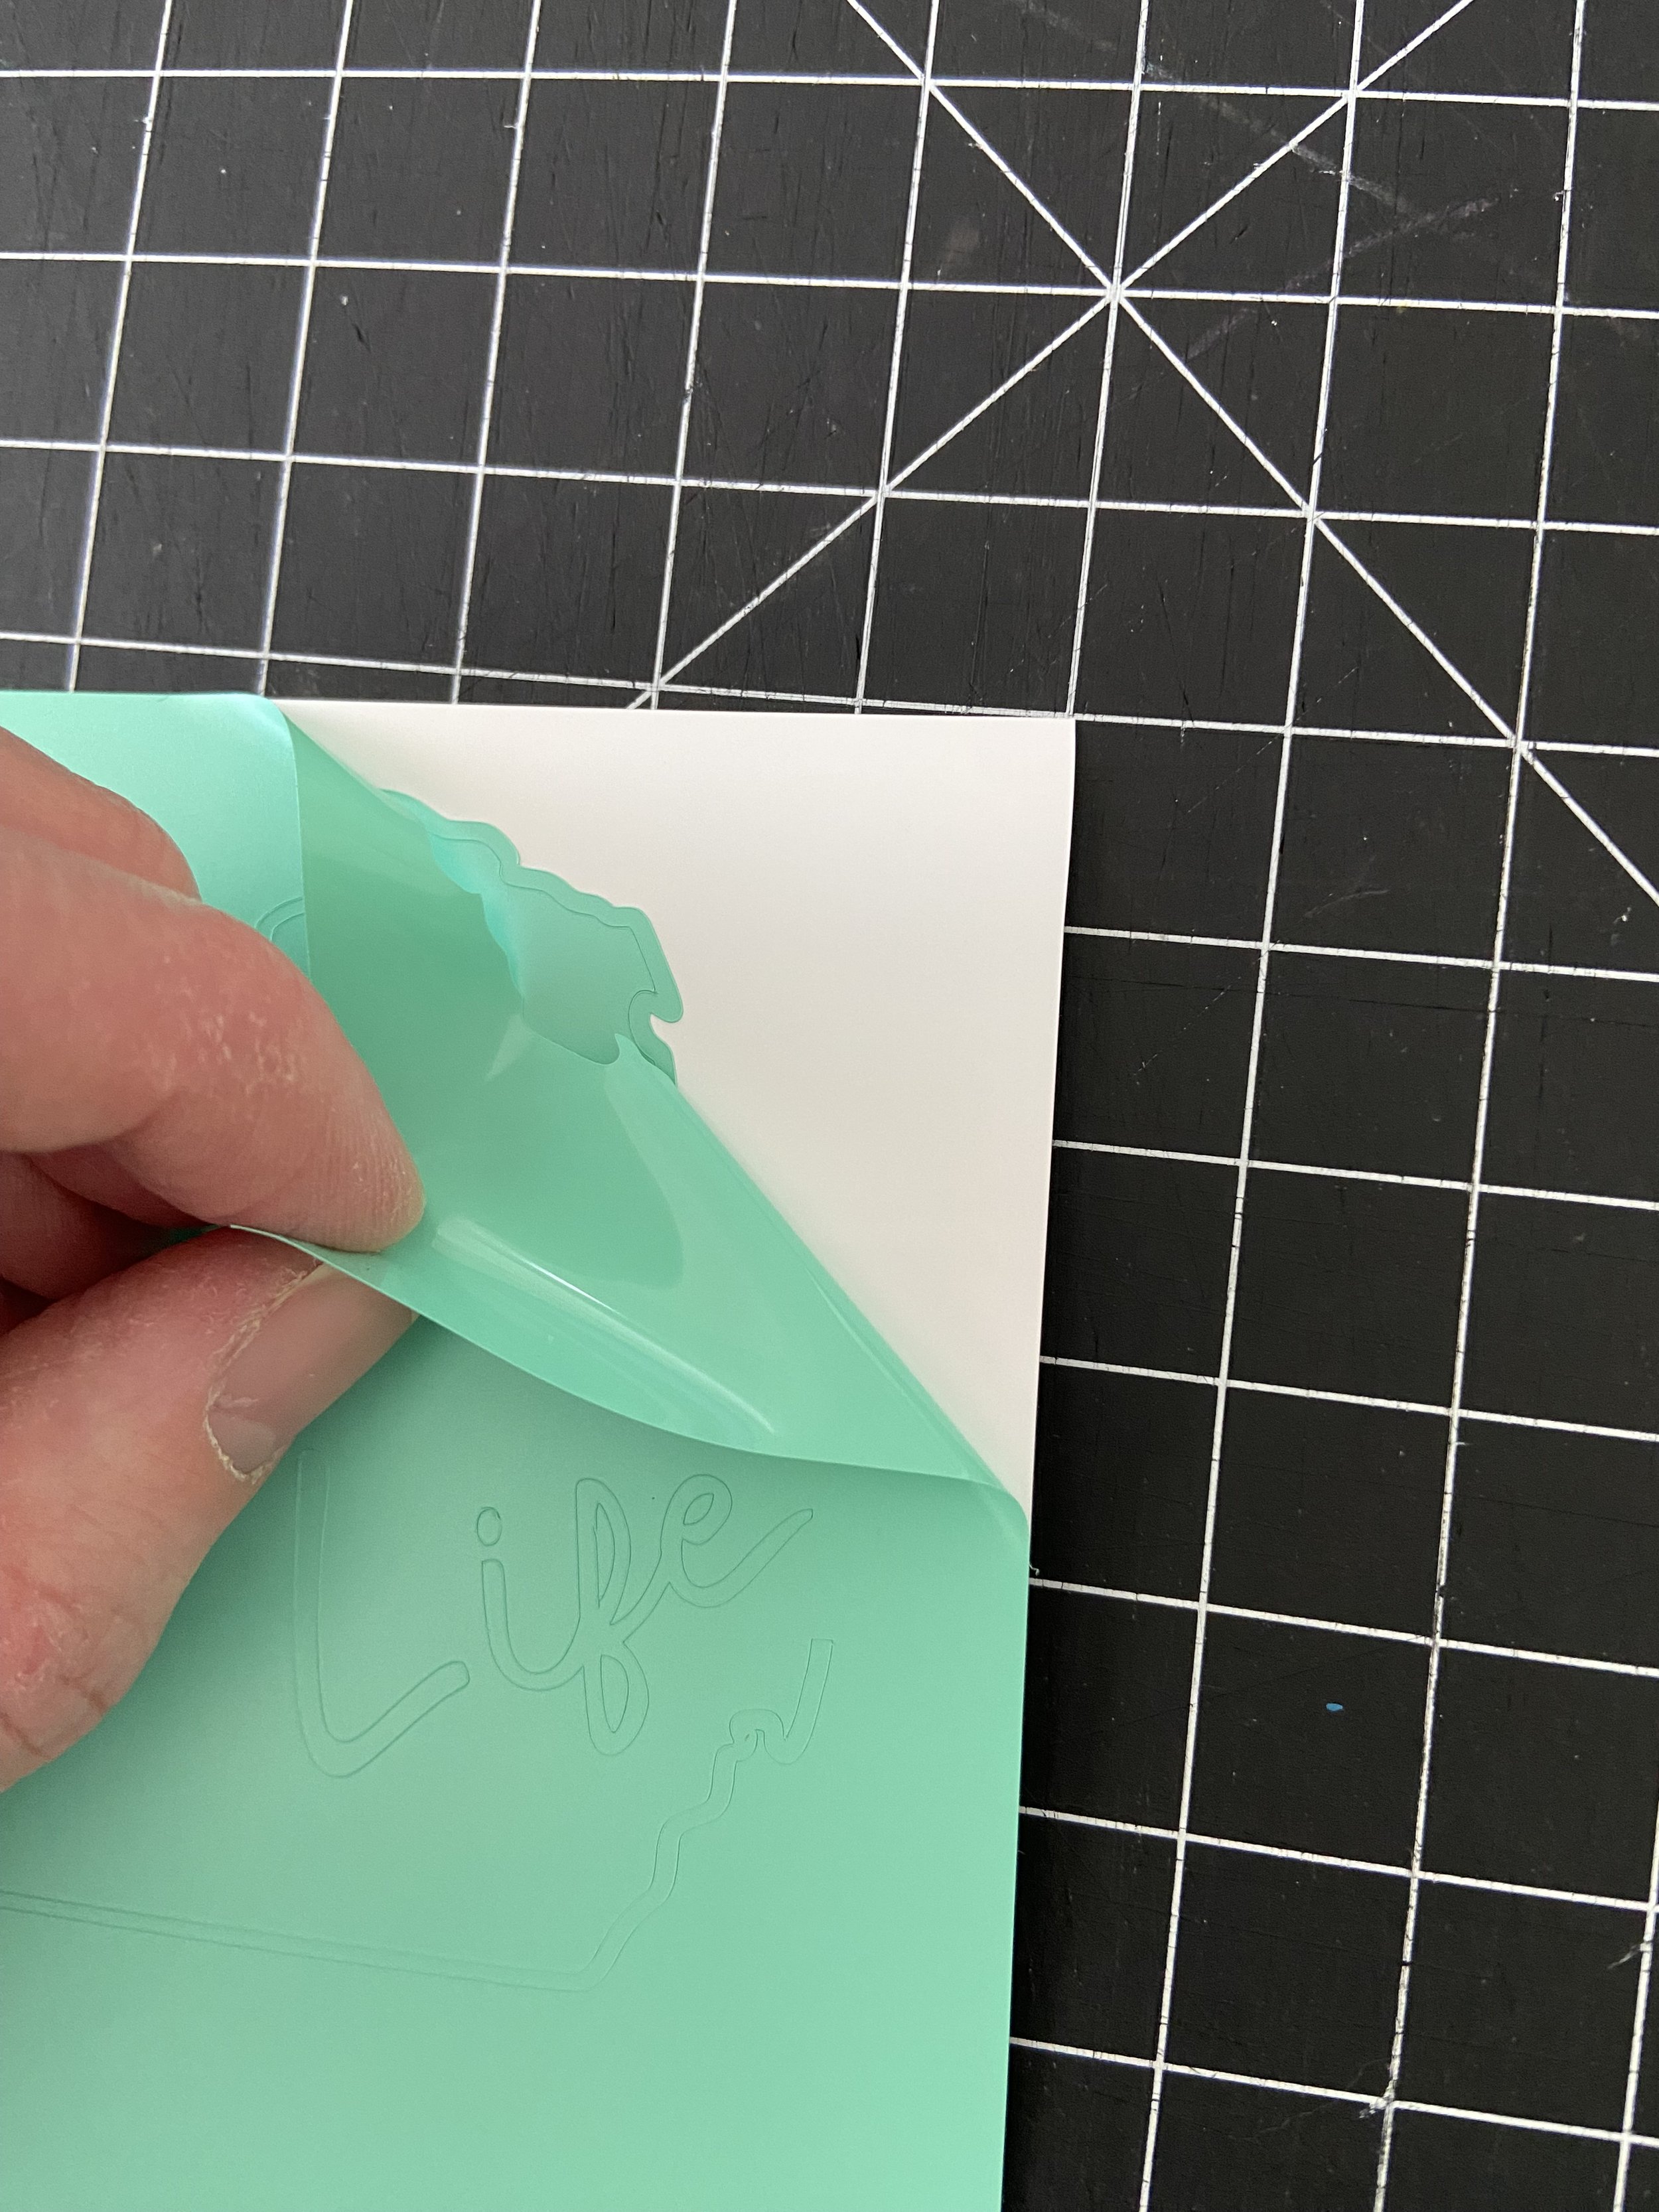
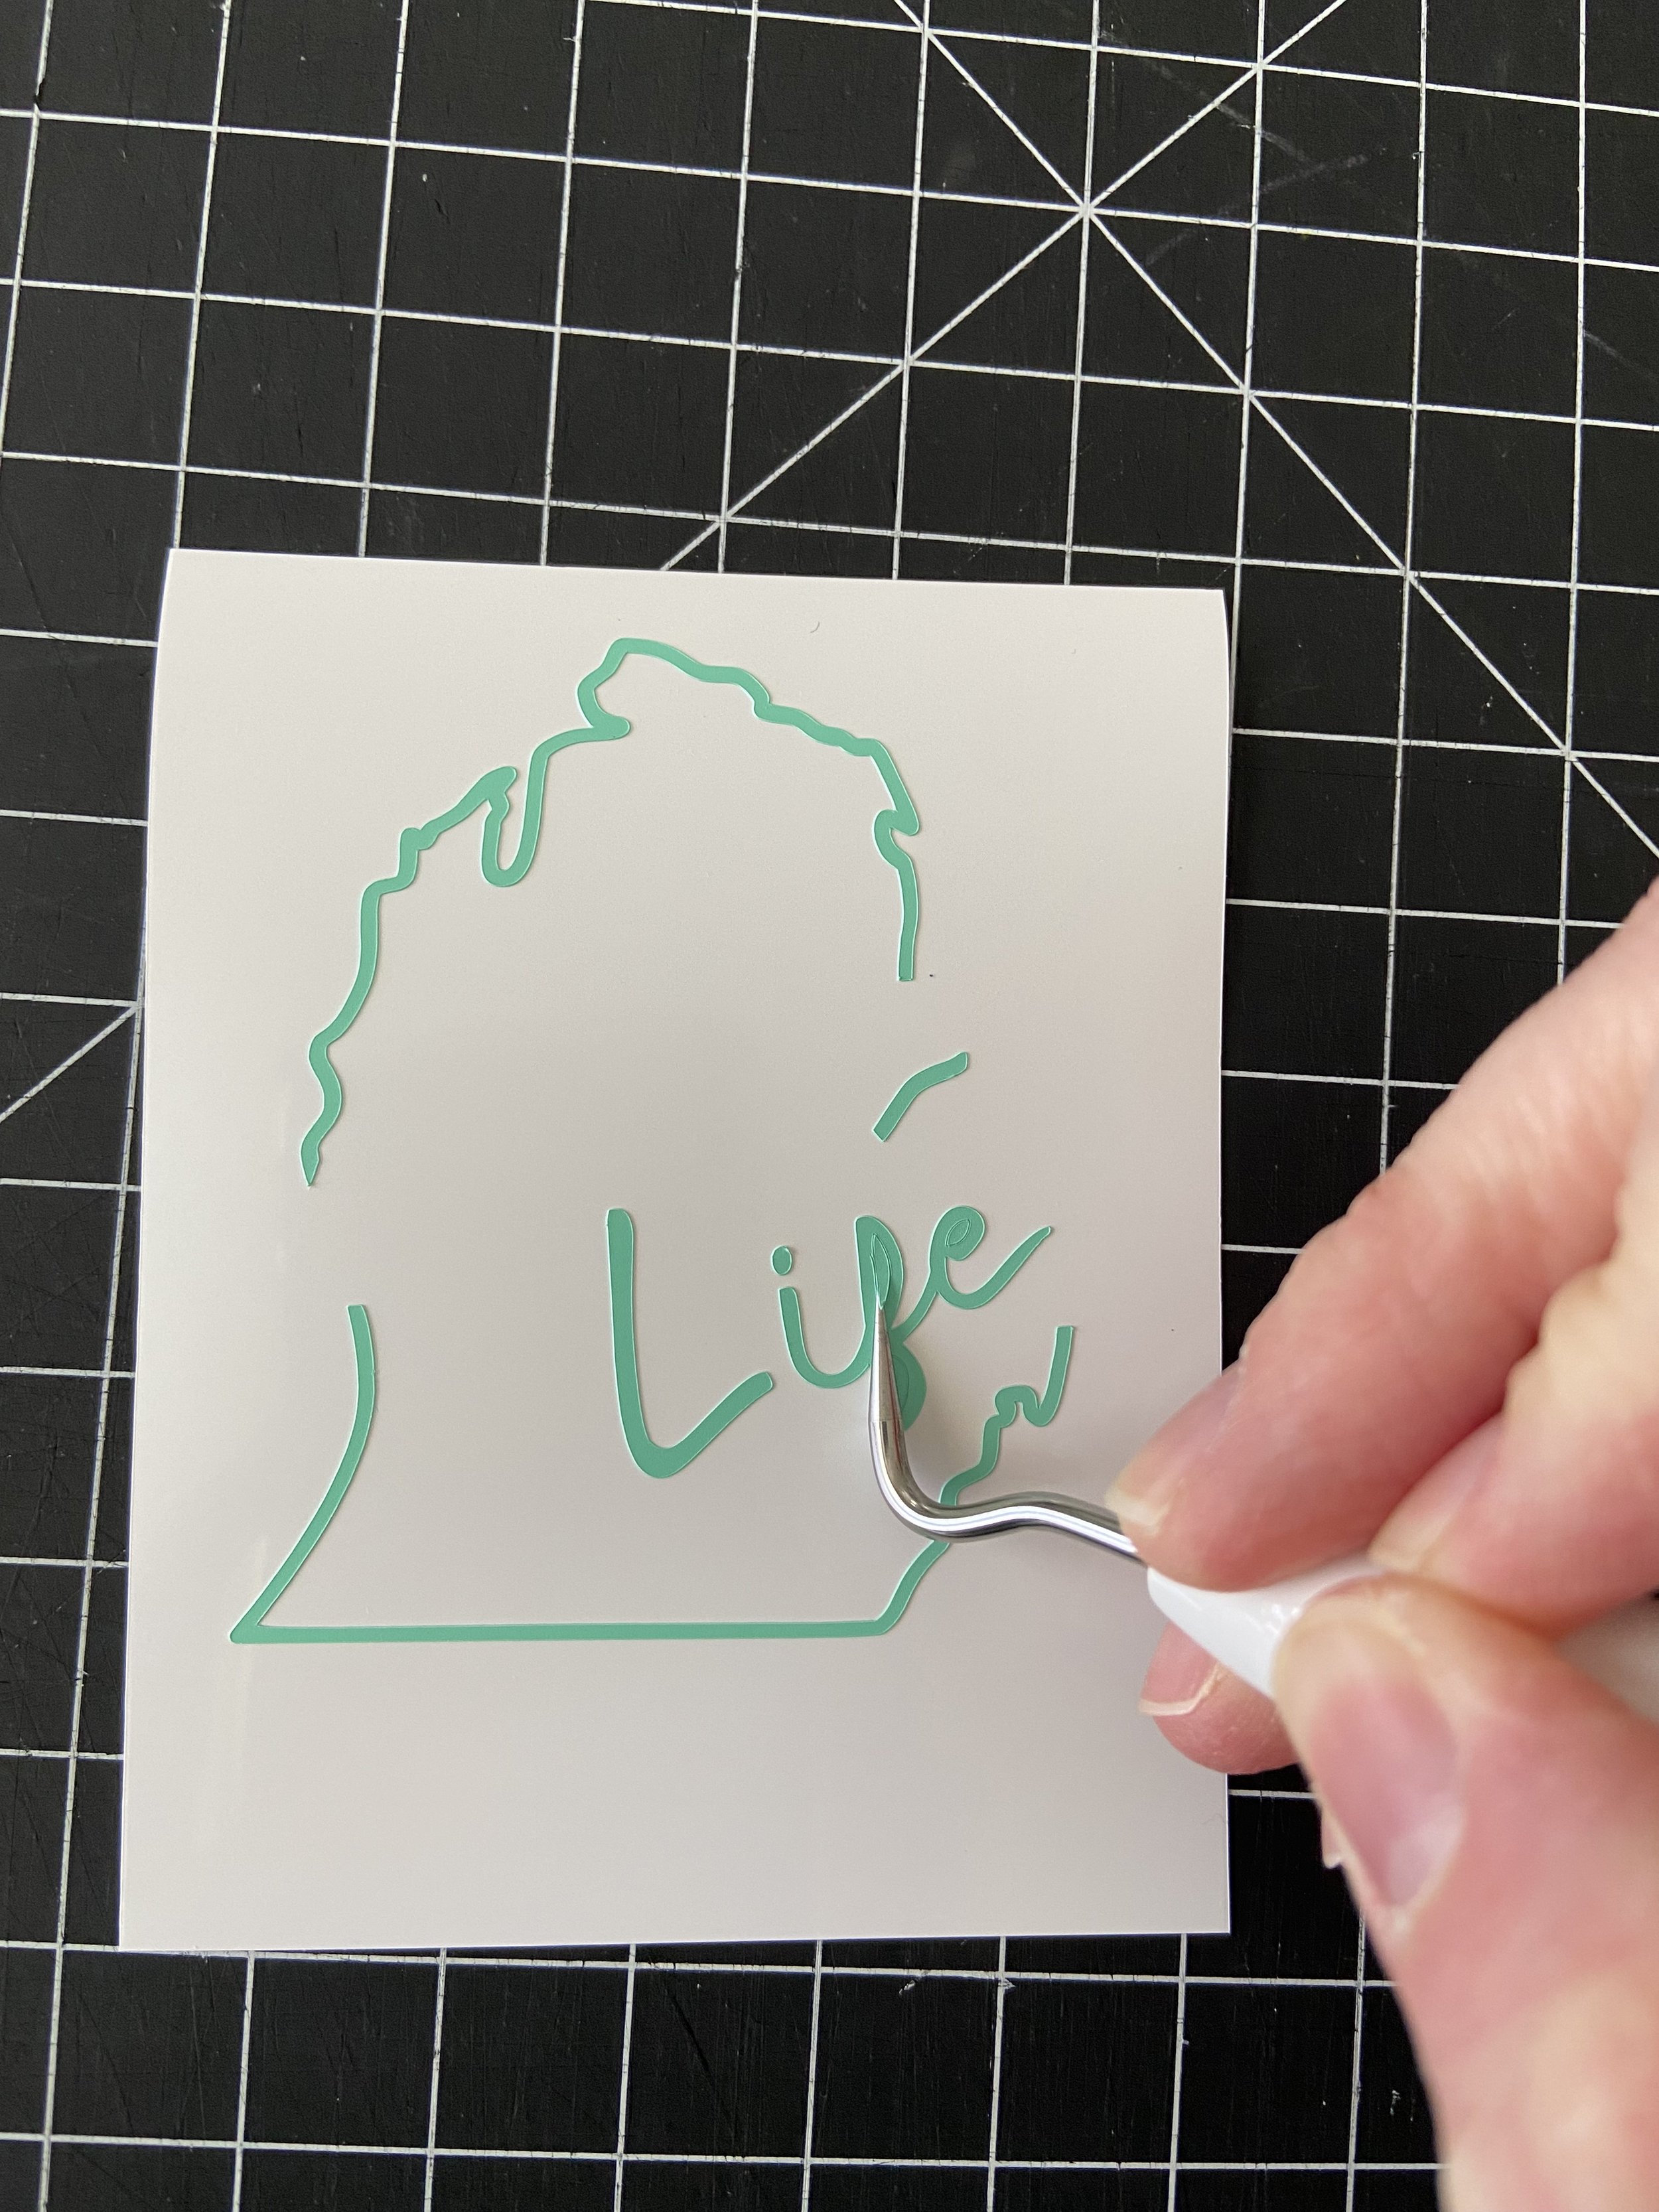
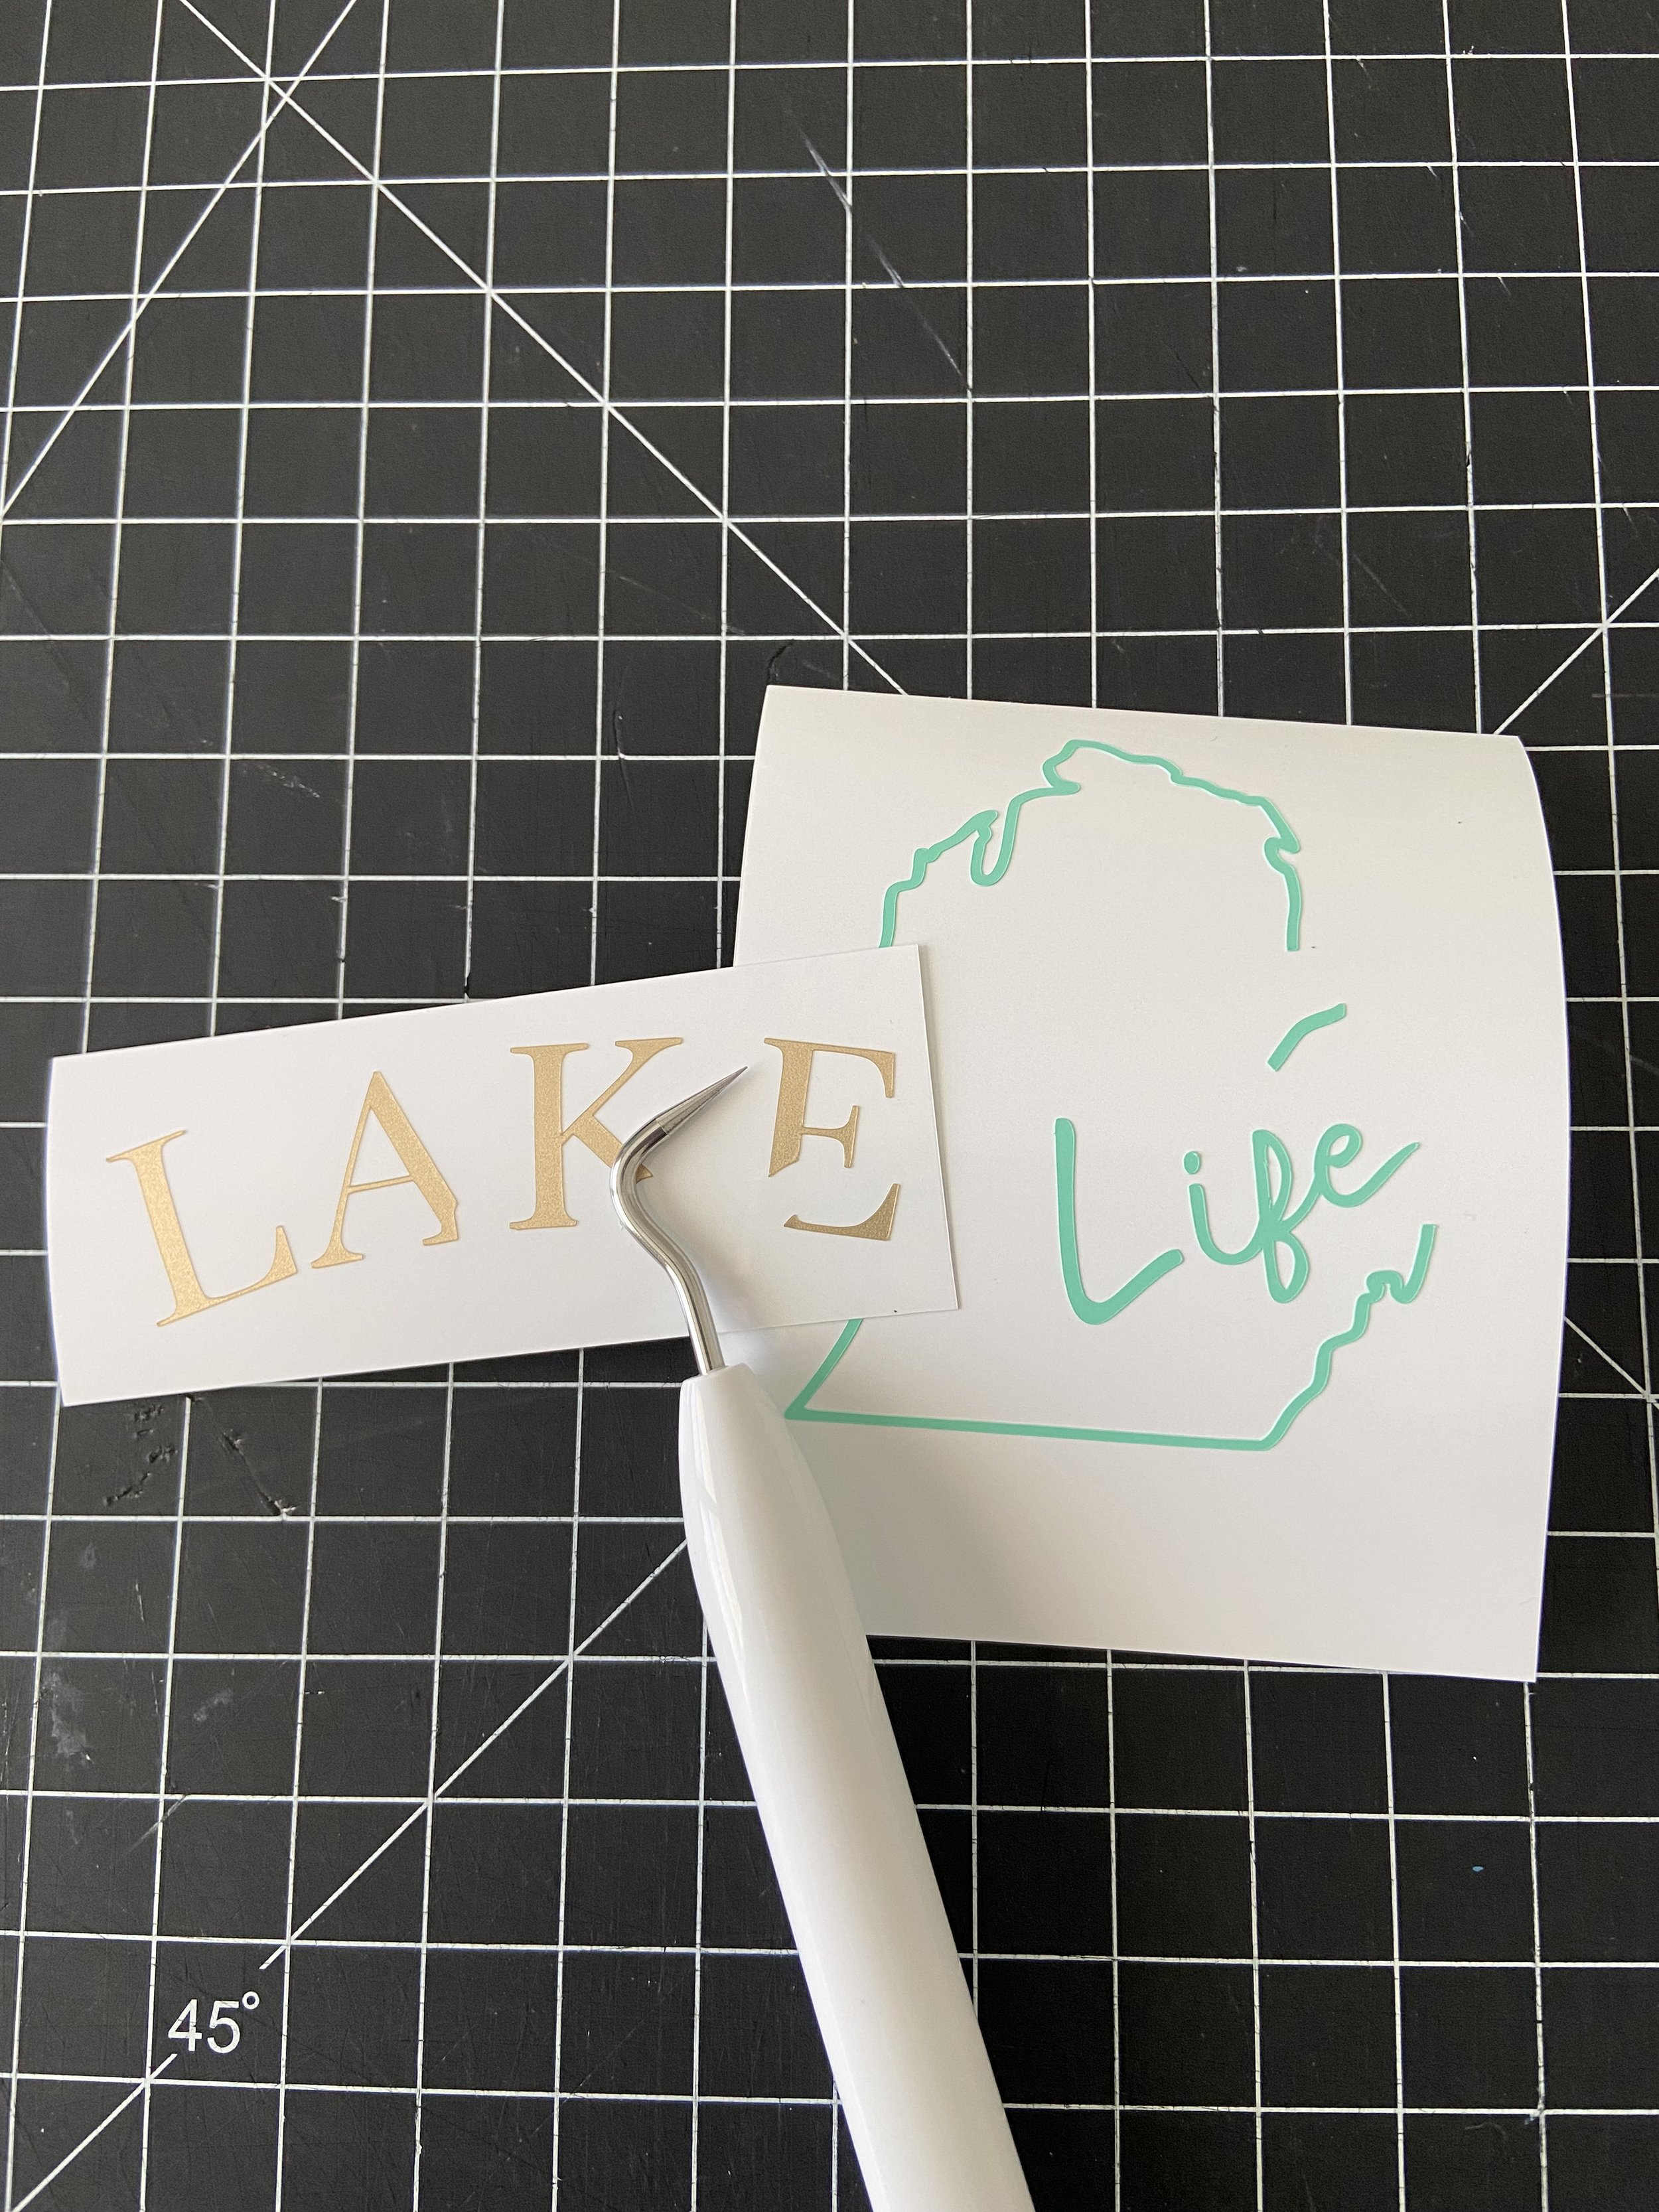
The next step is to weed away anything that you do not want applied to the tumbler. Start in a corner and pull the vinyl at a 45 degree angle. You may need to use the weeding tool to get it started. Carefully work around the design and use the weeding tool to hold down any of the design that gets pulled up with the extra vinyl. Make sure not to lose the “i” dot. Use the weeding tool to remove any extra vinyl in the middle of the letters. If anything moves during this process, you can faintly see the cut lines on the white backing to line up the design again.
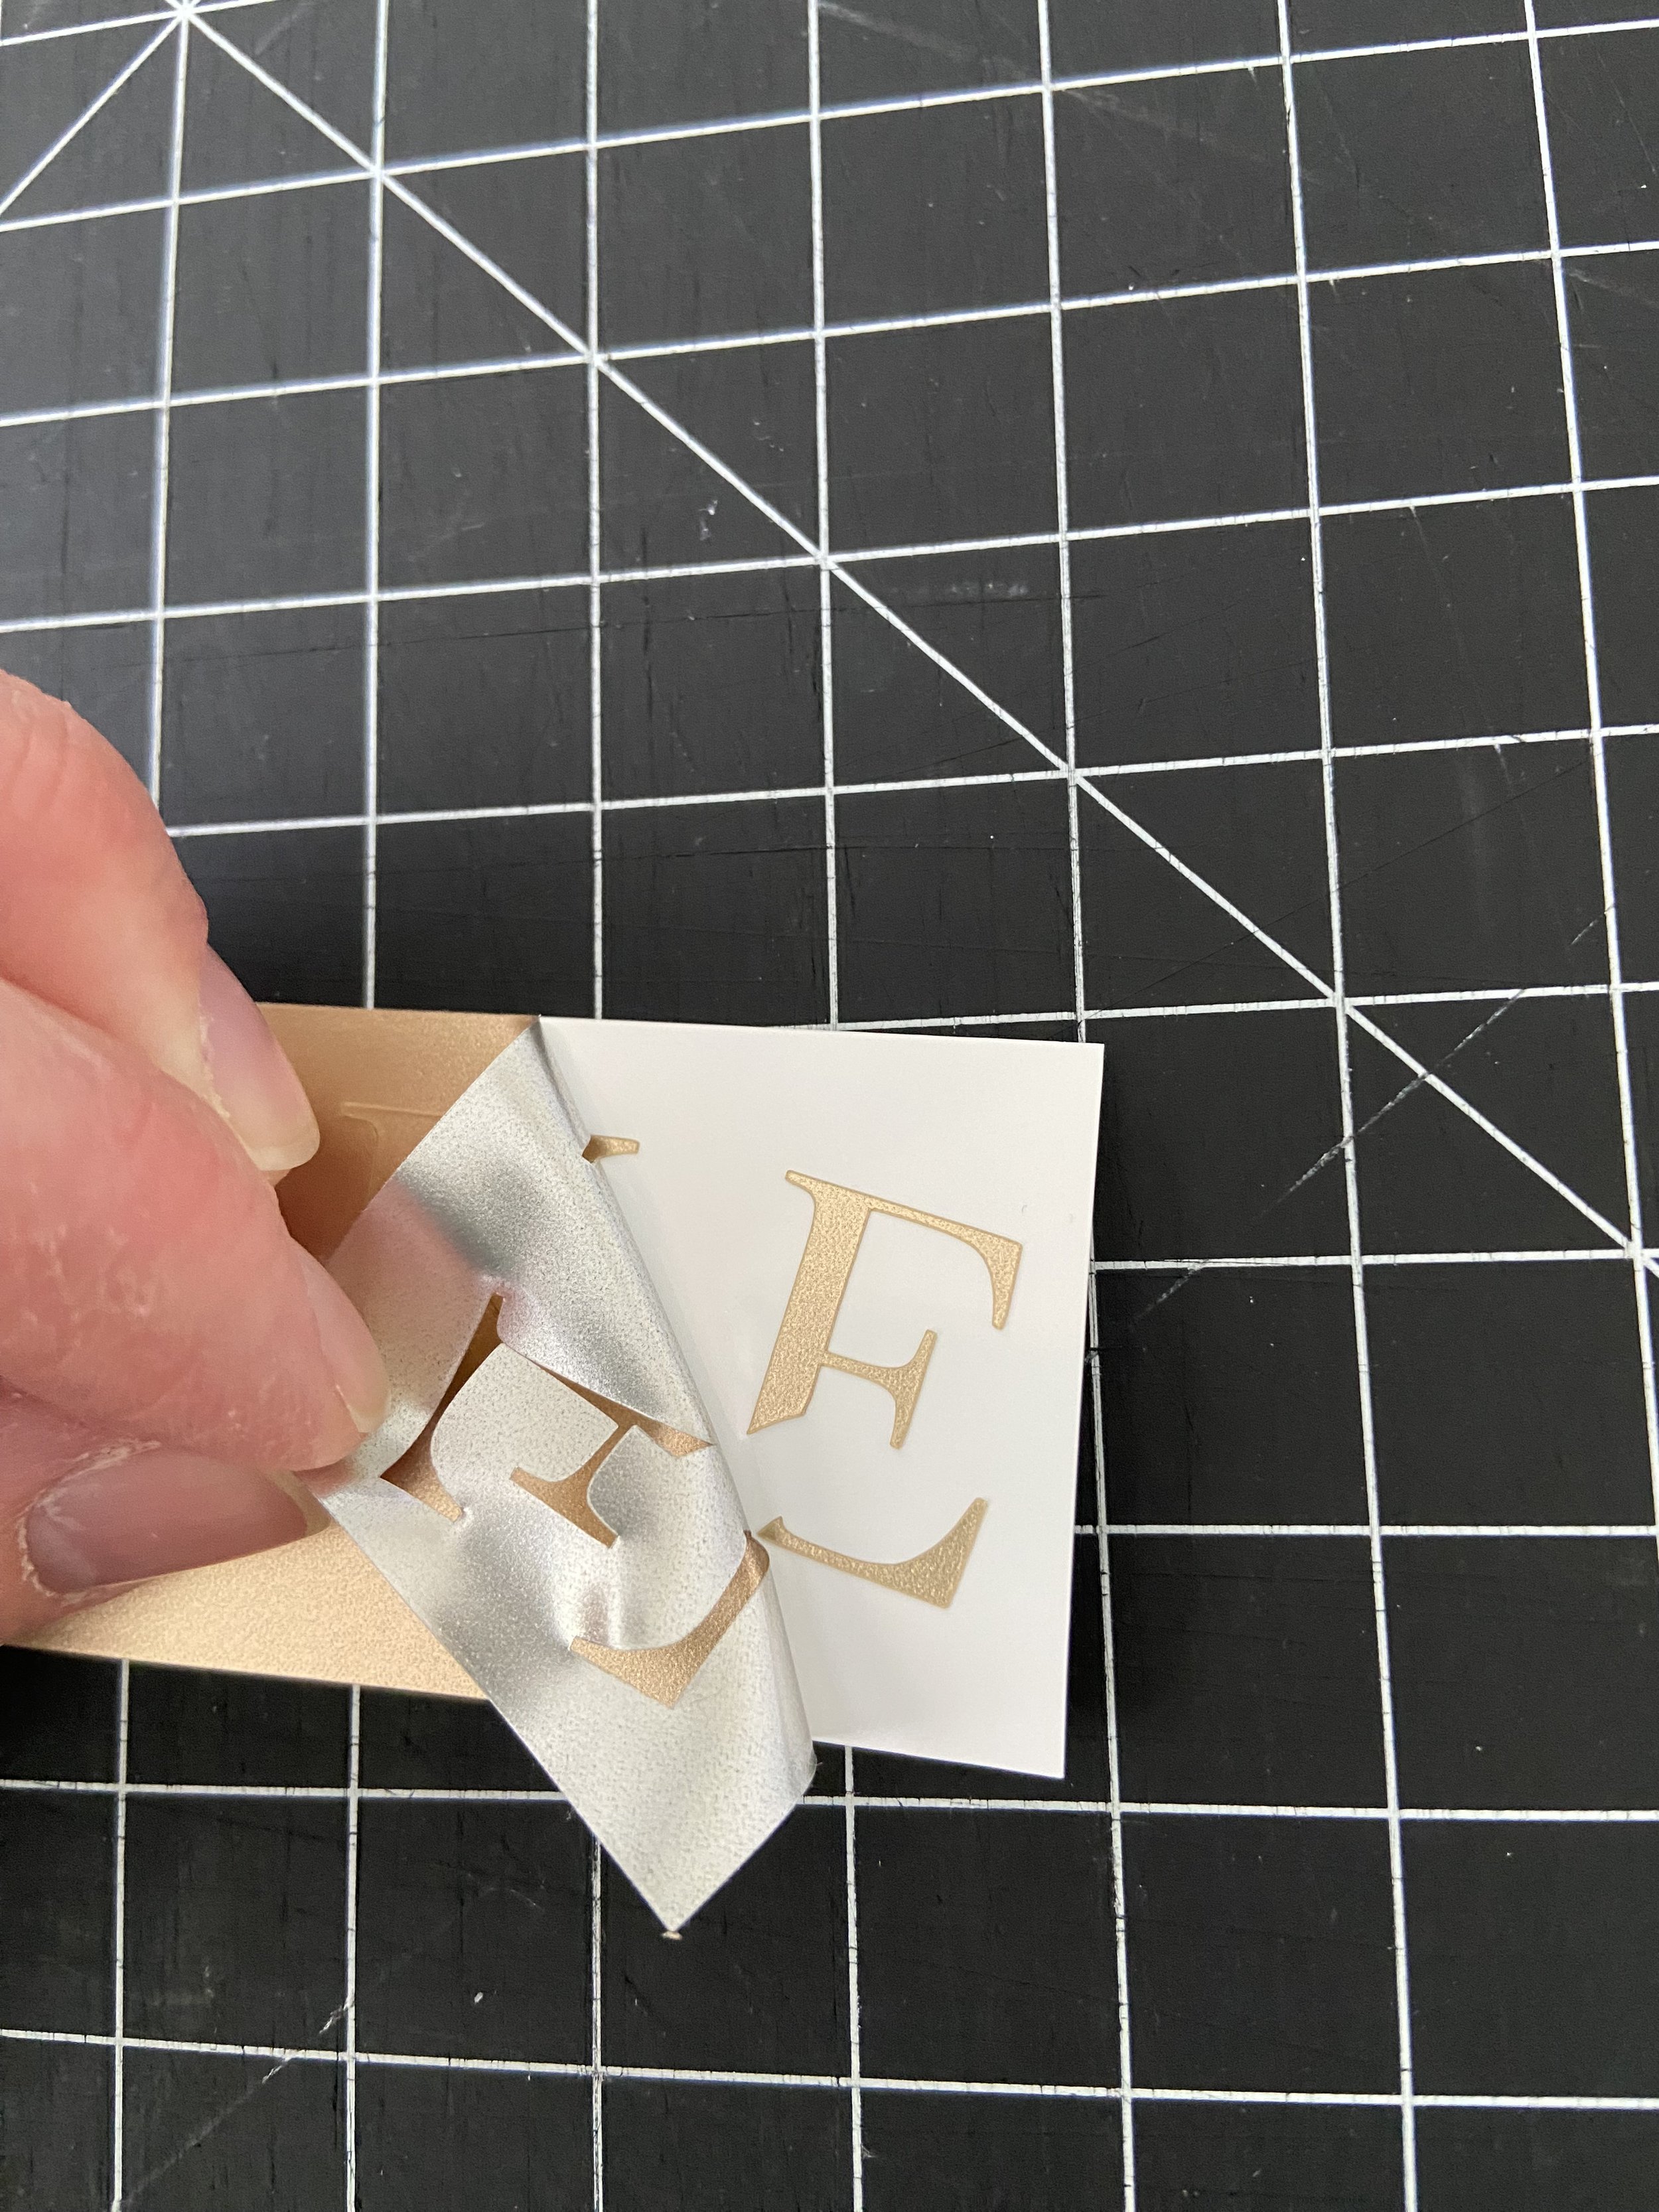
Repeat steps for the second color.
Transfer Tape for Vinyl Design
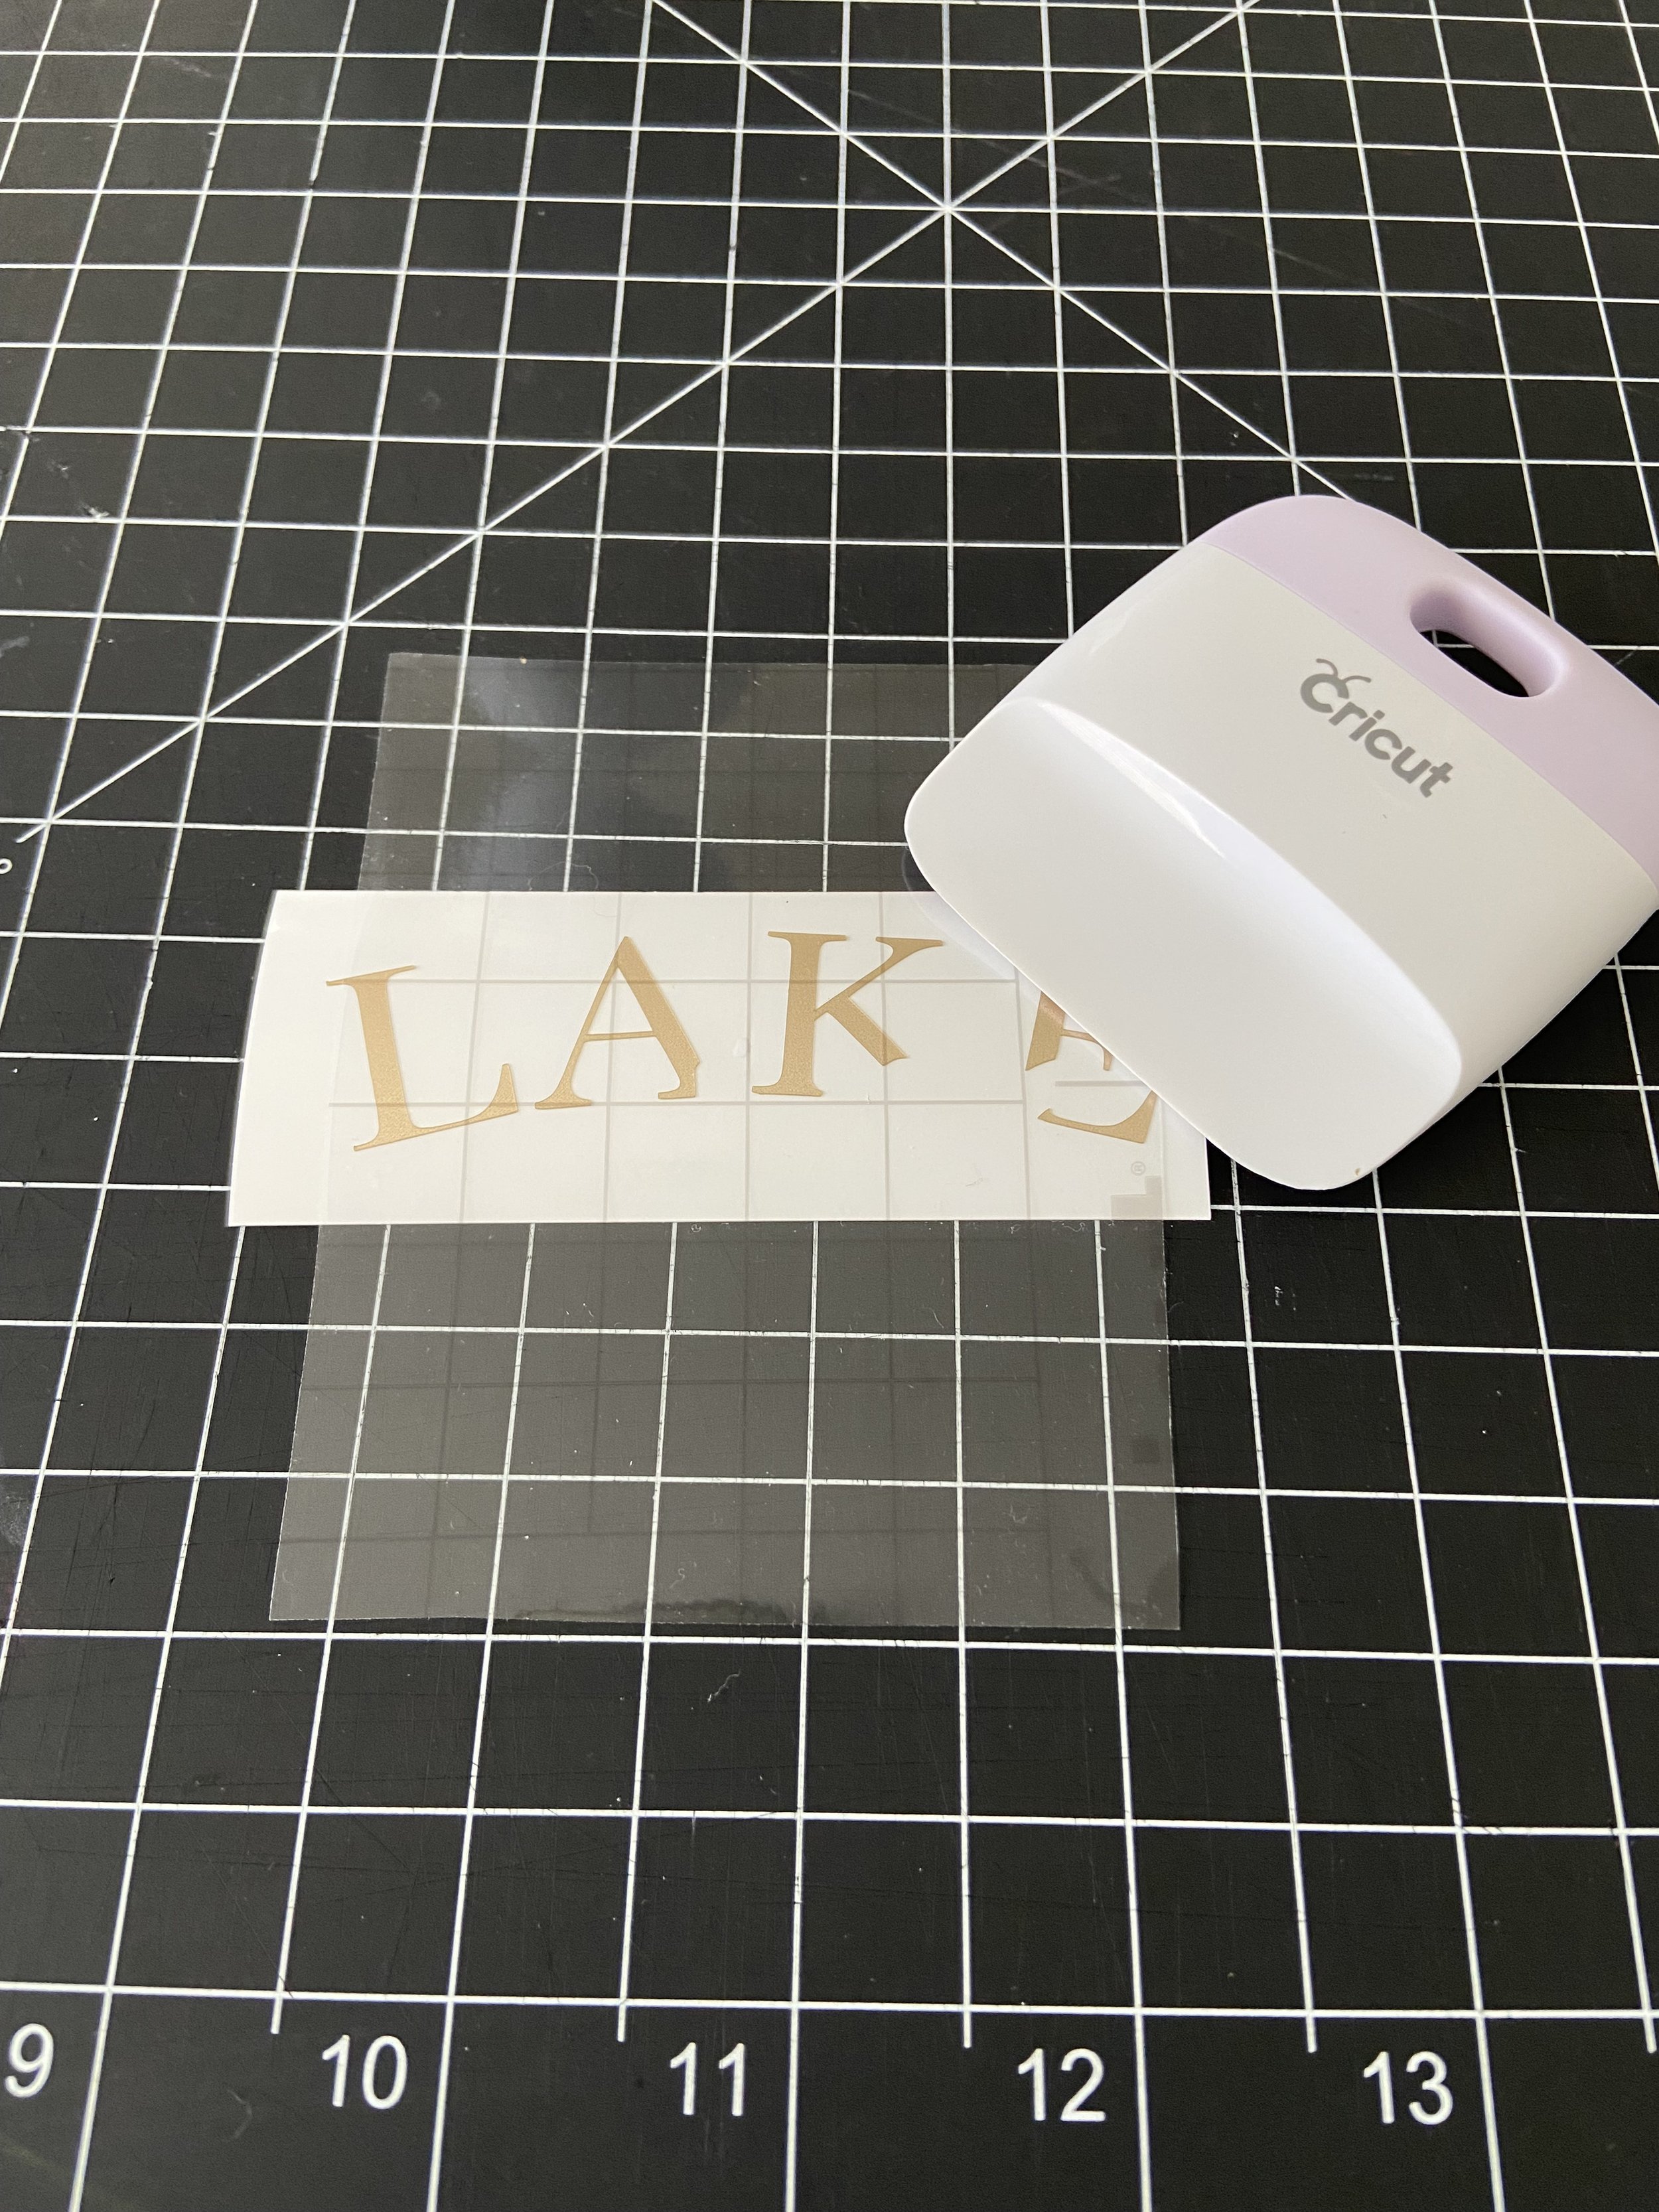
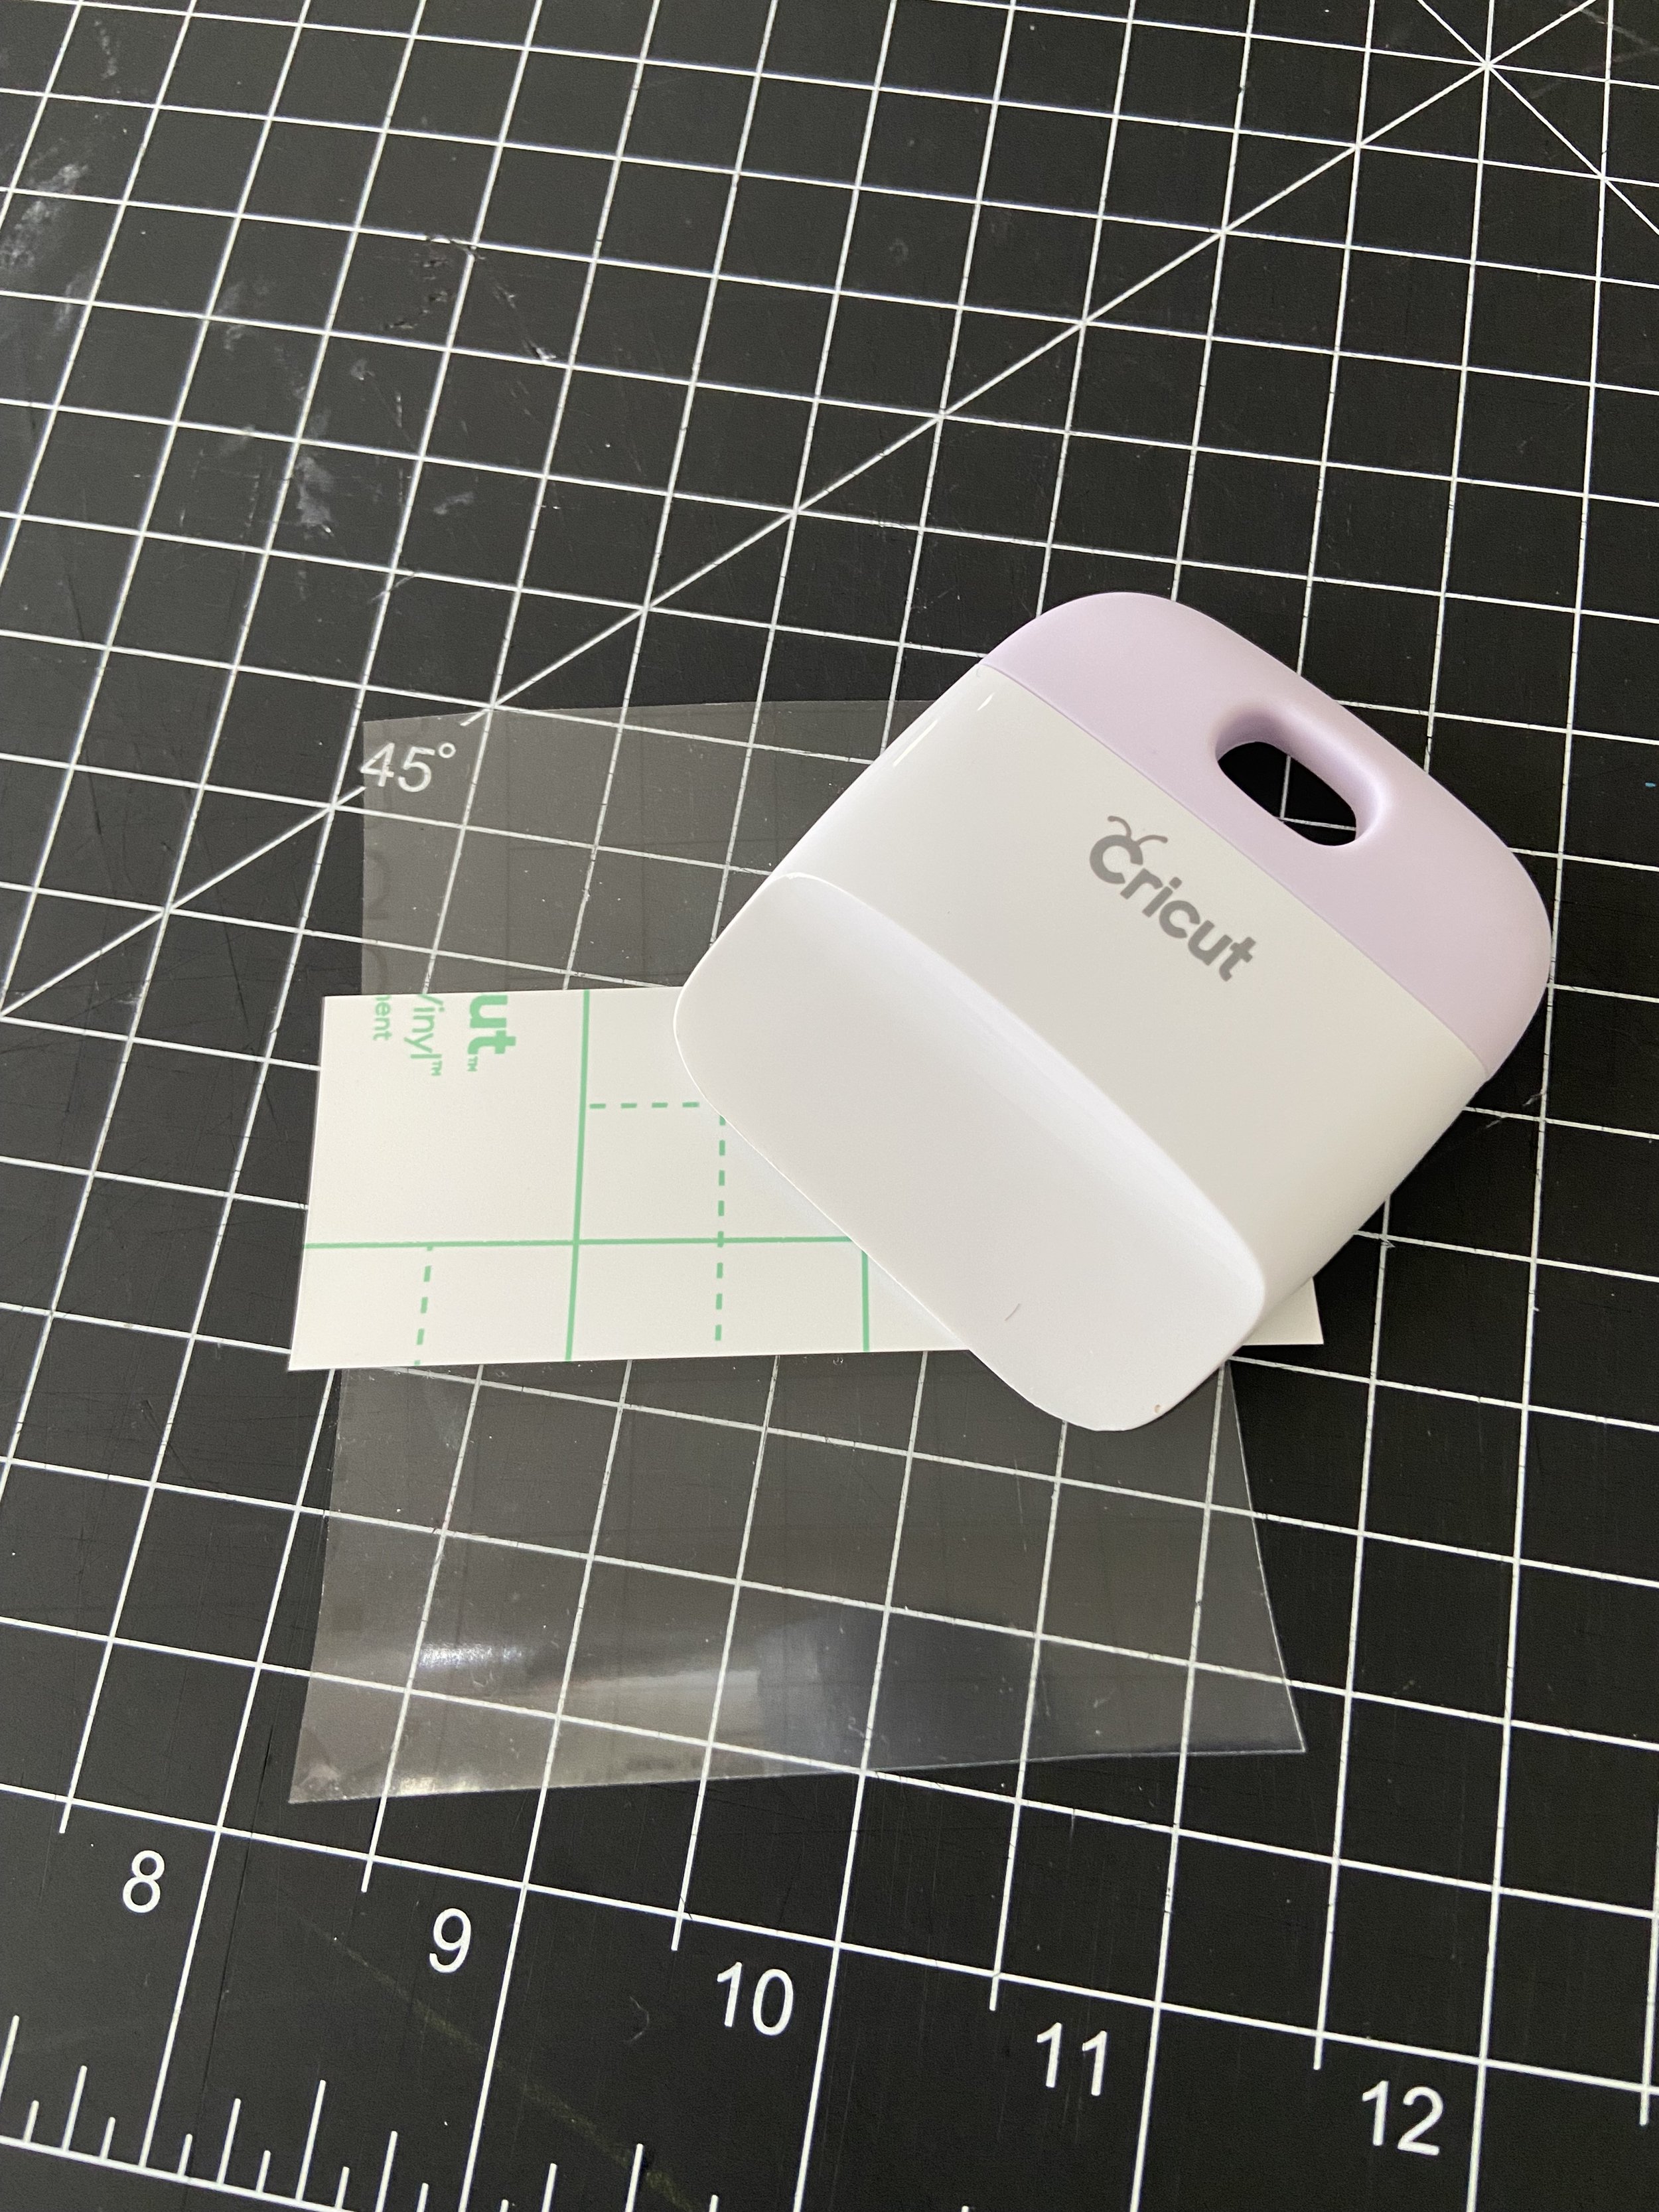
To transfer to the tumbler, cut a piece of transfer tape the same size of the overall design. Peel the tape away from the backing and center on the gold letters. Use the scraper tool to adhere the tape to the vinyl. Scrape on the back of the vinyl as well. Peel away the tape and make sure the vinyl is coming up with it. If the vinyl does not adhere to the tape, put the tape back down again and use the scraper tool some more.
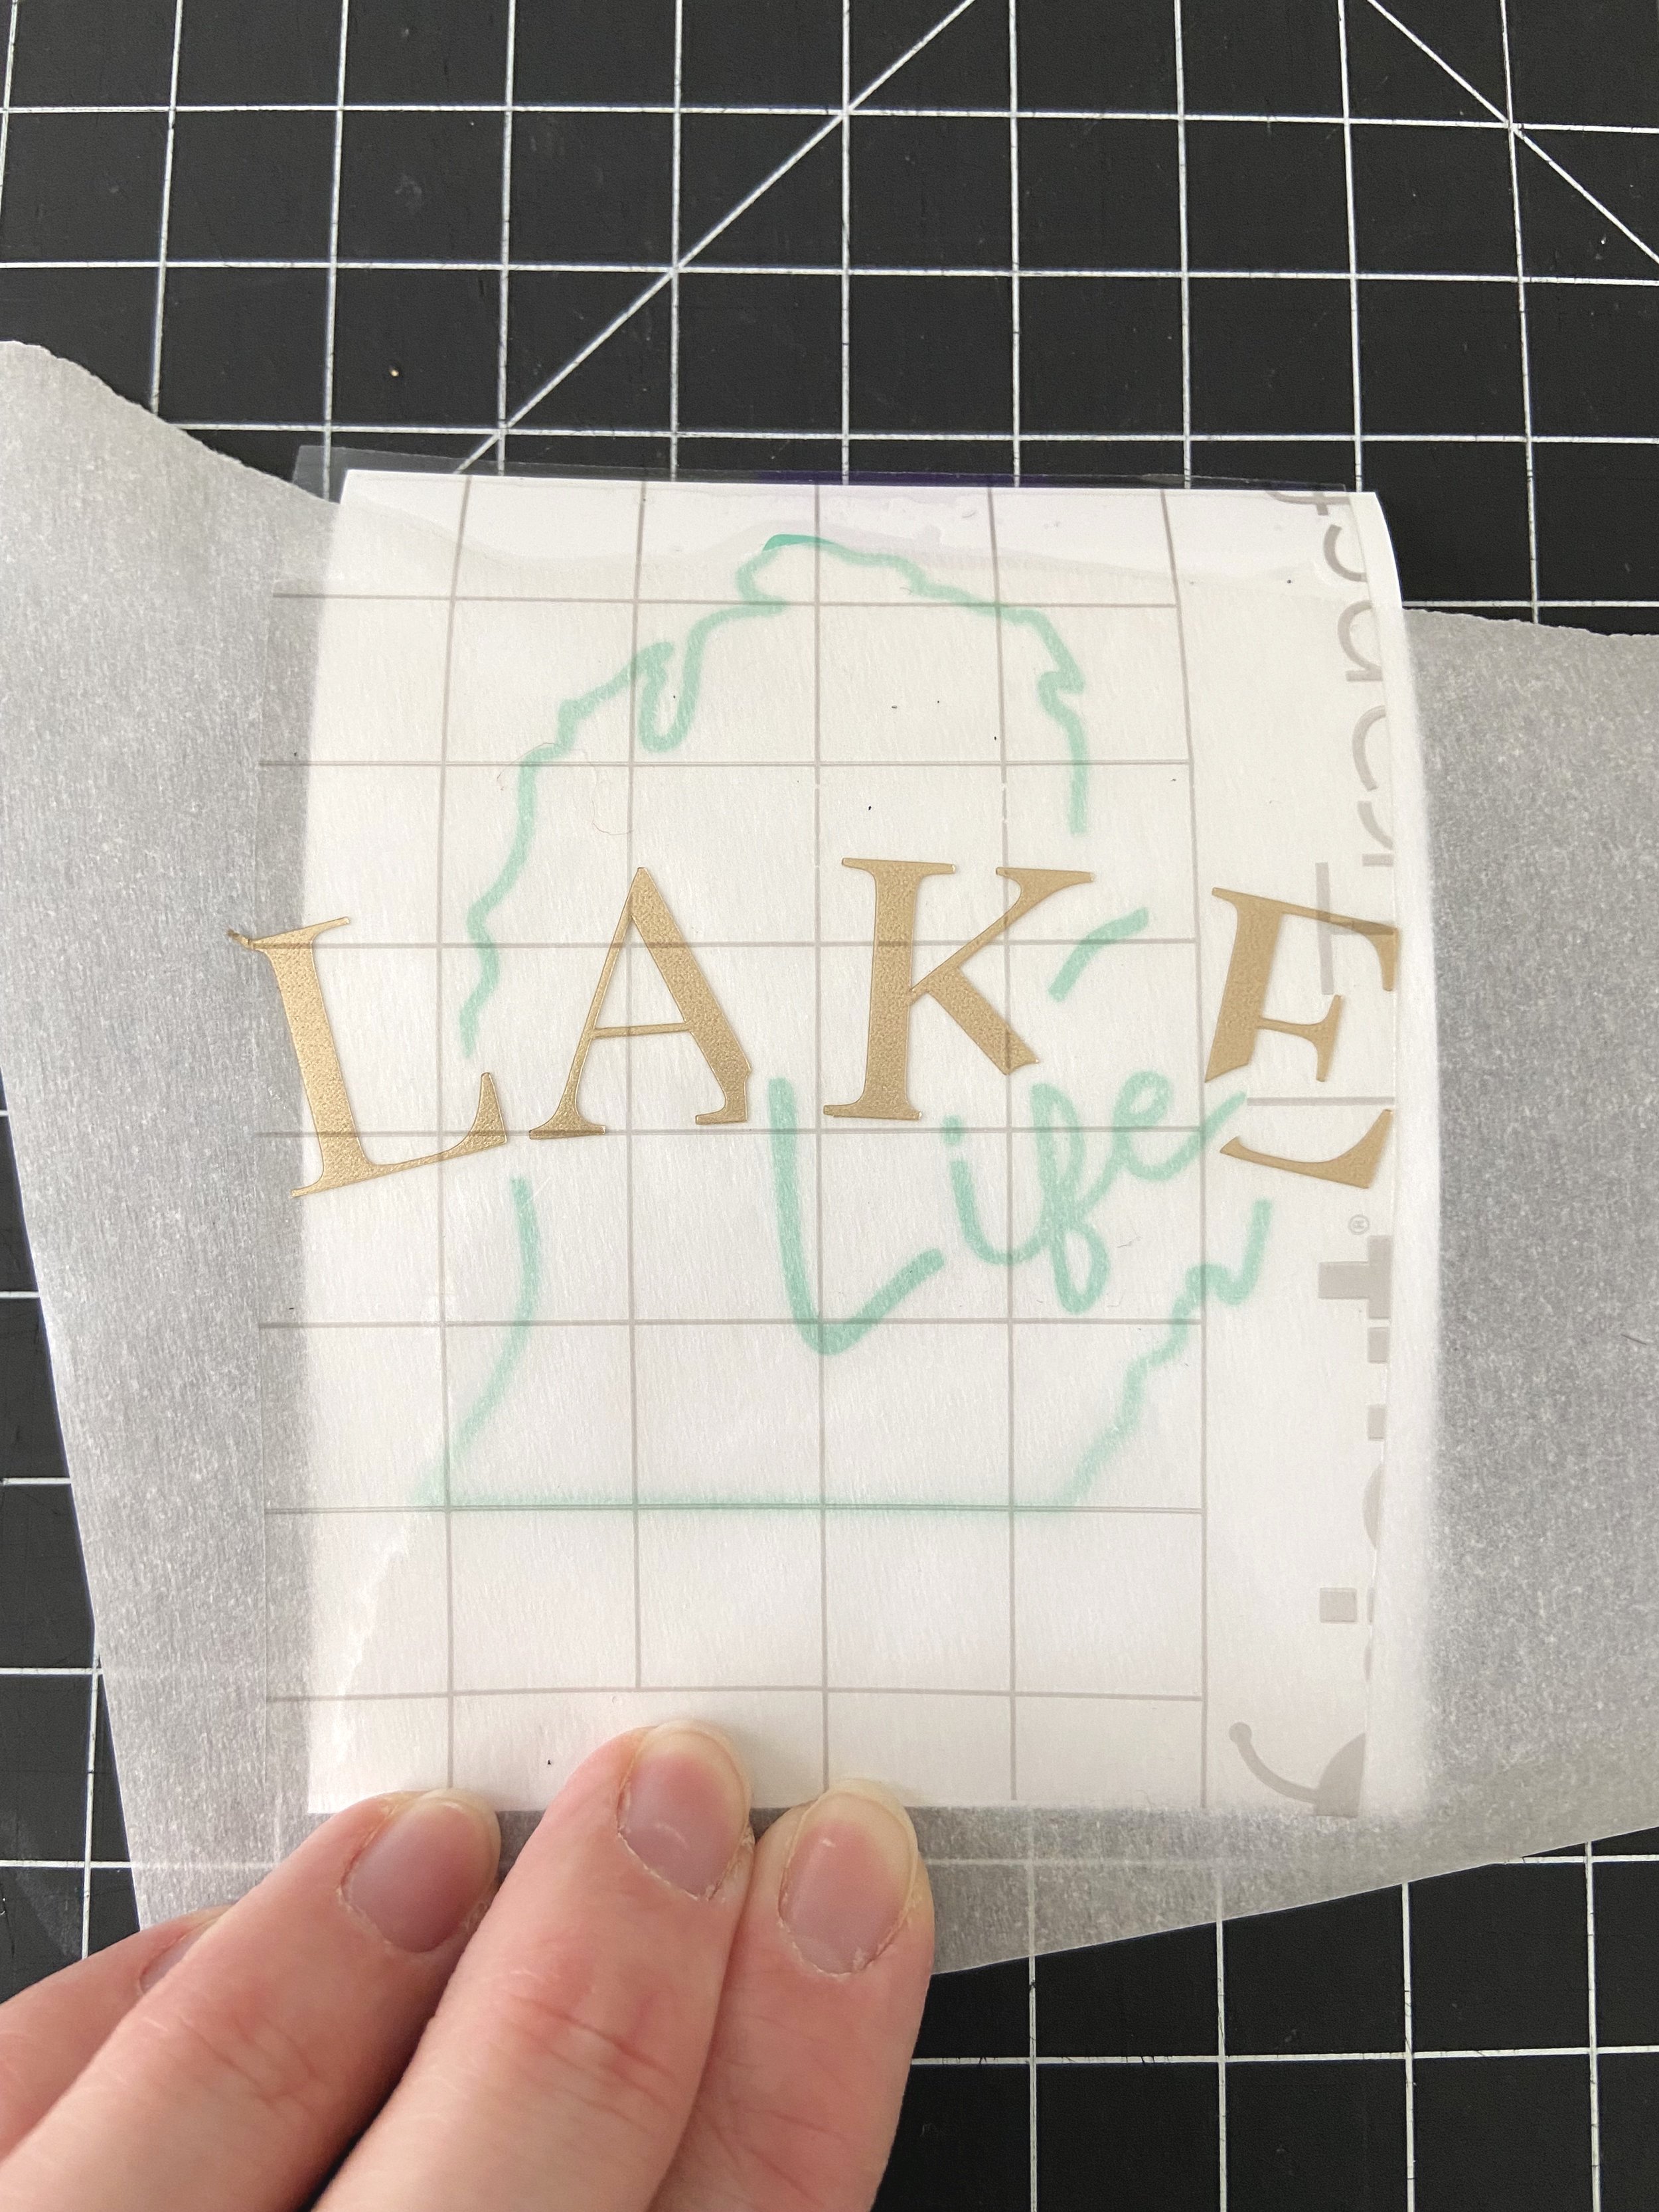
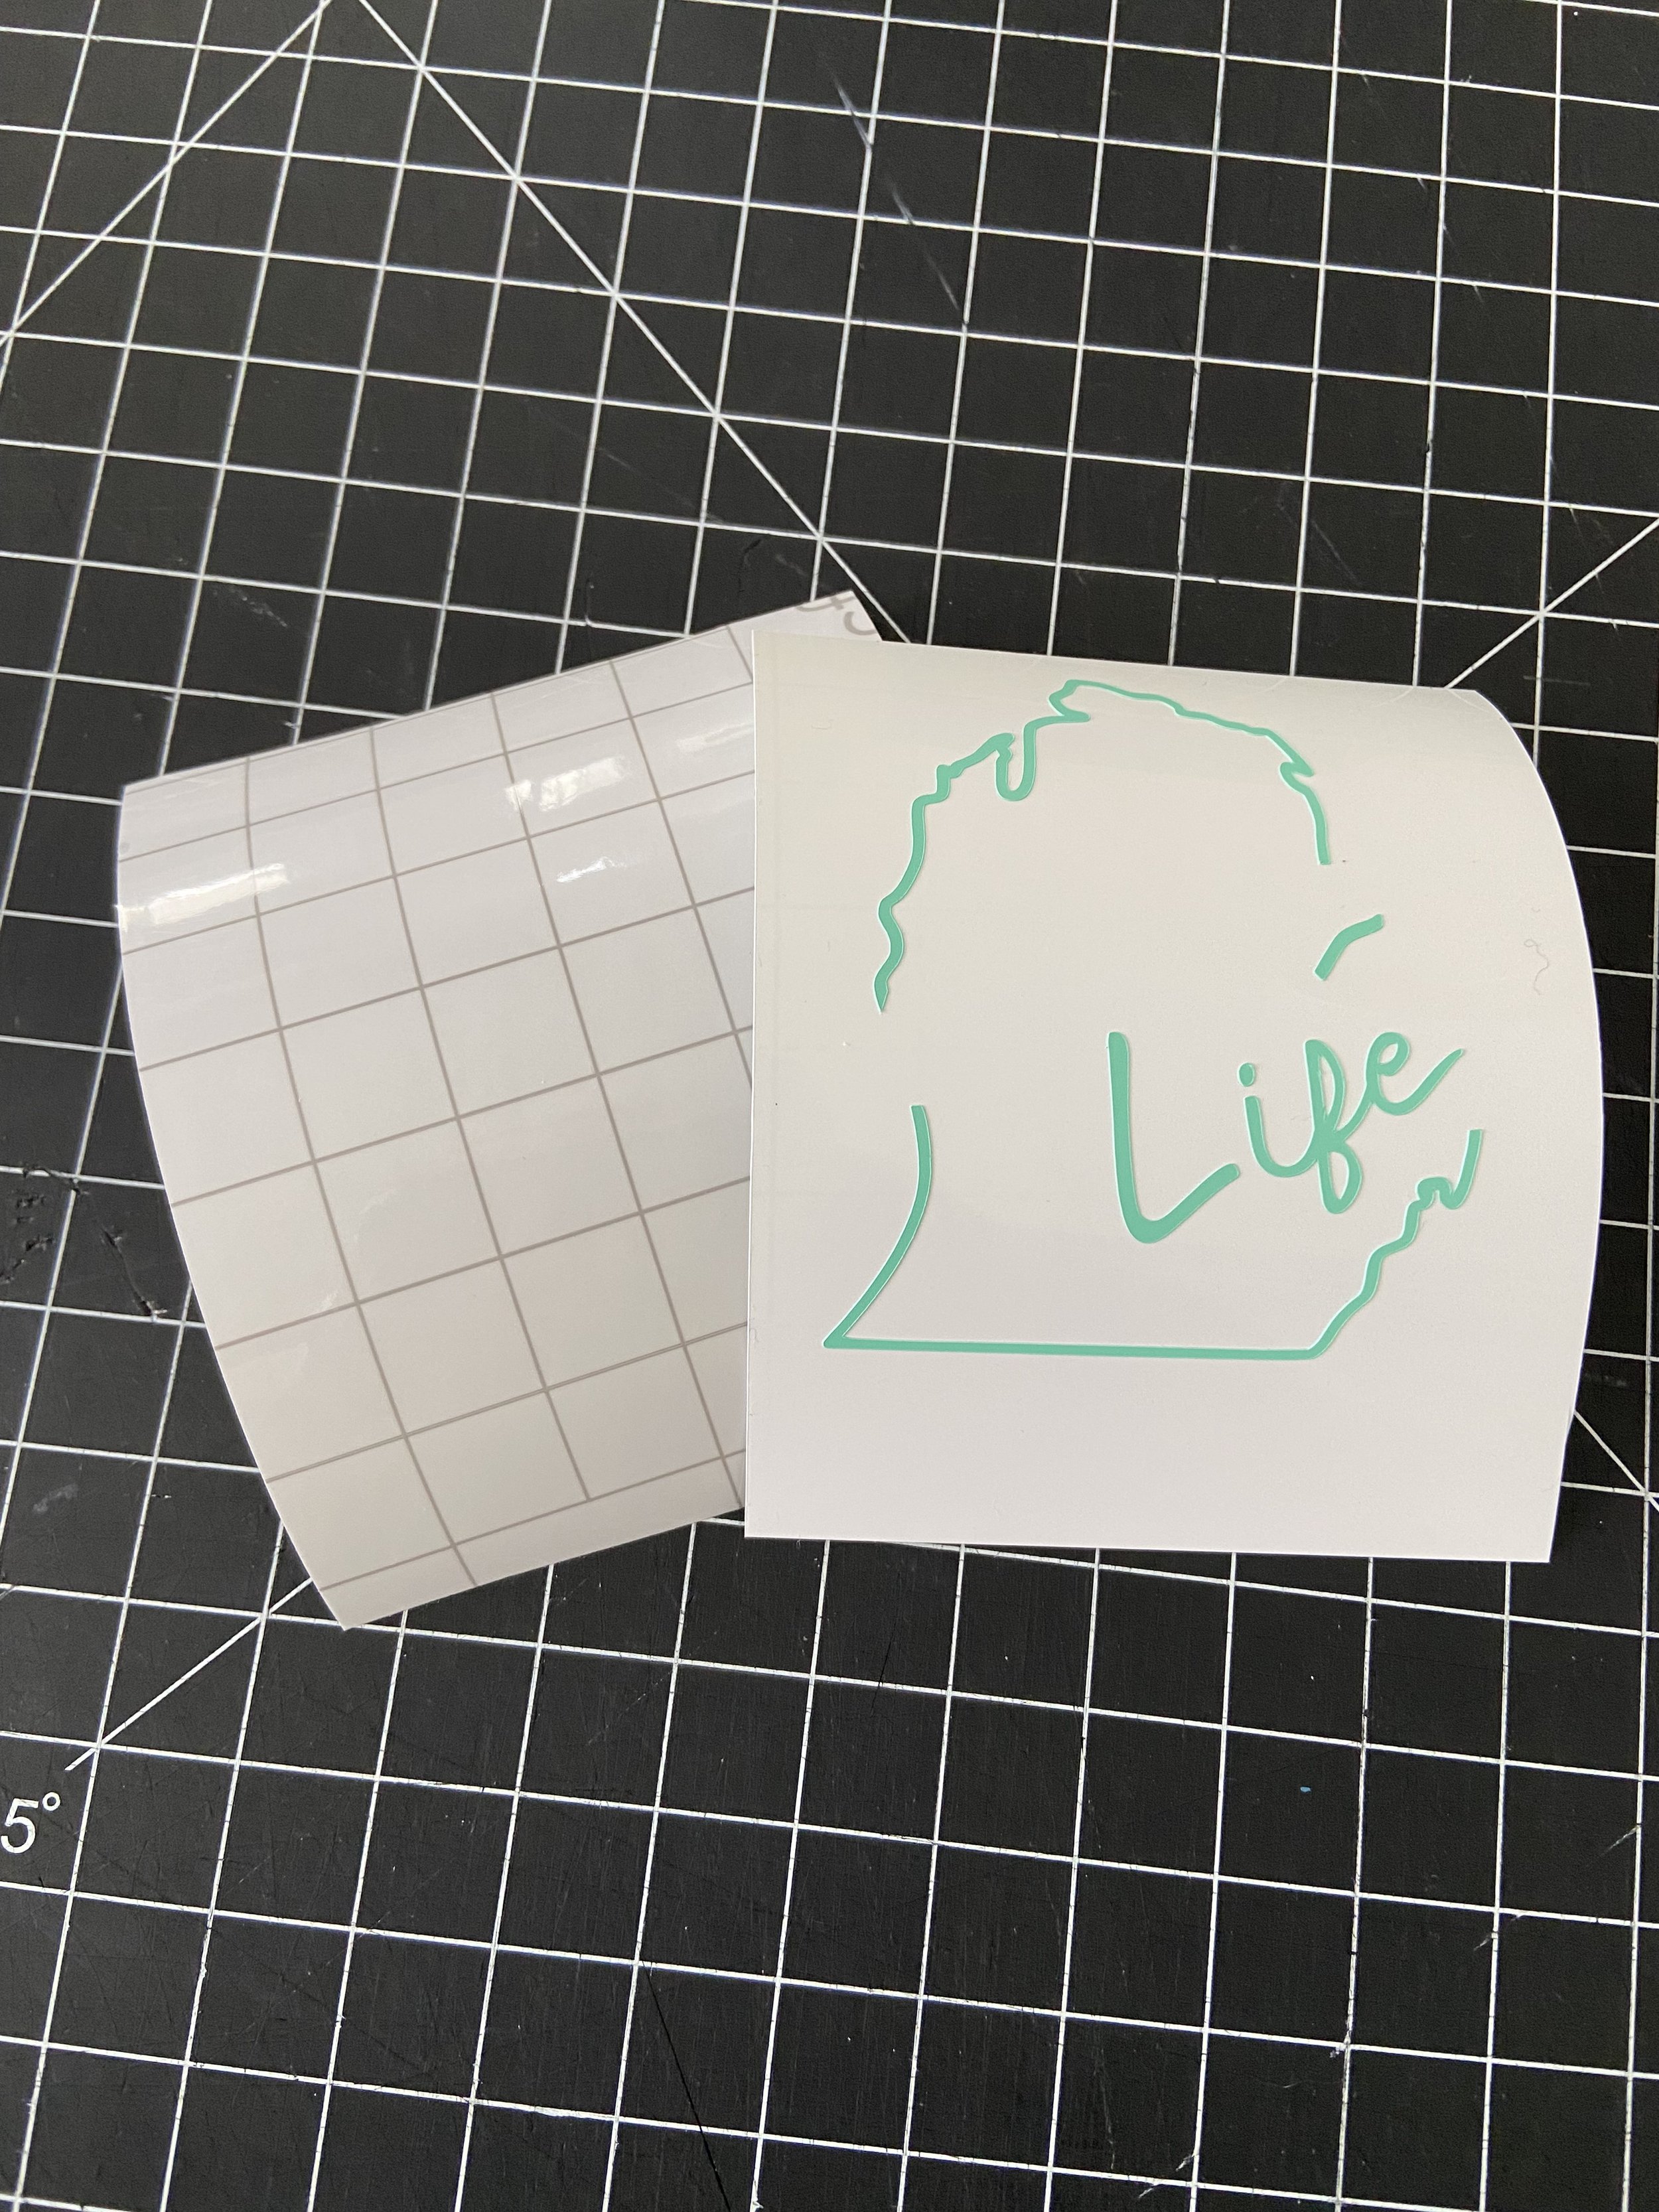
To line up the gold letters with the mint design, cut a small piece of parchment paper to cover the mint layer. Have a thin section of the vinyl backing show above the parchment paper. Put the transfer tape with gold letters on top of the parchment paper and adjust until lined up. The parchment paper allows you to move the tape without adhering to the other layer. Once the gold letters are in the right spot, stick the transfer tape to the small area of backing up top. Slowly pull down the parchment paper and smooth the transfer tape at the same time. Use the scraper tool to adhere the tape to the vinyl. Scrape the back of the vinyl as well.
Vinyl Application to Tumbler
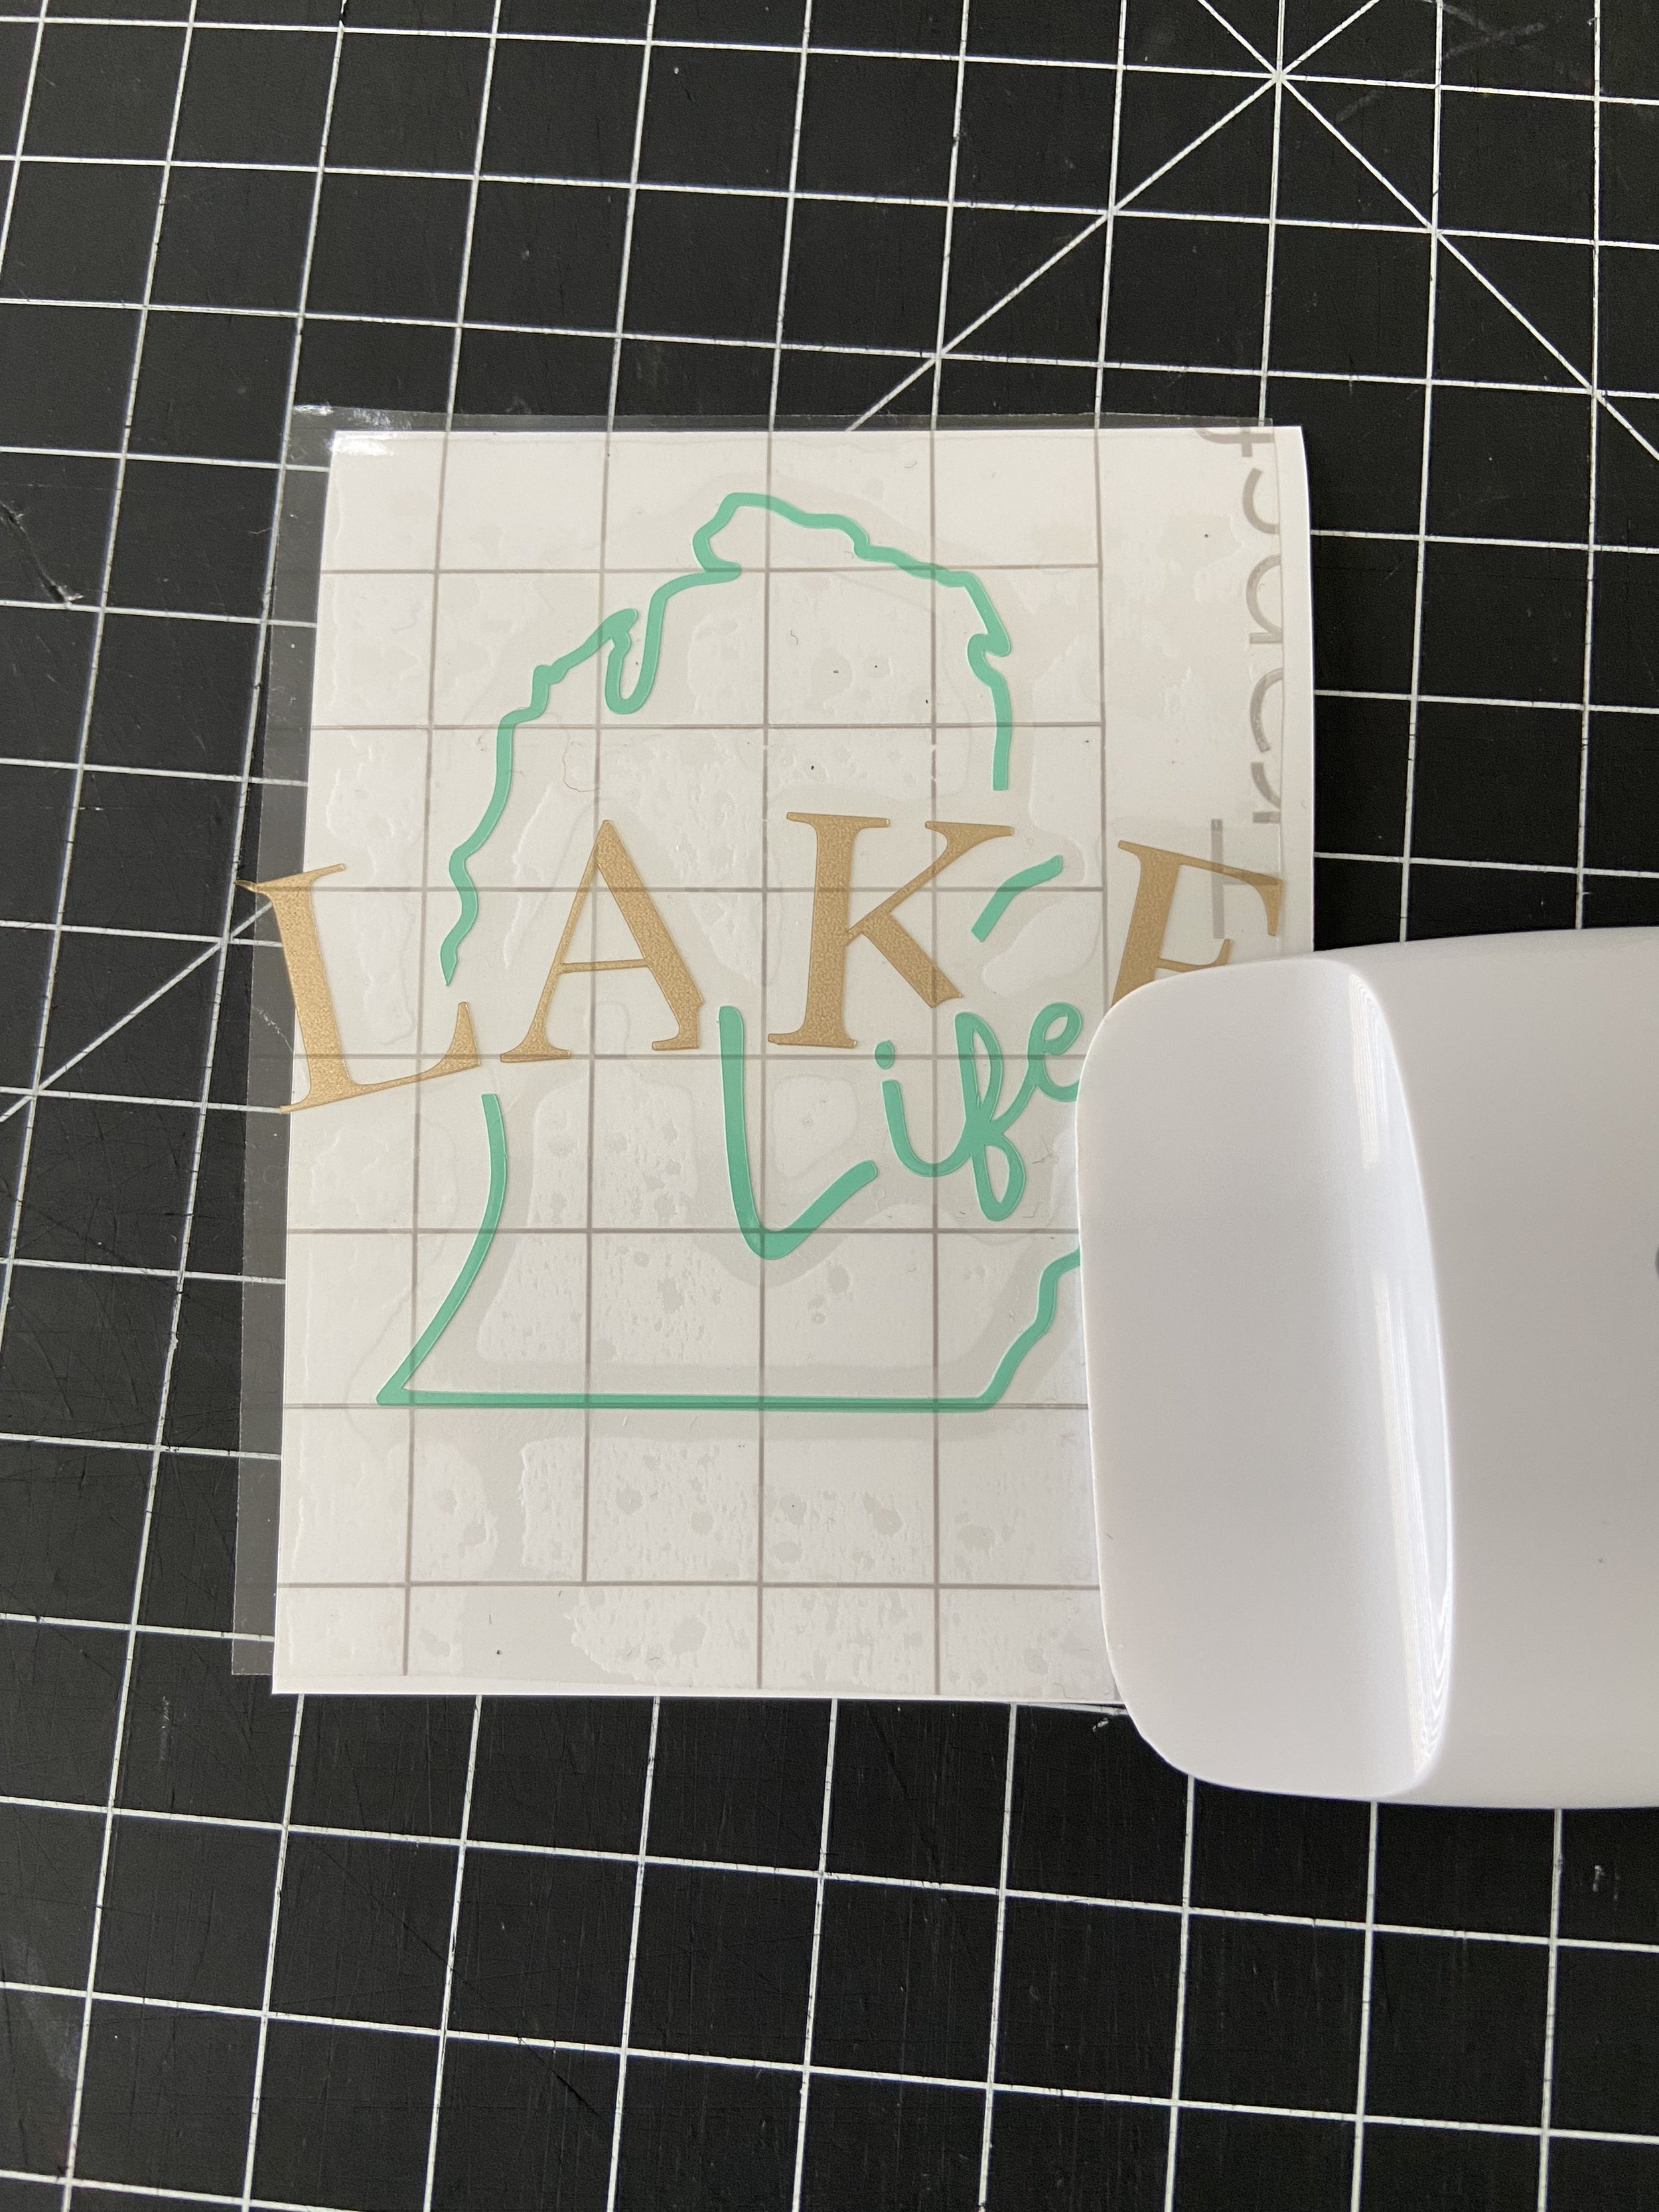
Before you peel the transfer tape, clean the tumbler with rubbing alcohol to remove any dirt/fibers. Then, determine where you are going to place the design on the tumbler. I figured out where the center of the tumbler was and eyeballed where it looked best in that area. I used a sticky note arrow to mark my spot on the tumbler.
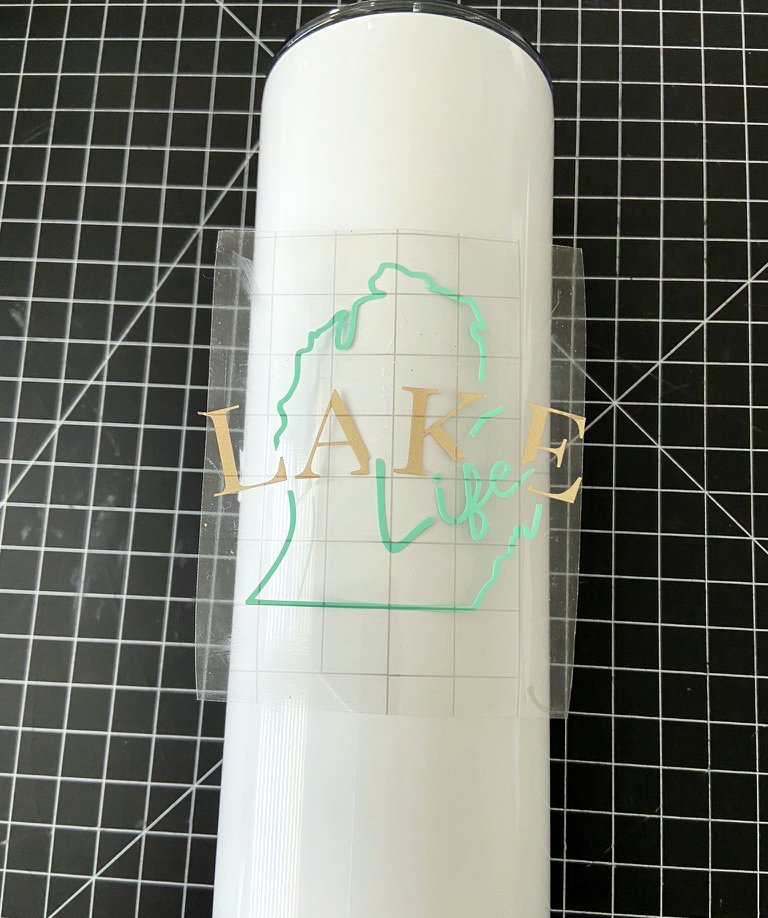
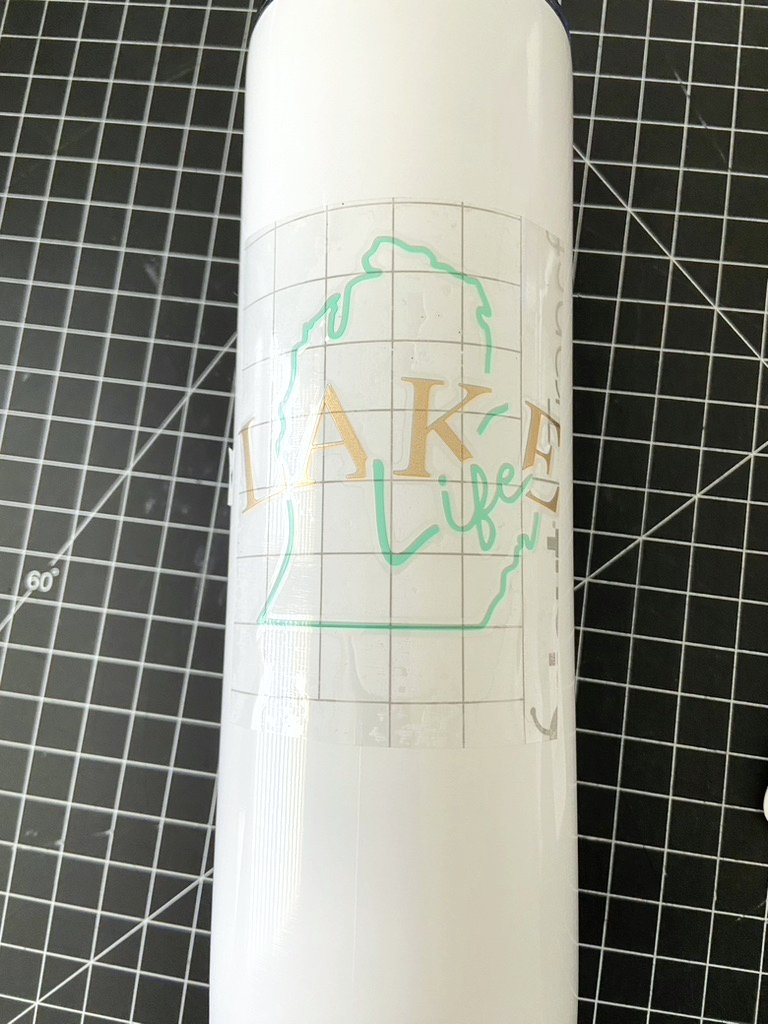
Peel away the transfer tape and make sure all of the vinyl comes with it. Bend the sides of the transfer tape back towards you and put the center of the transfer tape on the tumbler. Start with the center and then gradually let down the sides while also making sure it is smooth. Use a scraper tool to adhere the vinyl to the tumbler. Peel away the transfer tape. The Lake Life Tumbler is now complete!
*I did not add a coating because this vinyl is made to hold up in the dishwasher and these tumblers are hand wash only.*
This tumbler would be a great gift to bring a little bit of Michigan’s lake life to anyone’s home!


