
Flower Cards

Recently my husband gifted me a Cricut die cutting machine. It’s been fun crafting with this machine and advancing my crafting skills. I started crafting in high school when my parents had gotten me a card making kit for Christmas. I enjoyed making cards for friends and family for different occasions. Now I am able to do the designs on the computer and customize them for individual projects. While I am still perfecting how to use the Cricut, I thought I would sell my digital designs so others can use them for their own personal crafts.
What started out as a single rose design for Valentine’s day cards turned into over a dozen different flowers. After the first flower, my husband kept convincing me to do one more flower and then I couldn’t stop because I was enjoying seeing how each flower would turn out. Designing the flowers on the computer was one thing, but cutting them out was another. As I went along, I would redesign the flowers based on how thin and intricate the details could be using cardstock. After several adjustments to cut settings and materials, I was able to complete each flower successfully using my Cricut Maker 3. These flower svgs can be cut out on any cutting machine such as Cricut or Silhouette with cardstock or vinyl.
Since I learned a lot from this process, I thought I would share my step-by-step guide. The following steps are broken down for beginners. The files can be found on my Etsy: HintOfMitten.
Tools:
Flower Files (svg)
Cutting Machine
Green Cutting Mat
Cardstock (I used American Crafts 80 lb solid core cardstock and Recollections 65 lb cardstock)
Painters Tape (if mat is not sticky enough)
Brayer Tool
Weeding Tool
Glue (I used Kuretake Zig Memory System 2 Way Glue - Squeeze and Roll)
Card
Upload Files to Design Space
Purchase svgs from HintOfMitten Etsy shop. Download and save the Etsy files onto your computer. Open up your cutting program of choice such as Cricut Design Space.
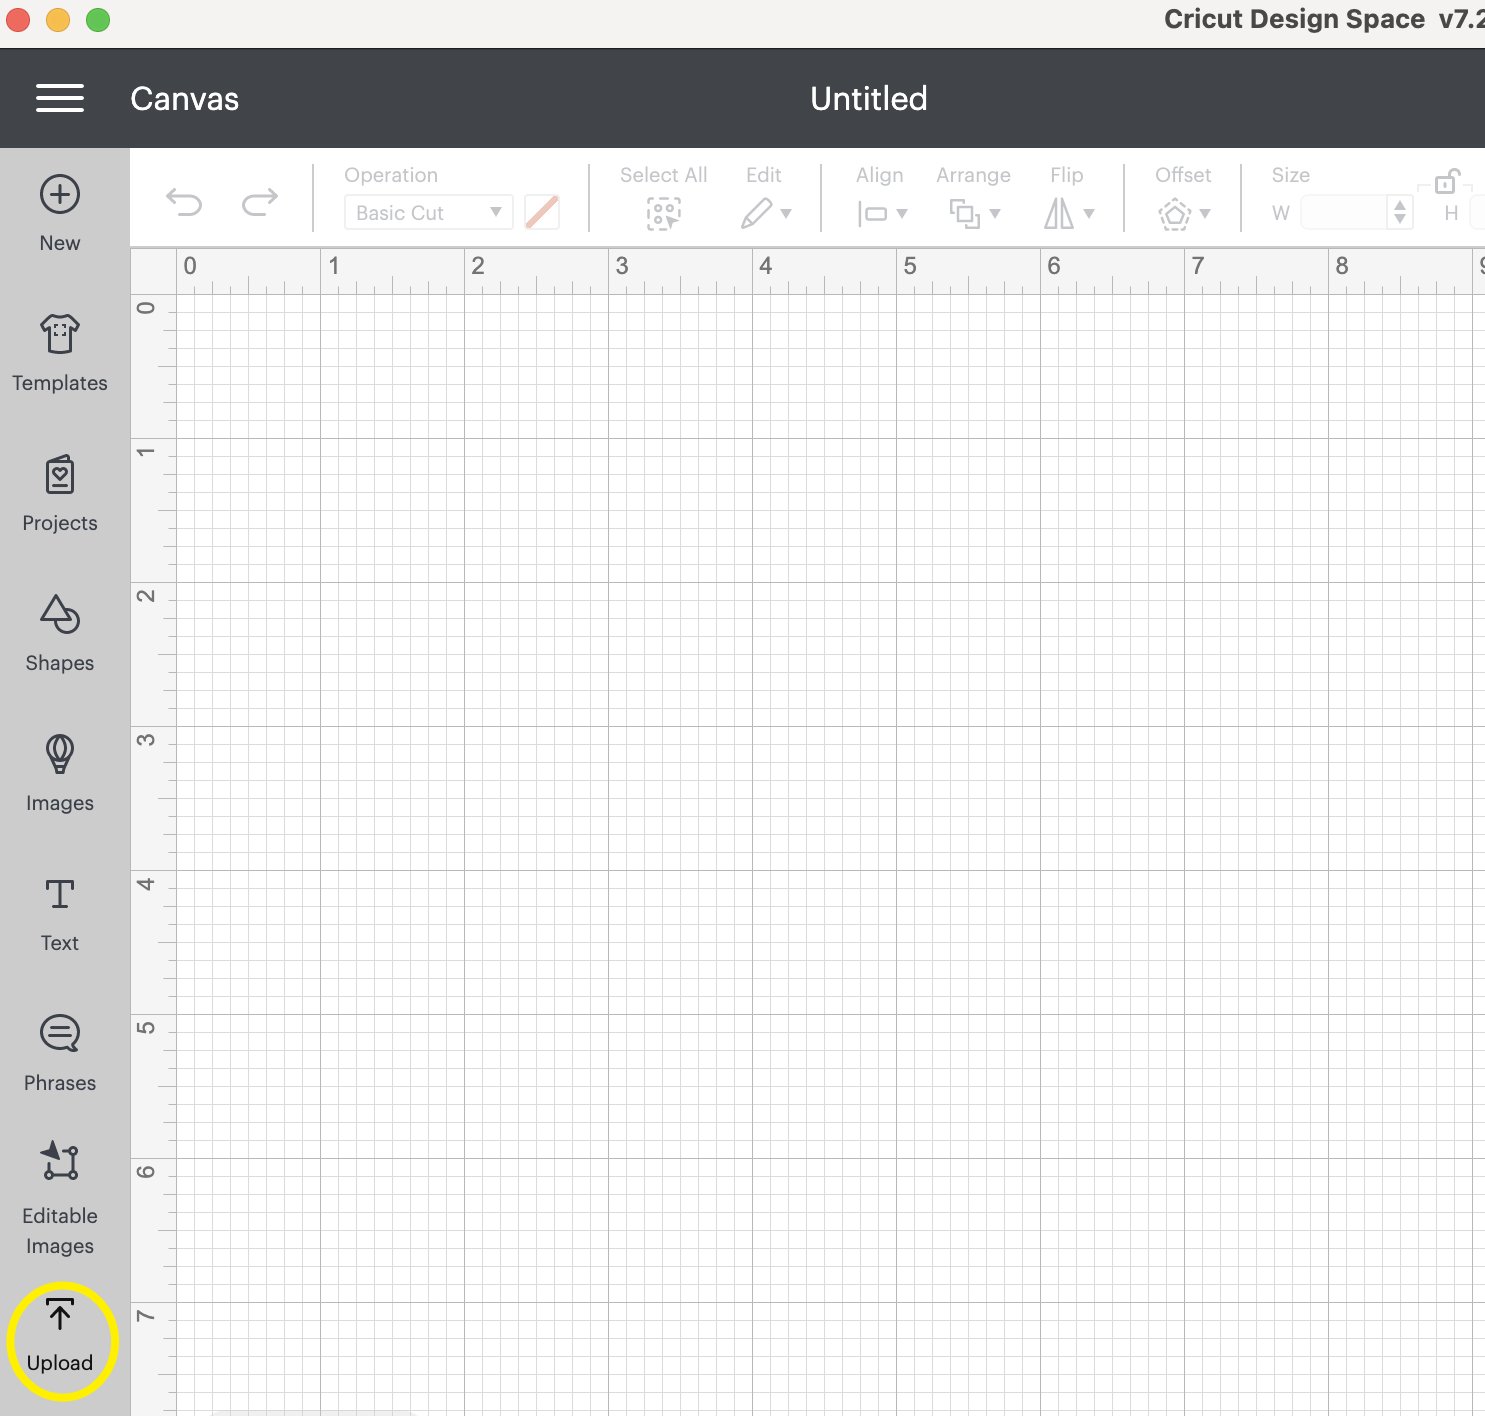
Create a new project and upload the svg file(s) into Design Space. Select your uploaded image(s) and then click “Add to Canvas” in the bottom right. You can select multiple uploaded files and add to canvas at the same time.
Prepare Design for Cutting

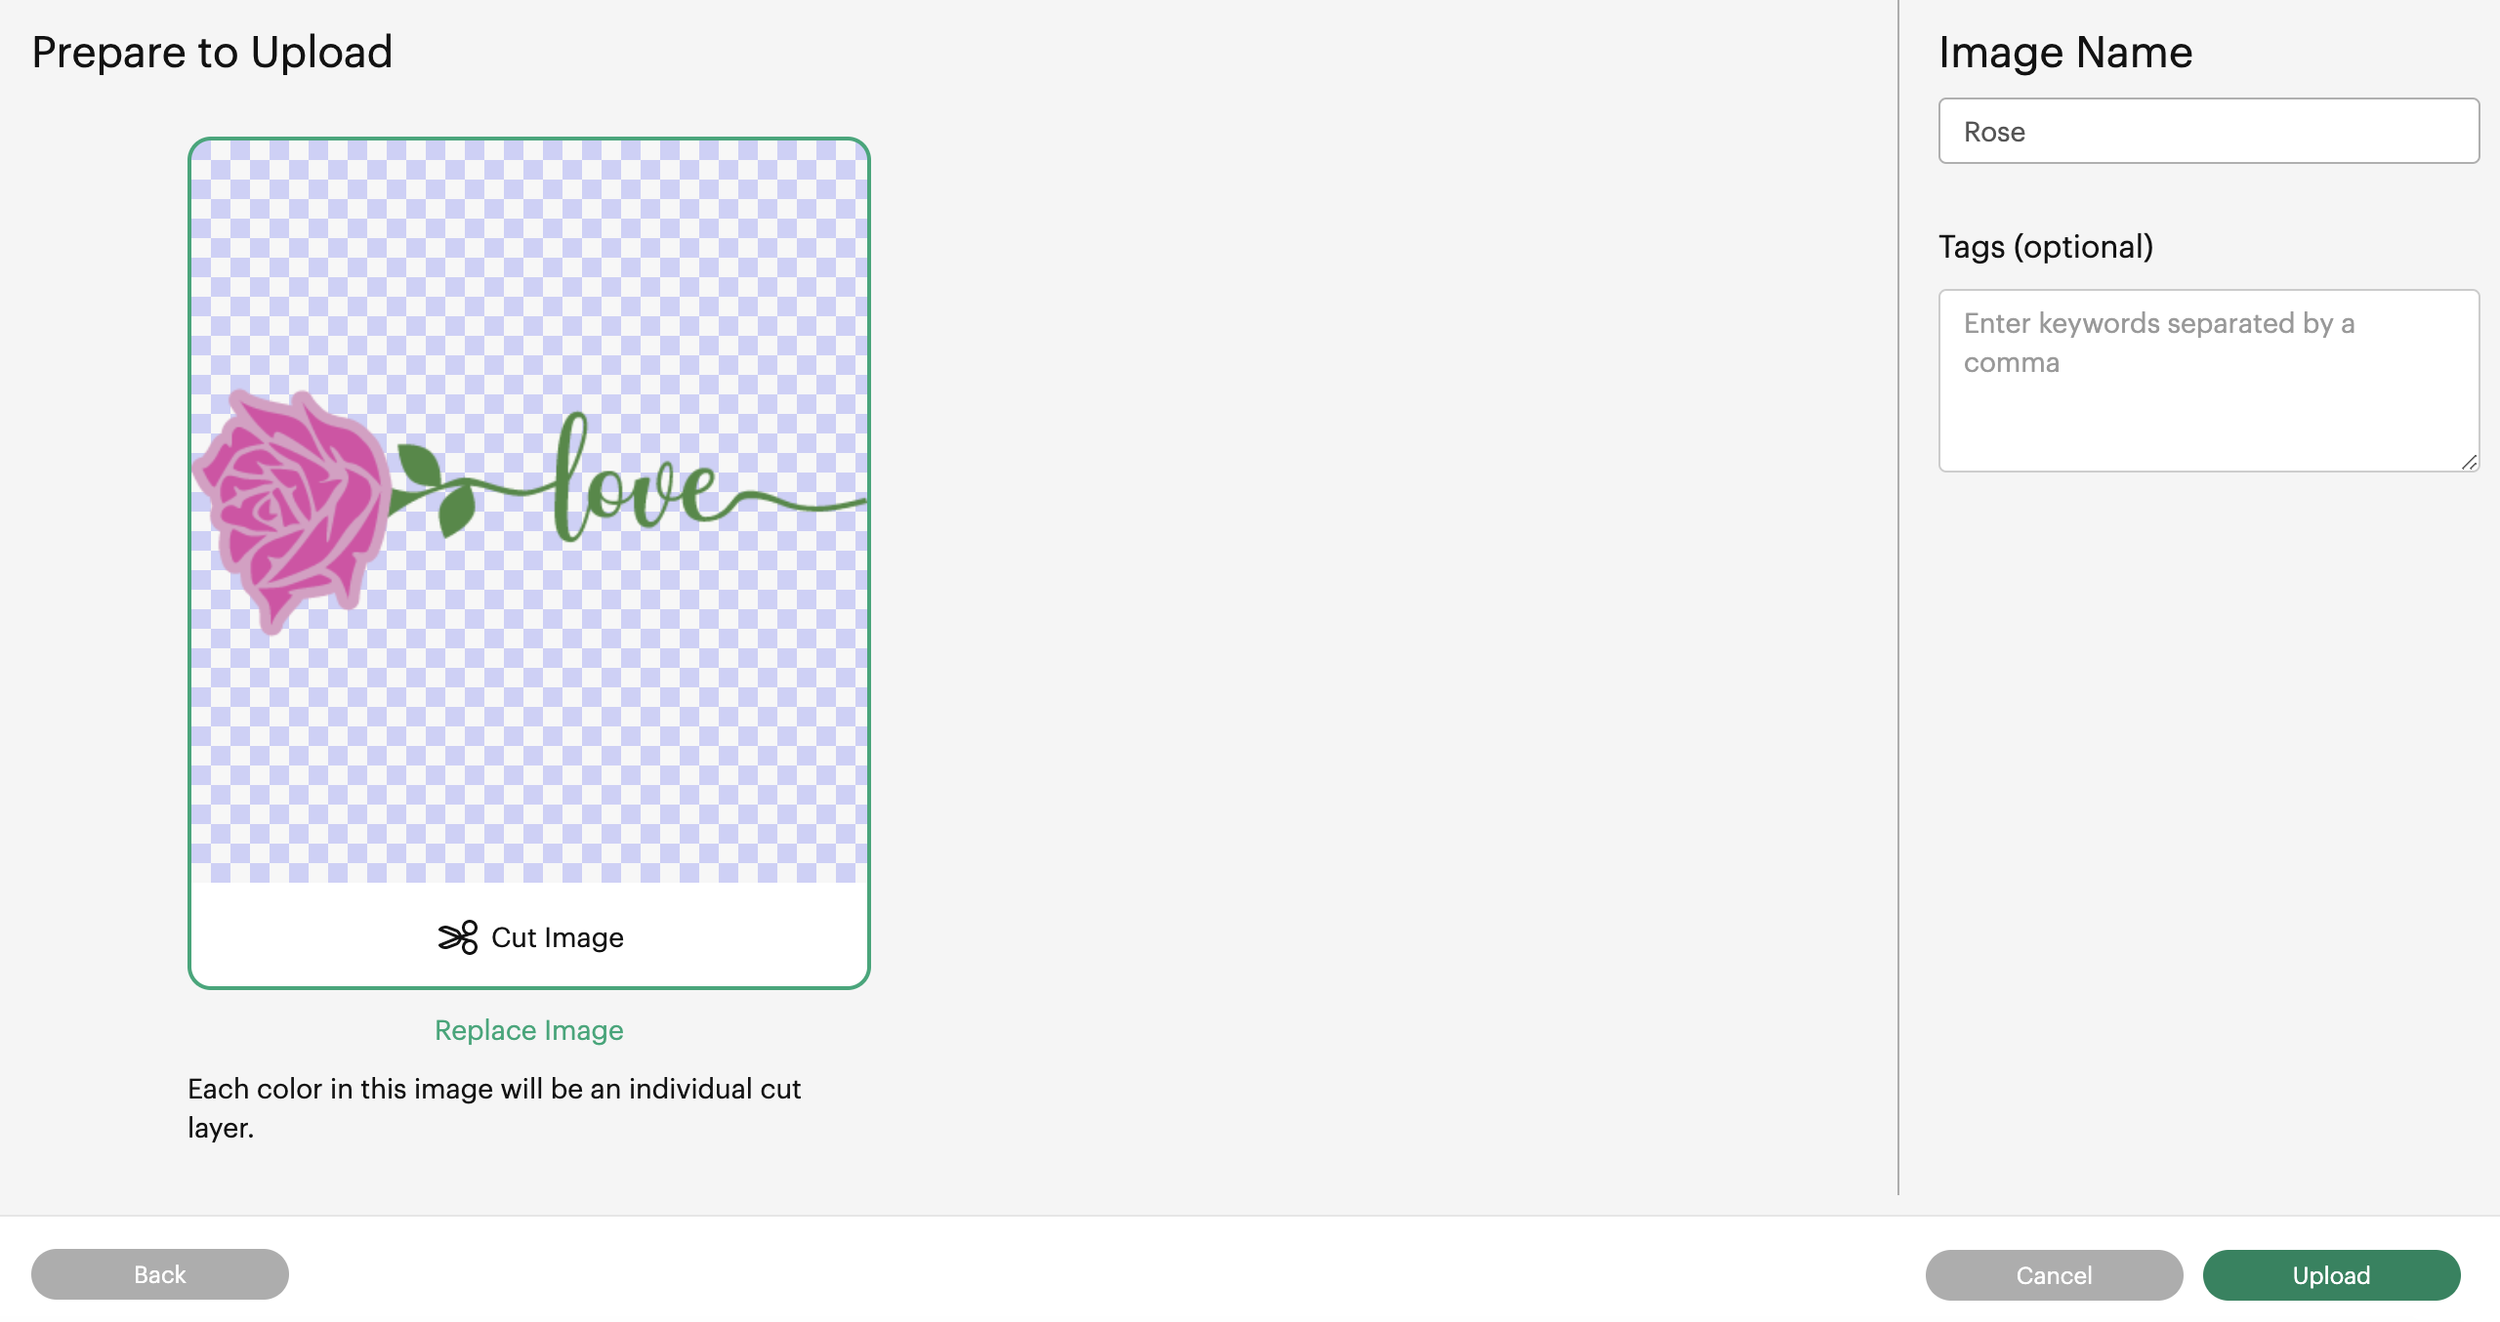
You will now see the image(s) on your canvas. Size the image based on your final product. I put mine on 6-1/2” x 5” cards. I do not recommend going much smaller than this due to the intricate design.
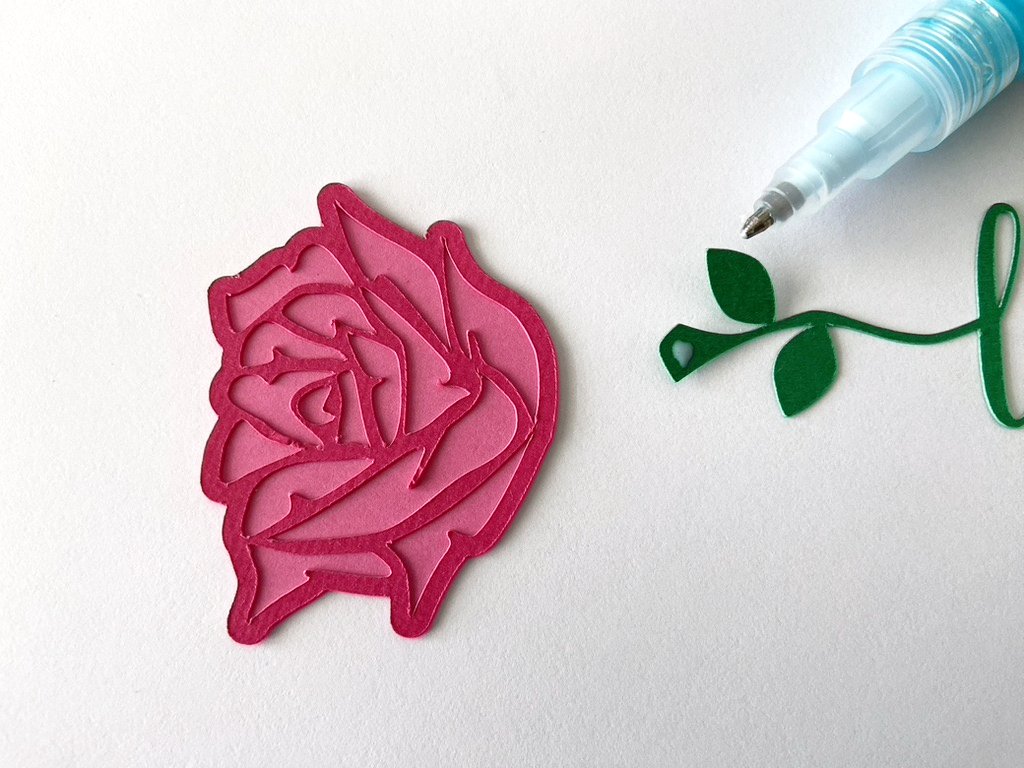
You will notice that there are three different layers for each flower. The top layer is the petals. Then there is a layer underneath that is slightly offset to make positioning easier. The third layer is the stem which can be glued behind the flower. You can select a different color for each layer by clicking on the layer and then clicking the color box next to “Basic Cut”.
When you are ready to begin cutting, click the green “Make It” button in the top right corner.
Cut the Paper with a Cutting Machine

The screen will then ask you to choose how you are cutting out your project. For cardstock, I used my green 12” x 12” mat. I found with my non-Cricut green mat that it was sticky enough for both 80 lb and 65 lb cardstock. The Cricut green mat was almost too sticky for 65 lb paper. A blue mat would be better in this situation. Select your option and then click “Confirm” in the bottom right corner.

Depending on how many colors you chose, you will see all of the different cut layers on the left hand side. For my example, there are three different colors (two for the rose and one for the stem).
Start with the first cut and make sure the location of the design is where your paper is going to be located. When ready, click the green “Continue” button in the bottom right corner.

Next step is to select your material. For me, I found it easier to get clean cuts by selecting a higher pound paper option. If I was using 65 lb, then I would select 80 lb. For 80 lb, I would do 100 lb. Keep in mind for the 100 lb option, it does two passes. This makes it easier to weed, but sometimes the pieces come lose during cutting. Use the default pressure setting. If you find that your paper is ripping during cutting, reduce the cut setting from 80 lb back to 65 lb.

Line up your cardstock on the green mat and use a brayer tool to smooth it out and make sure it is adhered well. I recommend for the flower petal to use a large piece of cardstock on the mat. This provides more surface area for the paper to stick to the mat. I found the smaller pieces of paper moved during cutting. Make sure your mat is sticky because the small cuts may pop up during cutting and get stuck on the blade. As an extra precaution, I have used painters tape to hold down the paper to prevent any movement during cutting.

Insert your green mat in the machine and push the blinking arrow button. Once the mat is in place, click the blinking go button. Machine will now start cutting the design. Once the cut is complete, click the blinking arrow button to eject the mat.
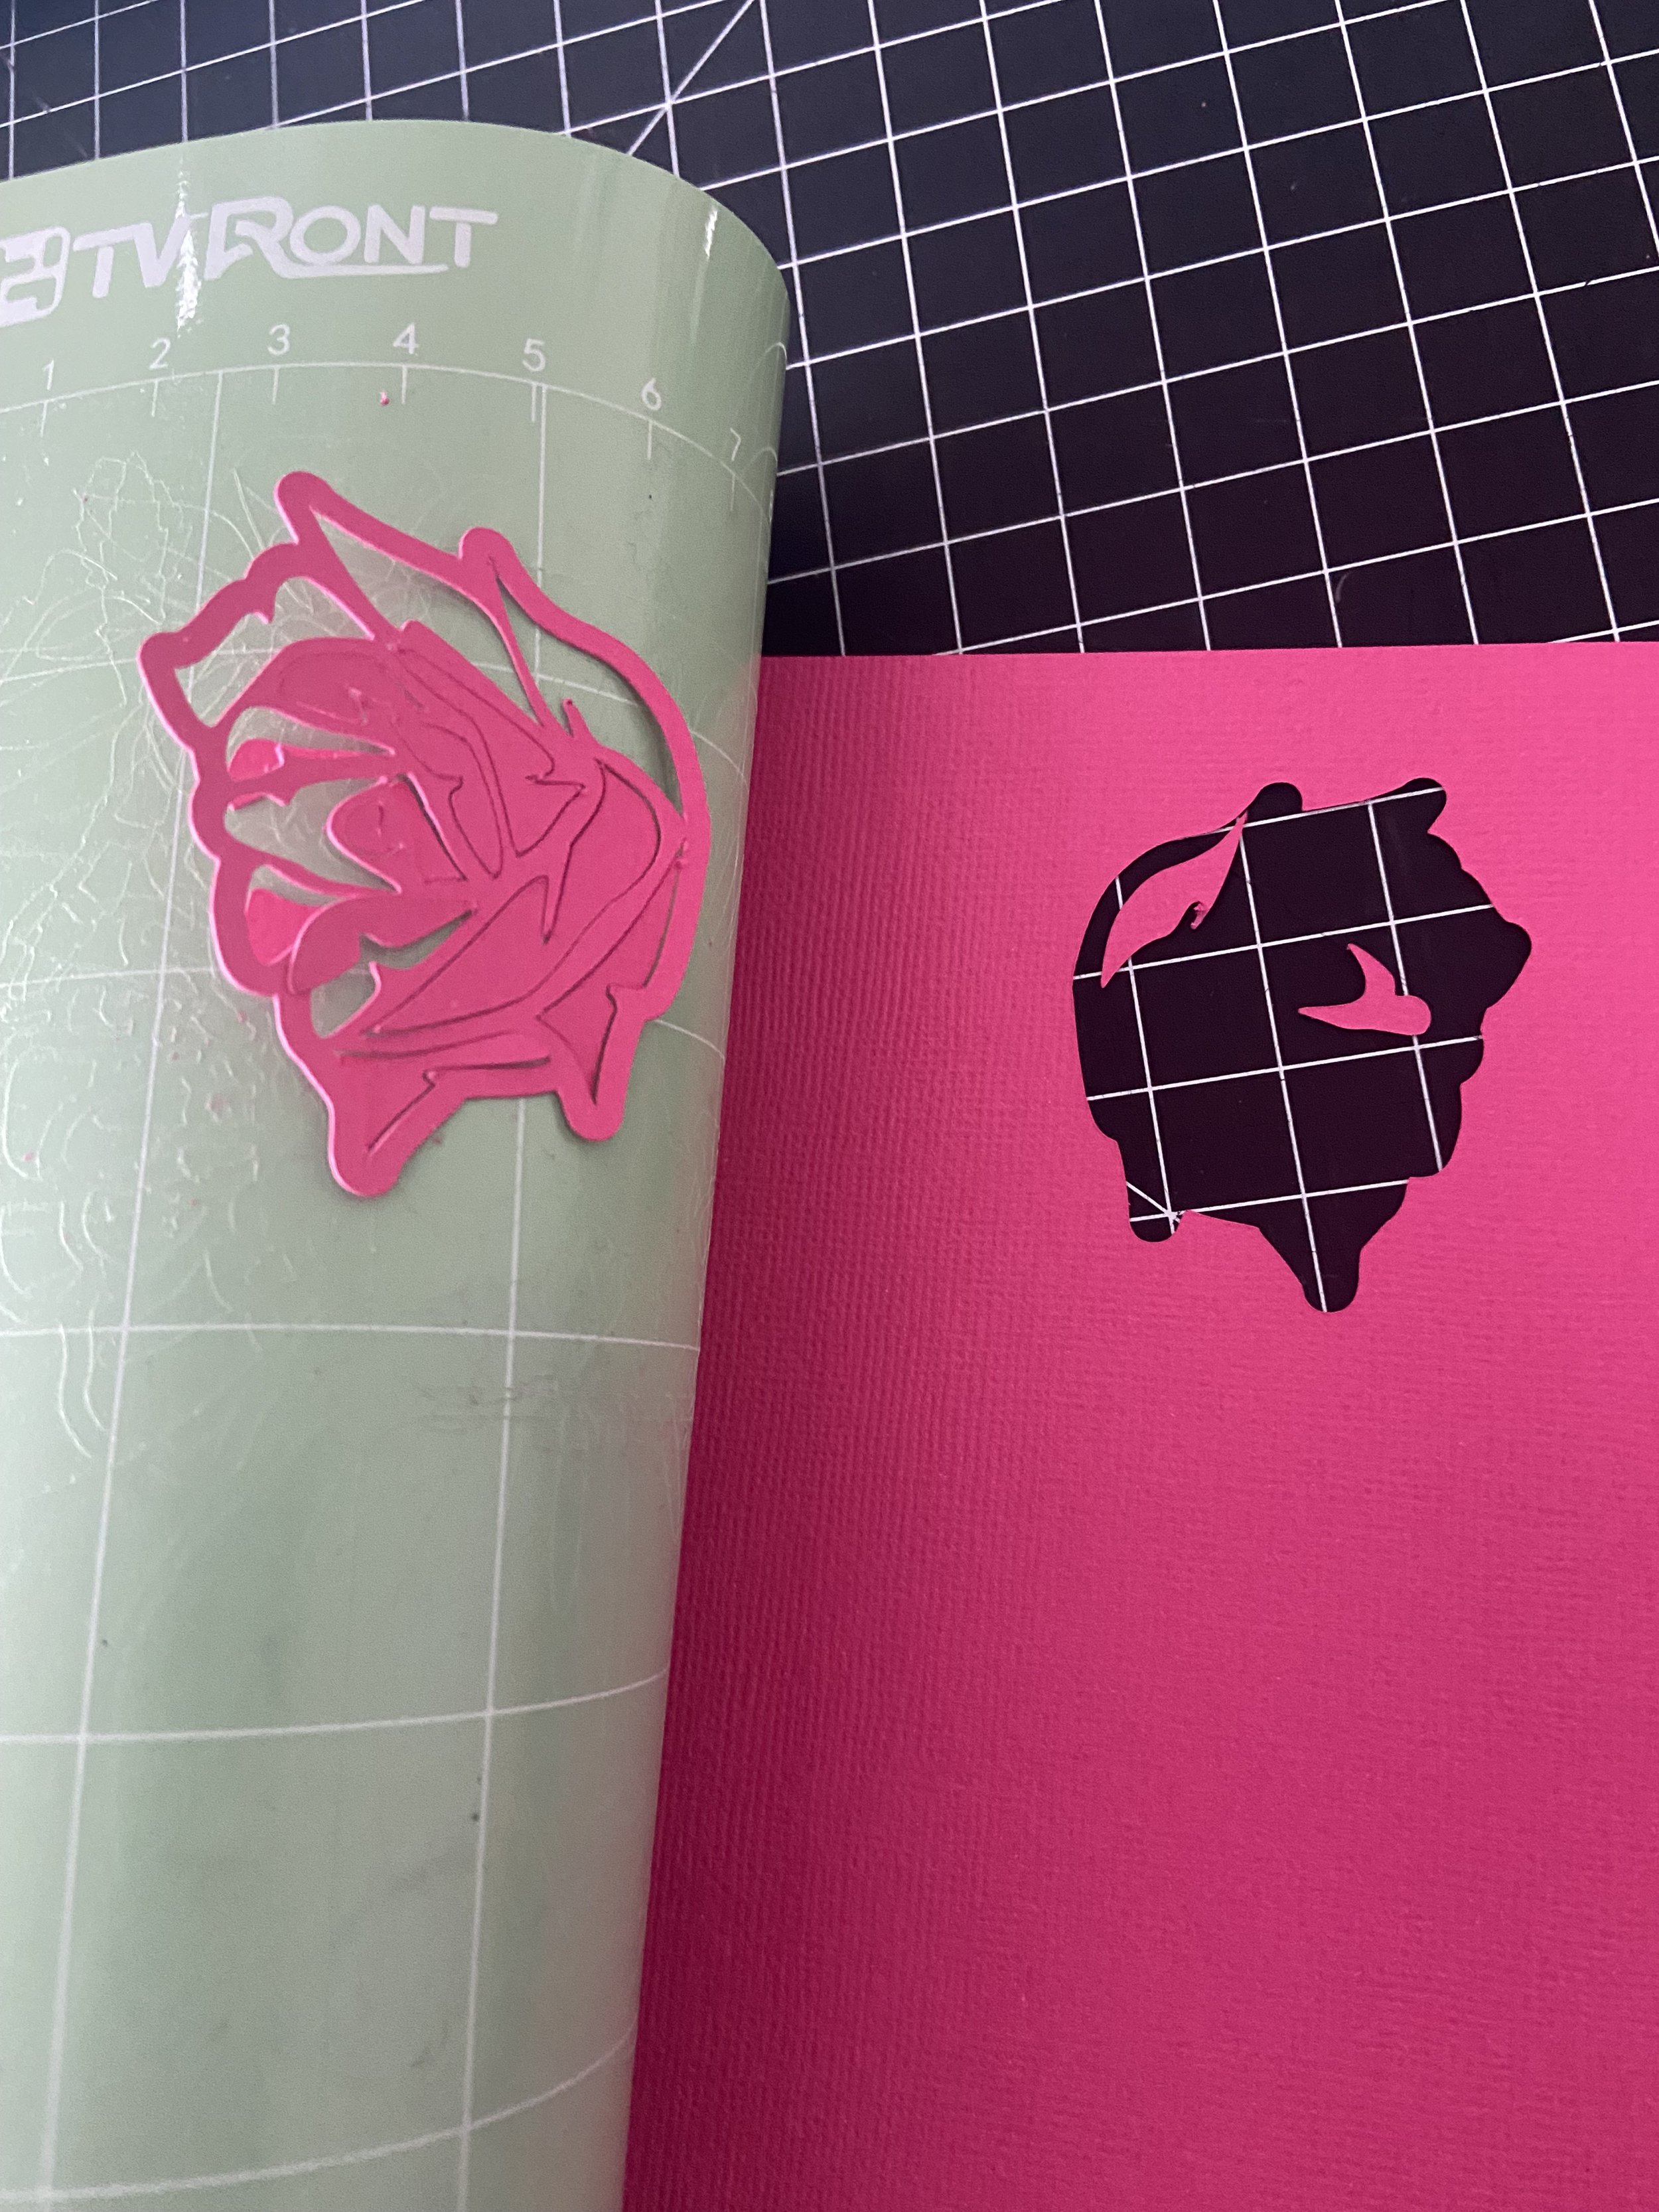
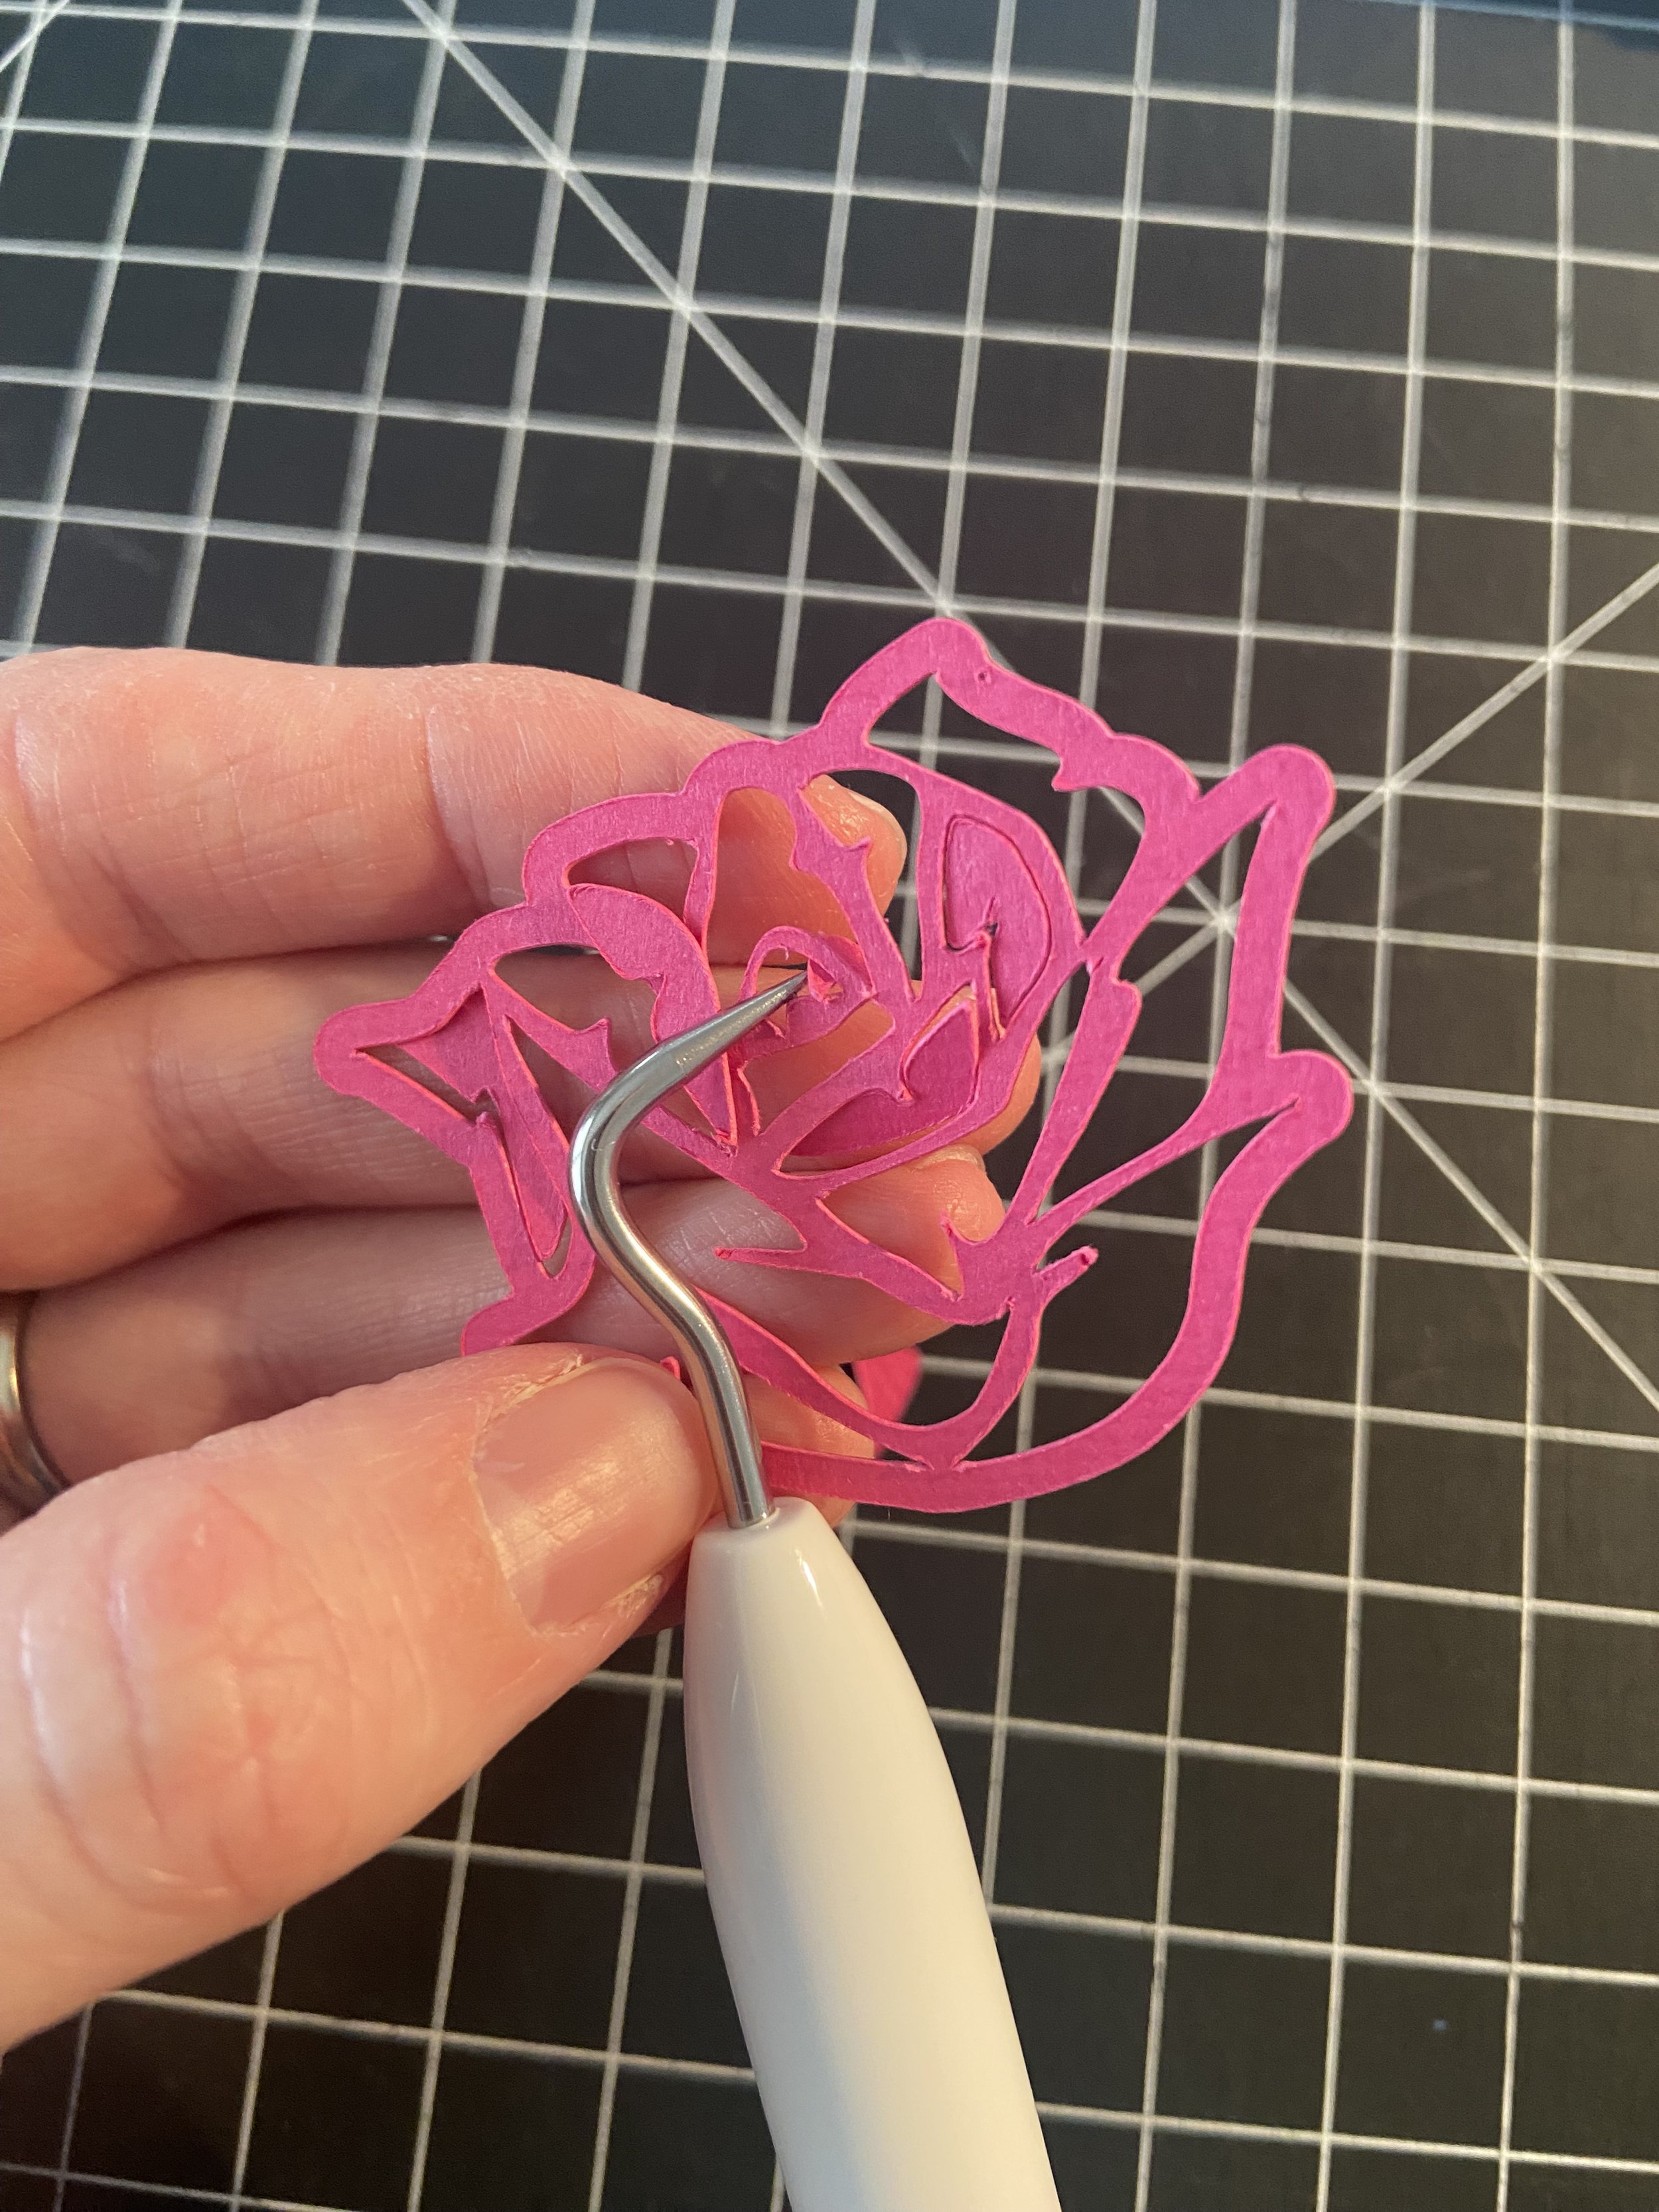
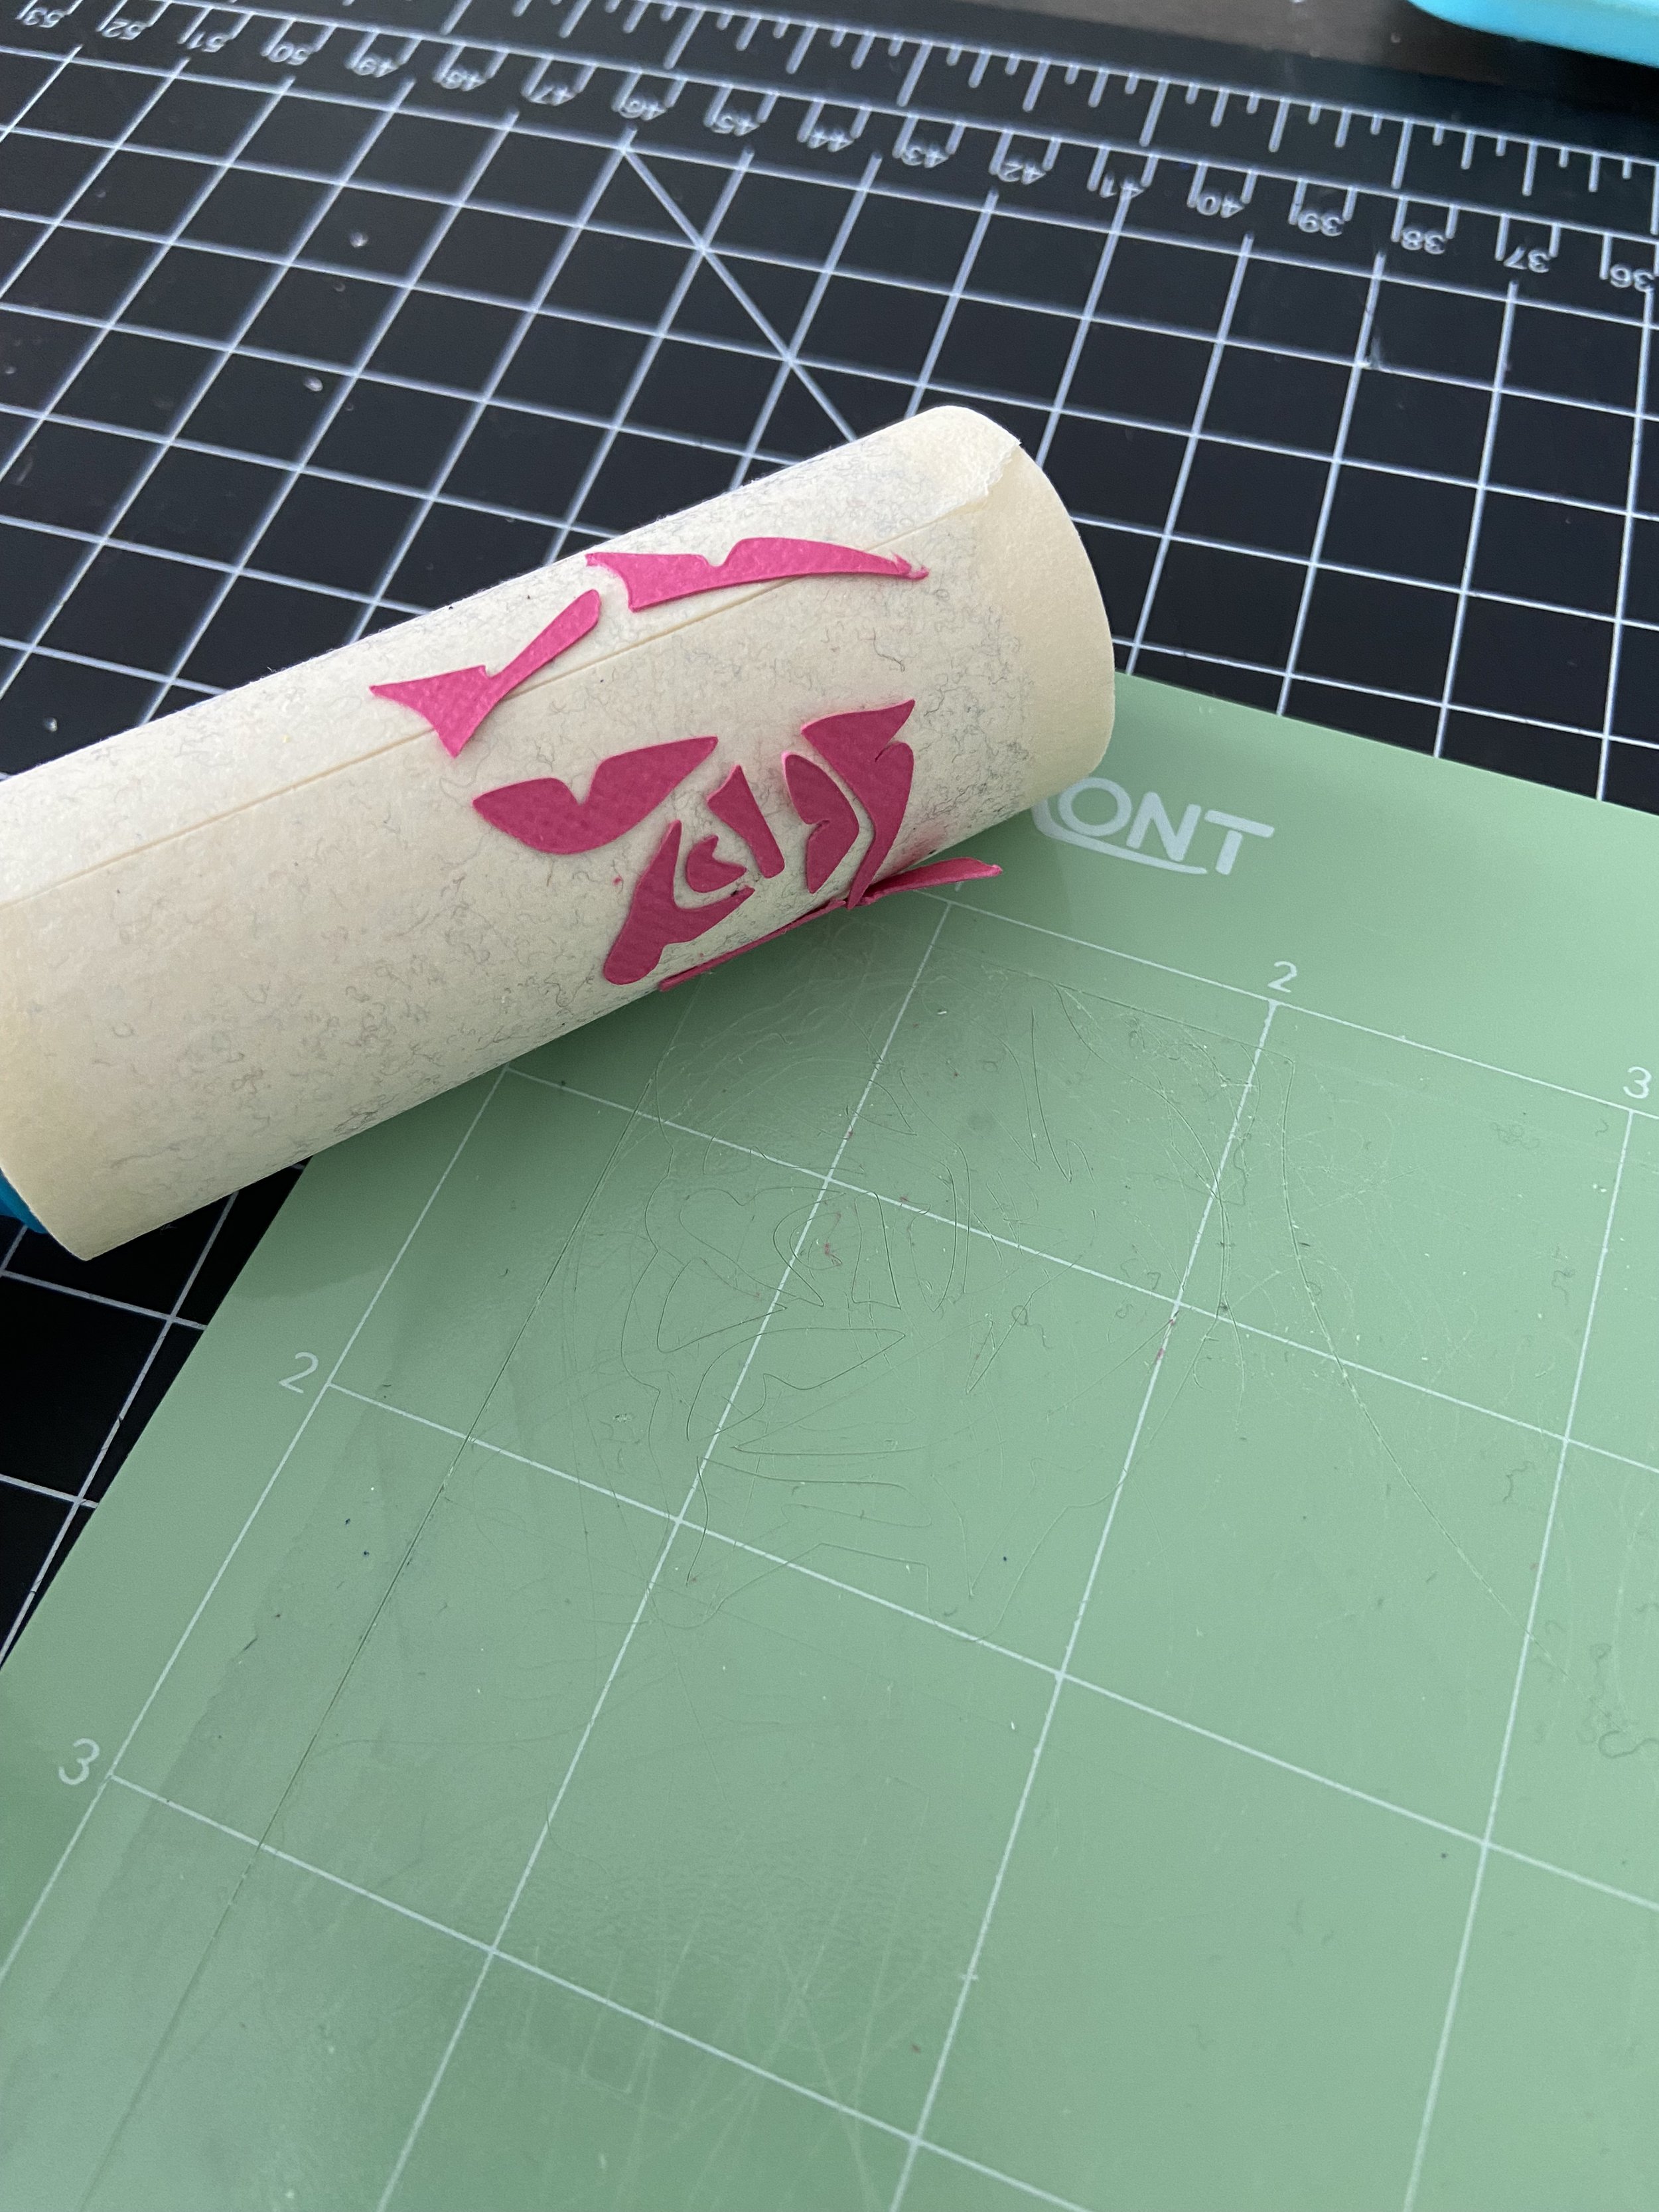
Flip the mat over and bend the mat away from the cardstock. Remove the design from the mat. You can use a scraper tool or lint roller to remove all of the extra pieces from the mat. Use a weeding tool, if needed, for the remaining cardstock still stuck in the flower design.
Repeat steps 12-19 with the remaining layers.
Glue Cardstock Layers
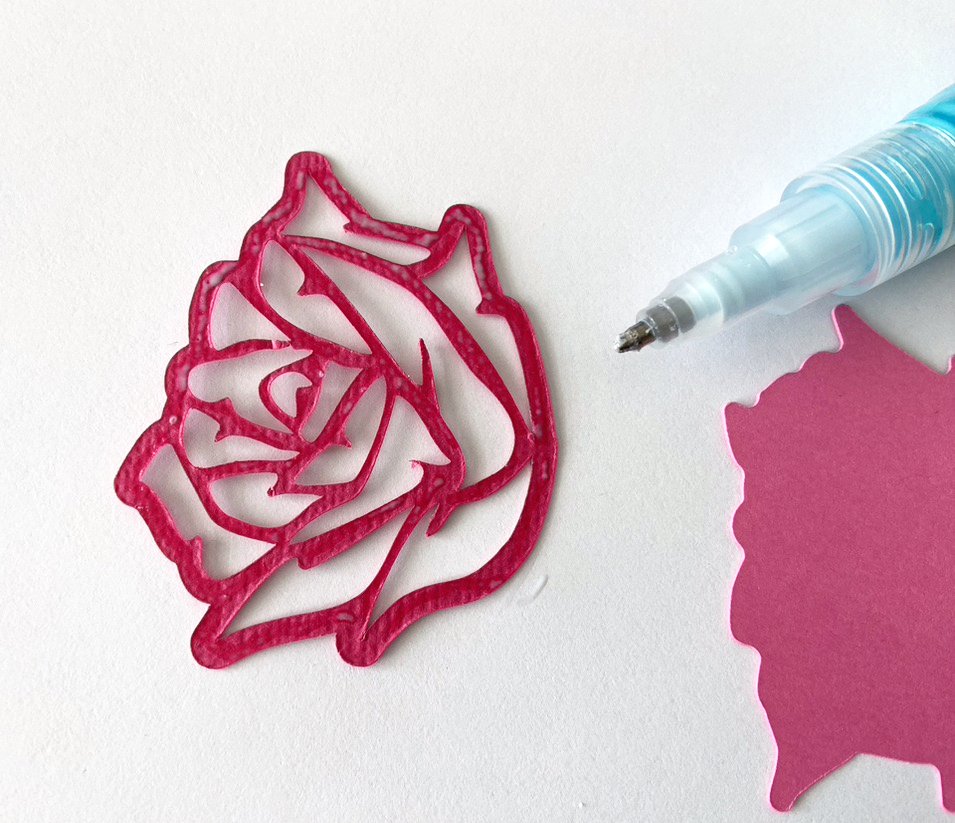
21. After all layers have been cut, it’s time to glue the layers together. Use a glue pen to add glue to the thin areas of the petal design and adhere to the base flower layer.
22. Next add glue to the end of the flower stem and adhere to the back of the flower.
23. Your design is now complete to add to a final product or keep as-is.
Real flowers were referenced for each of these flowers and they were adapted to best work with a cutting machine. Between Valentine’s Day, Mother’s Day, Anniversaries, etc., there are tons of uses for these flower designs. Even though my step-by-guide is for cardstock projects, they can be adapted for vinyl projects as well. Would love to hear how you used these flowers for your own projects. Happy Crafting!


